

Jira
How to add the Jira integration.
Prerequisites
- A Personal Access Token with admin access if you don't want to use User & Password. Learn how to generate it.
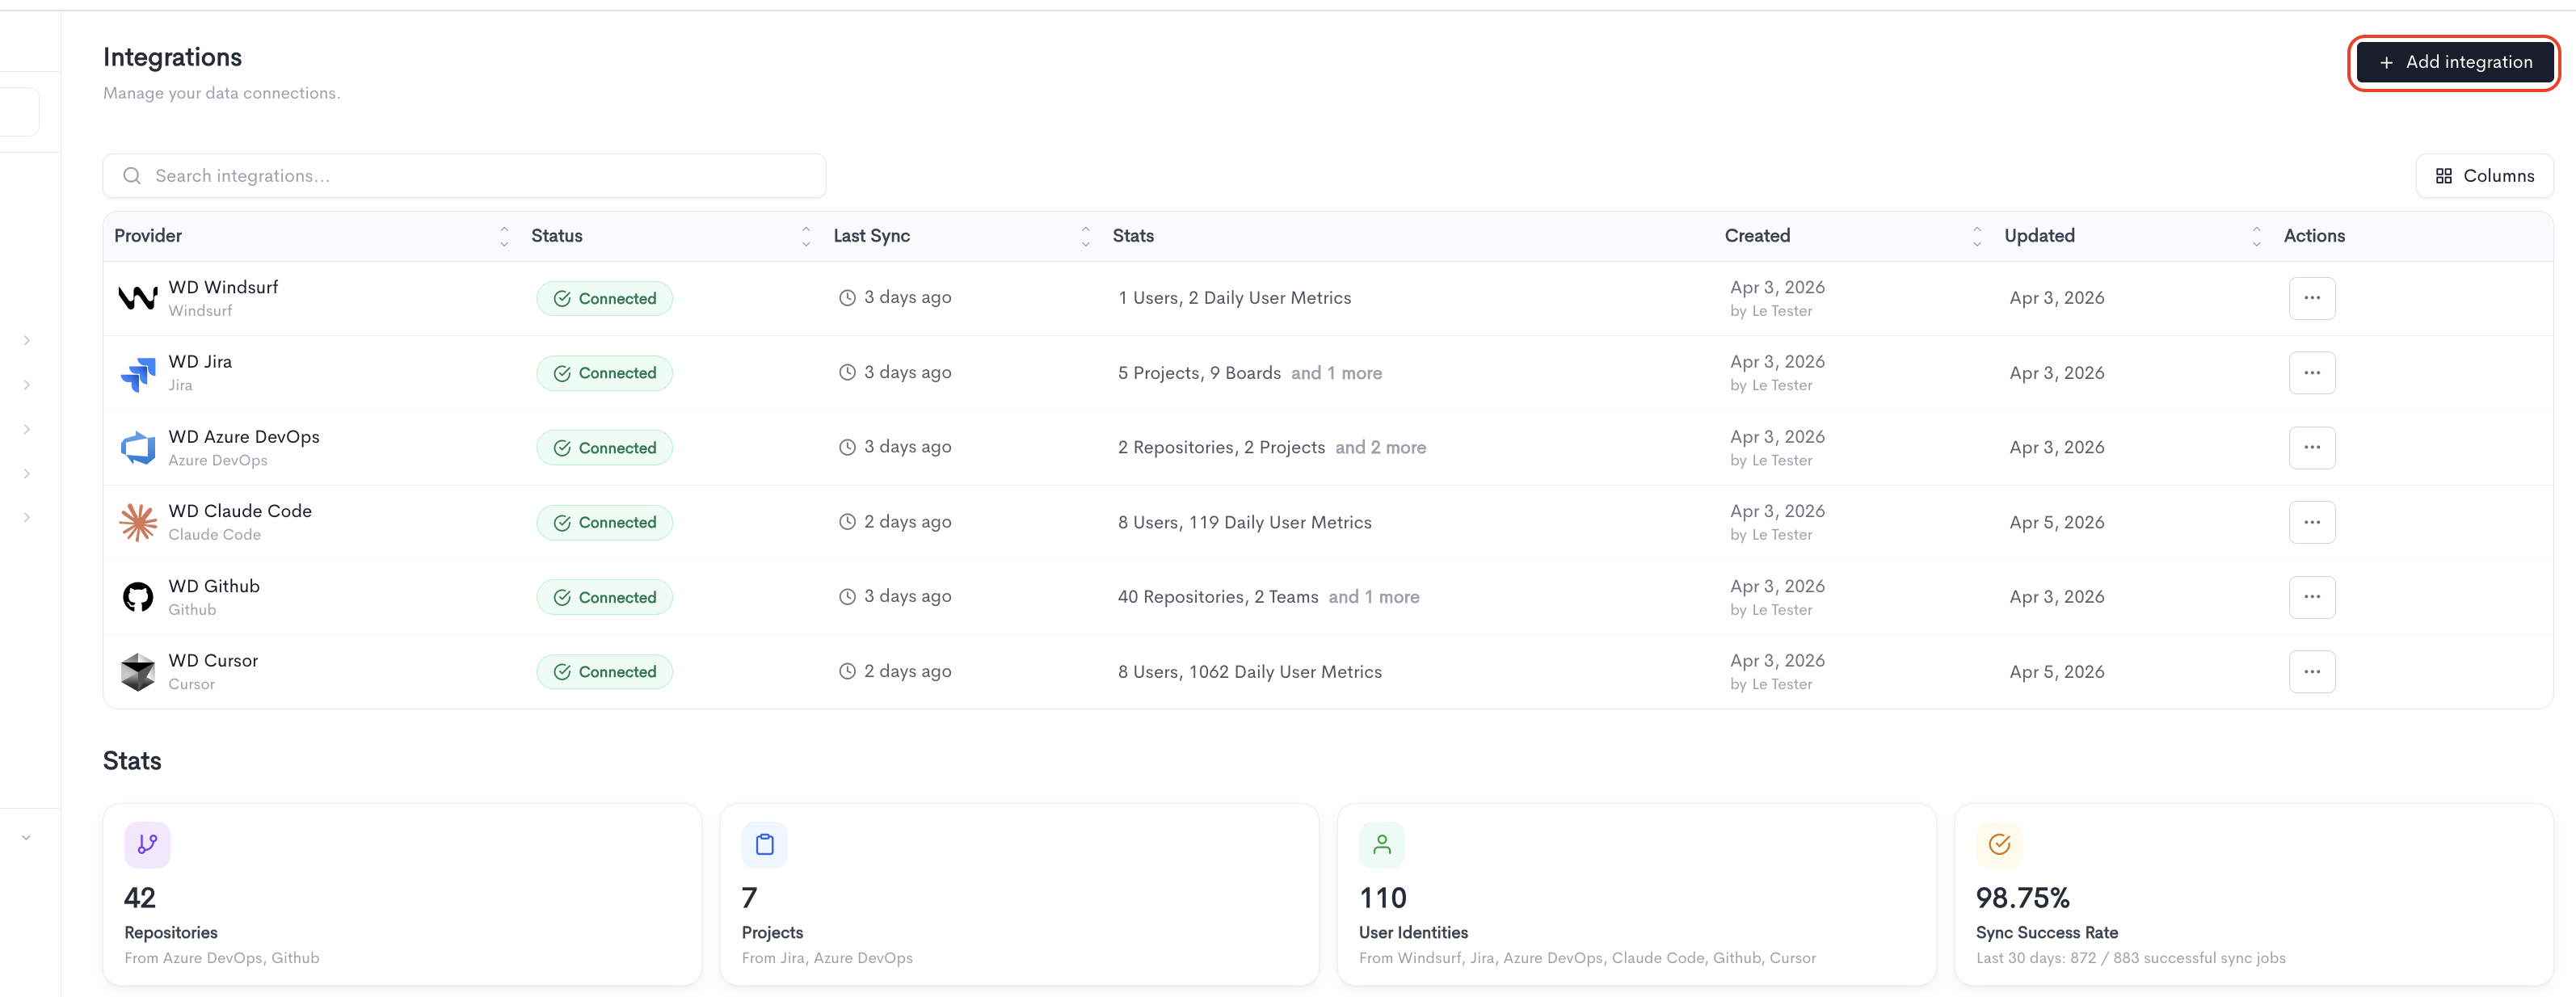
To add a new integration click on the + Add Integration button.
Adding the integration
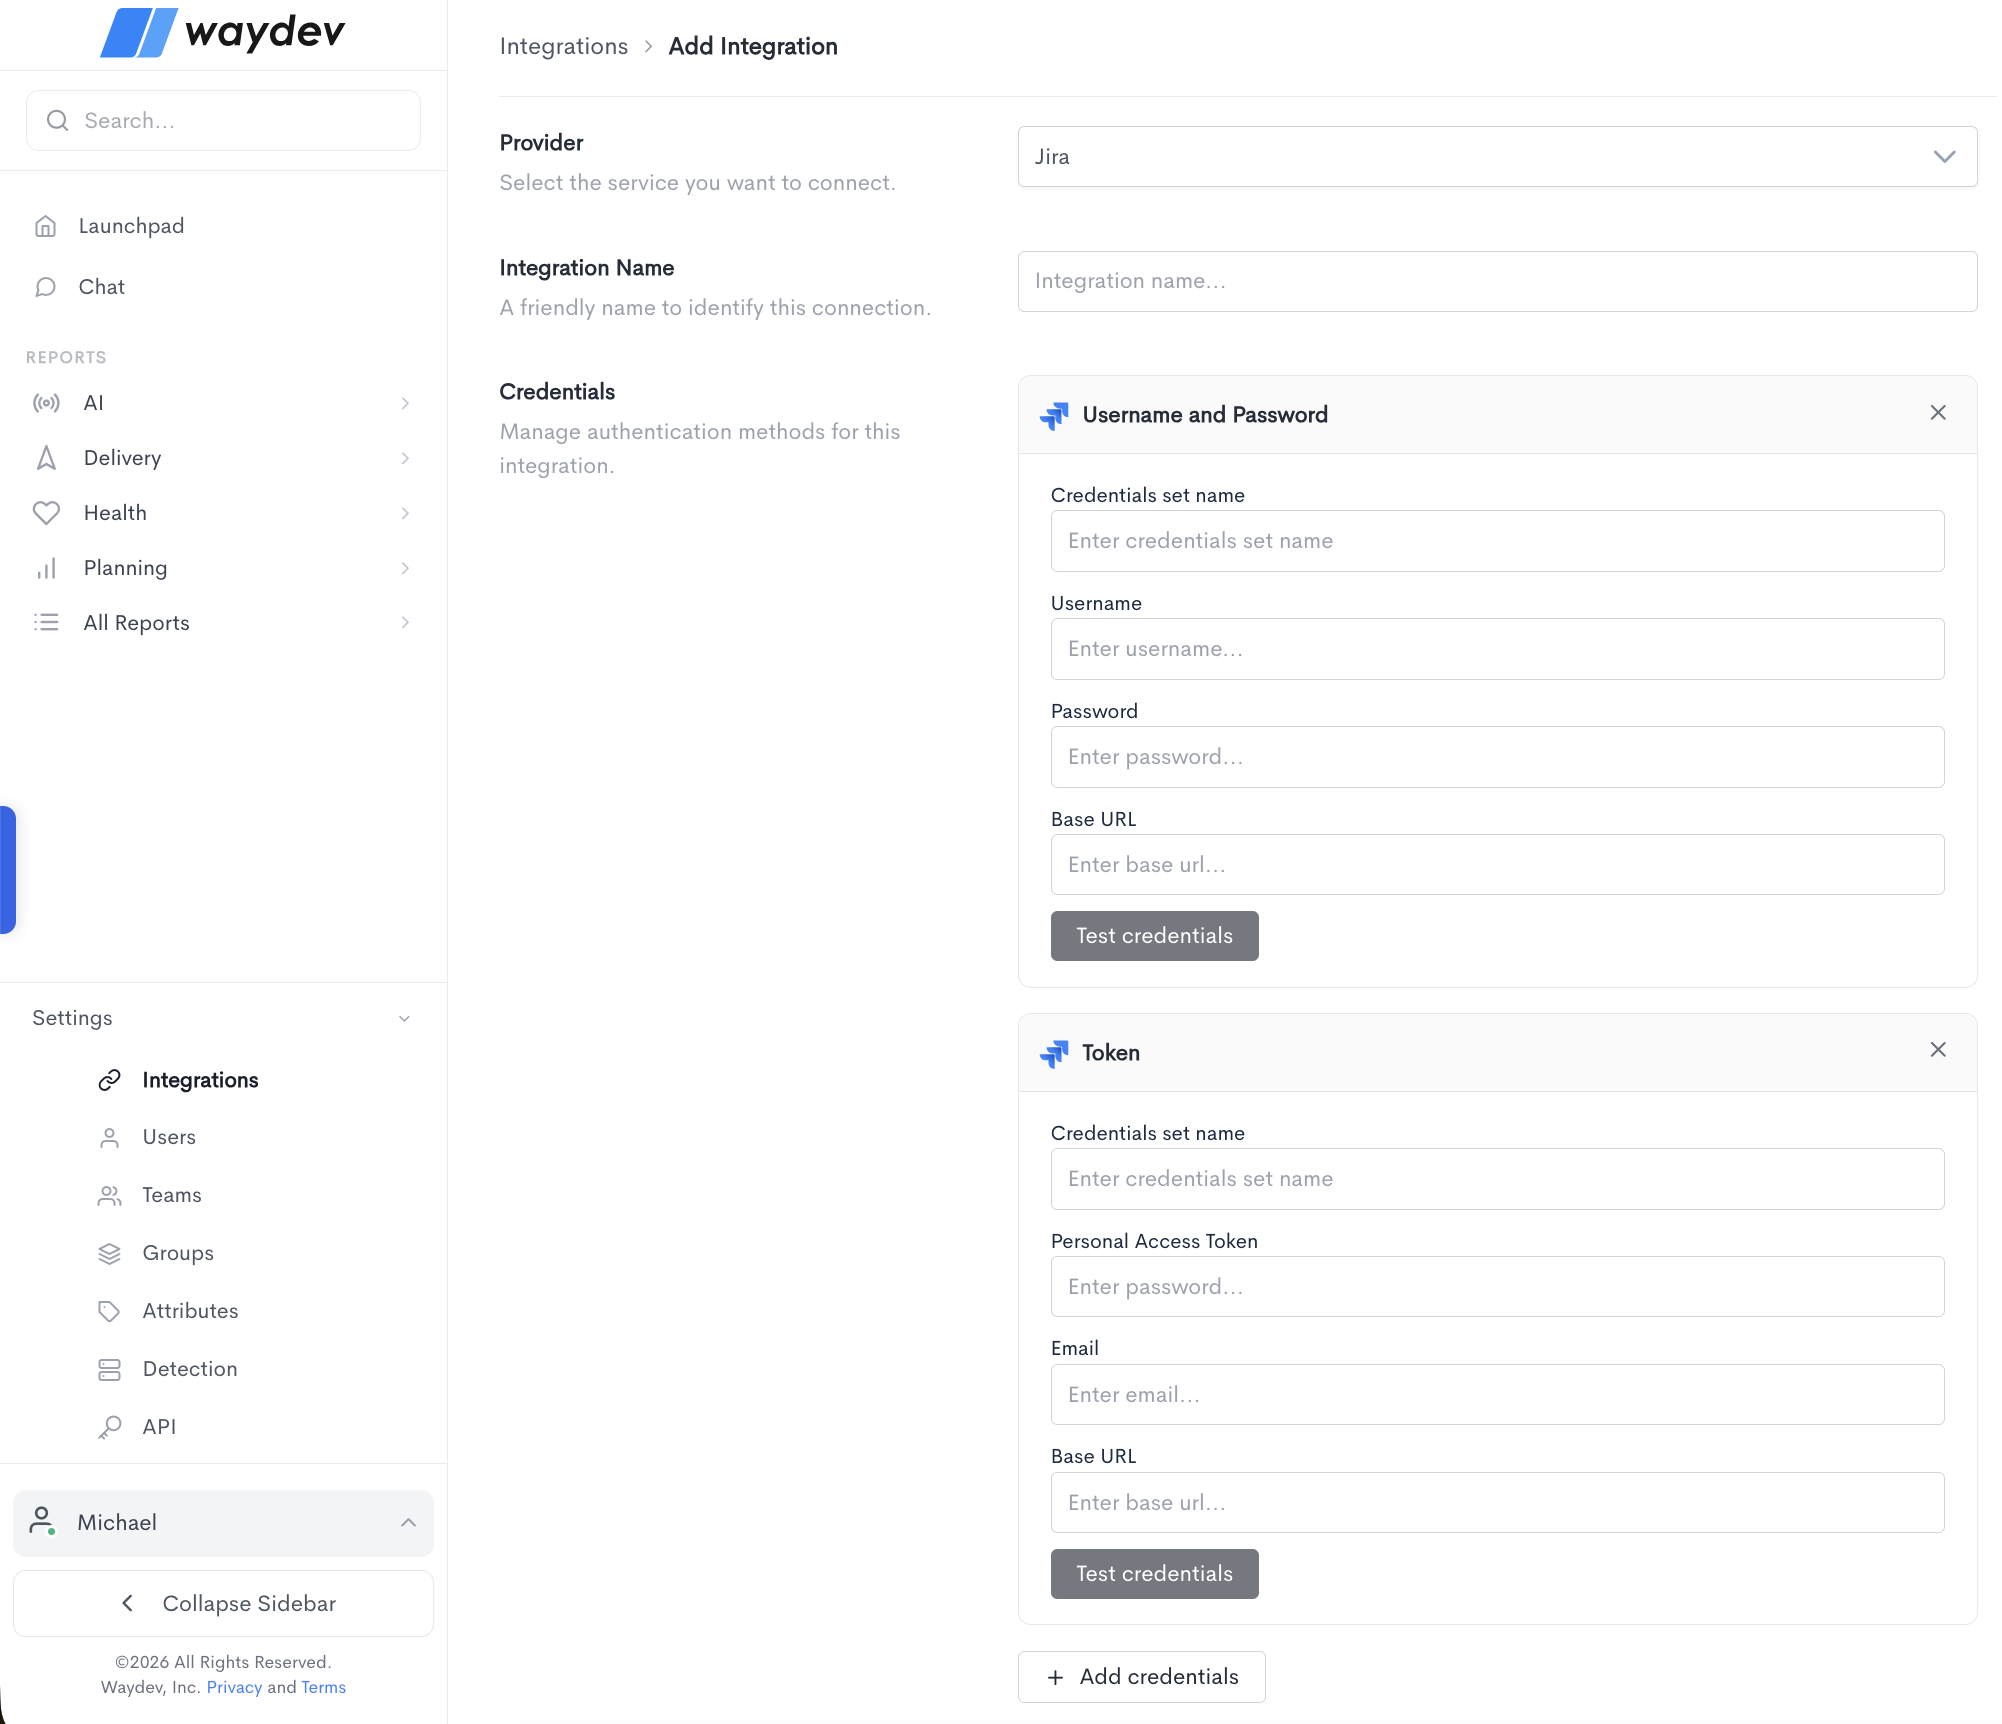
When adding a Jira integration, fill in the following fields:
-
Provider - Select Jira from the dropdown.
-
Integration Name - A friendly name to identify this connection within Waydev.
-
Credentials - Jira supports three authentication methods:
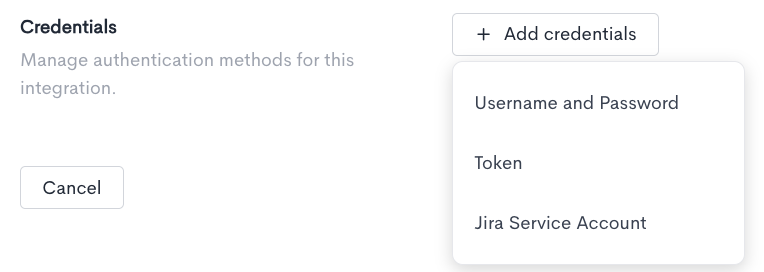
- Username and Password - Authenticate using your Jira account credentials, which requires:
- Credentials set name - A label to identify this set of credentials.
- Username - The username associated with your Jira account.
- Password - The password for your Jira account.
- Base URL - The base URL of your Jira instance (e.g.
https://yourcompany.atlassian.net).
Click Test credentials to verify that Waydev can successfully connect using the provided details.
- Token - Authenticate using a personal access token instead, which requires:
- Credentials set name - A label to identify this set of credentials.
- Personal Access Token - The personal access token generated from your Jira account.
- Email - The email address associated with your Jira account.
- Base URL - The base URL of your Jira instance (e.g.
https://yourcompany.atlassian.net).
Click Test credentials to verify that Waydev can successfully connect using the provided details.
- Jira Service Account
- Credentials set name - A name to identify this set of credentials.
- Client ID - The Client ID generated when creating the OAuth 2.0 credentials in the Atlassian Admin Console.
- Client Secret - The Client Secret generated when creating the OAuth 2.0 credentials. This is only shown once at creation time, so it must be saved and entered here from where it was stored.
- Base URL - Your Jira instance base URL (e.g. https://your-company.atlassian.net).
- Username and Password - Authenticate using your Jira account credentials, which requires:
You can add multiple credential sets using the + Add credentials button. Click Cancel to discard the integration setup and return to the Integrations list.
Setting up a Jira Service Account for Waydev
This guide details how to create and configure an Atlassian Service Account with the proper permissions and OAuth 2.0 scopes to authenticate and sync Jira data with Waydev.
What is an Atlassian Service Account?
Atlassian Service Accounts are non-human accounts designed for machine-to-machine integrations, such as Waydev. They do not consume standard user licenses, and their permissions are strictly scoped to the tasks they need to perform, which improves security and auditability.
Step 1: Create the service account
To create a service account, you must be an Organization Administrator in Atlassian.
- Go to the Atlassian Administration Console.
- Select your organization.
- In the left sidebar, navigate to
Directory>Service accounts. - Click
Create service account. - Give the service account a recognizable name (e.g.
Waydev Integration) and description, then clickCreate.
Step 2: Grant product and project access in Jira
For the service account to access Jira issues and projects, it must be granted product access and appropriate permissions.
Grant product access:
- Find your newly created service account in the Service accounts list.
- Under Product access, toggle on
Jira(orJira Software/Jira Service Management, depending on what products you use).
Grant project permissions:
- Log in to your Jira site as an administrator.
- Add the service account user to the relevant Jira groups or projects.
- The service account must have the
Browse Projectspermission for any project you want Waydev to sync. You can assign this by:- Adding the service account user directly to the project's Project Roles (e.g. as a
ViewerorDeveloper). - Or adding them to a group that has global/project read permissions.
- Adding the service account user directly to the project's Project Roles (e.g. as a
Step 3: Create OAuth 2.0 credentials and configure scopes
OAuth 2.0 client credentials authenticate the machine-to-machine connection between Waydev and Jira.
- Go back to the
Directory>Service accountslist in the Atlassian Admin Console. - Select your service account.
- Click the
Credentialstab and selectCreate credentials>OAuth 2.0. - Under Scopes, select the permissions that this credential set will be allowed to use.
Scopes are immutable once the credential is created. If you miss a scope, you must delete these credentials and create a new set.
Required scopes:
Select the following scopes during credential creation:
read:me(System) - Used to verify the identity of the service account token during connection tests.read:jira-work(Jira Classic) - Required to search/list issues, read project boards, worklogs, etc.read:jira-user(Jira Classic) - Required to identify issue authors, assignees, and map commit users.
If your organization uses Granular Scopes, select:
read:project:jiraread:issue-details:jiraread:user:jira
- Click
Create. - Save the Client ID and Client Secret immediately. The client secret is only shown once and cannot be retrieved later.
Configuring the integration in Waydev
Provide the generated credentials when setting up the integration in Waydev:
-
Client ID - The Client ID generated in Step 3.
-
Client Secret - The Client Secret generated in Step 3.
-
Base URL - Your Jira instance base URL (e.g.
https://your-company.atlassian.net).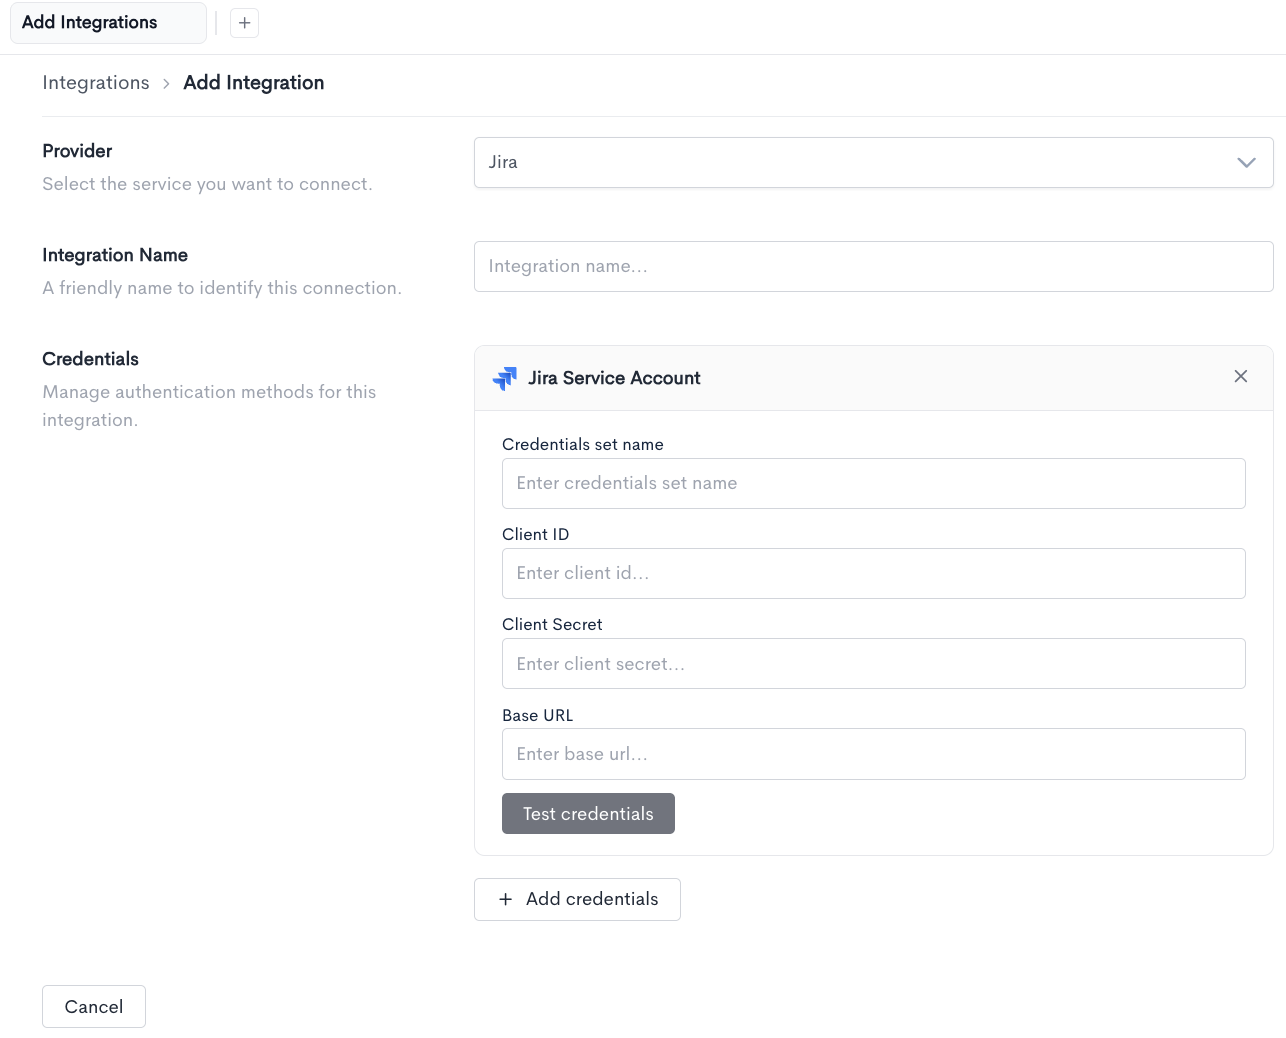
Troubleshooting common errors
Error: 401 Unauthorized; scope does not match
- Cause - The OAuth credentials token does not have the scope required by the endpoint (e.g.
read:jira-workorread:me). - Solution - Delete the existing credentials under your Service Account in the Atlassian Admin Console, create a new set of credentials, and make sure both the
read:jira-work(or granular counterparts) andread:mescopes are checked/enabled before clicking Save.
Error: 403 Forbidden
- Cause - The API token is successfully authenticated and has correct scopes, but the service account user does not have permission to view the projects or issues in Jira.
- Solution - Ensure the service account has been added to your Jira projects with the
Browse Projectspermission role.
Updated 15 minutes ago