Configuring On-Premises
Configuring Replicated
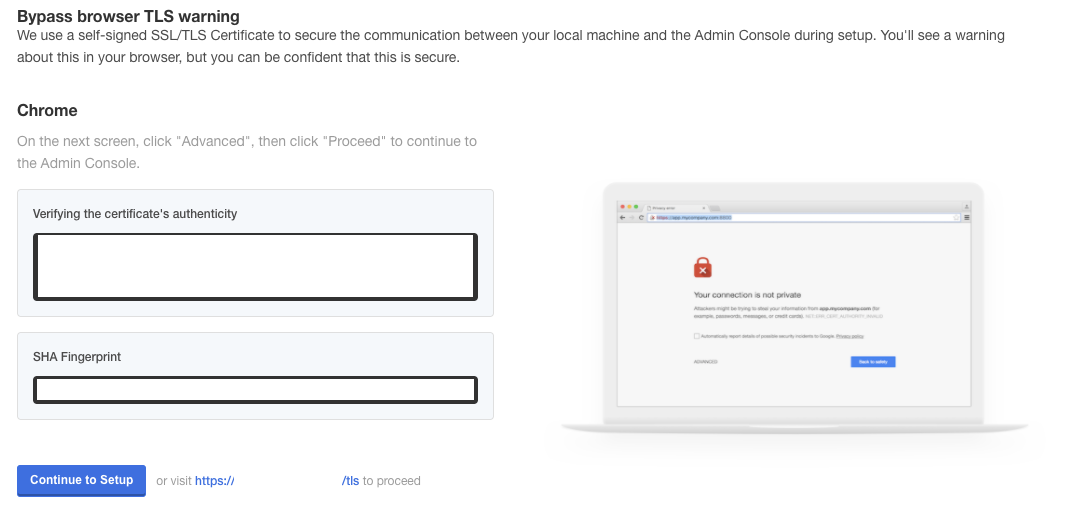
In the section titled "Installing Replicated" we installed Replicated on a server. At the end of that process, the installer gave us a link that can be used to finish configuring the Replicated administration console. Please open a browser and go to this link. If you have forgotten the link, it is most likely https://(ip address):8800. The terminal also shows a default password that will be needed later. If you require to change it, type kubectl kots reset-password default to do that.
Step One: Configuring HTTPS for the Administration Console
You will be presented with the following screen:
As you can see, you are being asked to provide a hostname, a private key, and a certificate. You are also provided with two options to move forward:
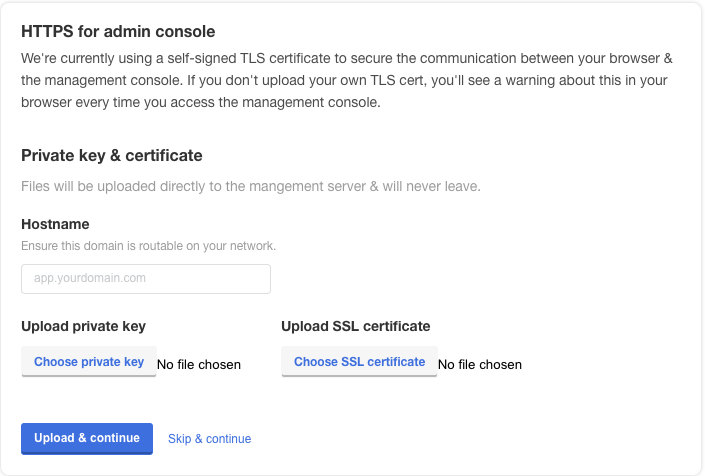
- Use Skip & Continue: Use this if you want the system to generate an SSL certificate for the hostname provided. If you choose this, users will have to accept this certificate.
- Upload & Continue: This allows you to upload the private key and certificate file you wish the web server to use for SSL.
The following values should be given:
- Hostname: This is the DNS hostname that you wish administrators and users to use to access the system. For example, if you want the system to be https://waydev.mycompany.com, you should enter waydev.mycompany.com
- Private Key: The private key of the SSL certificate to use in PEM format.
- Certificate: The certificate you wish to used, in PEM format
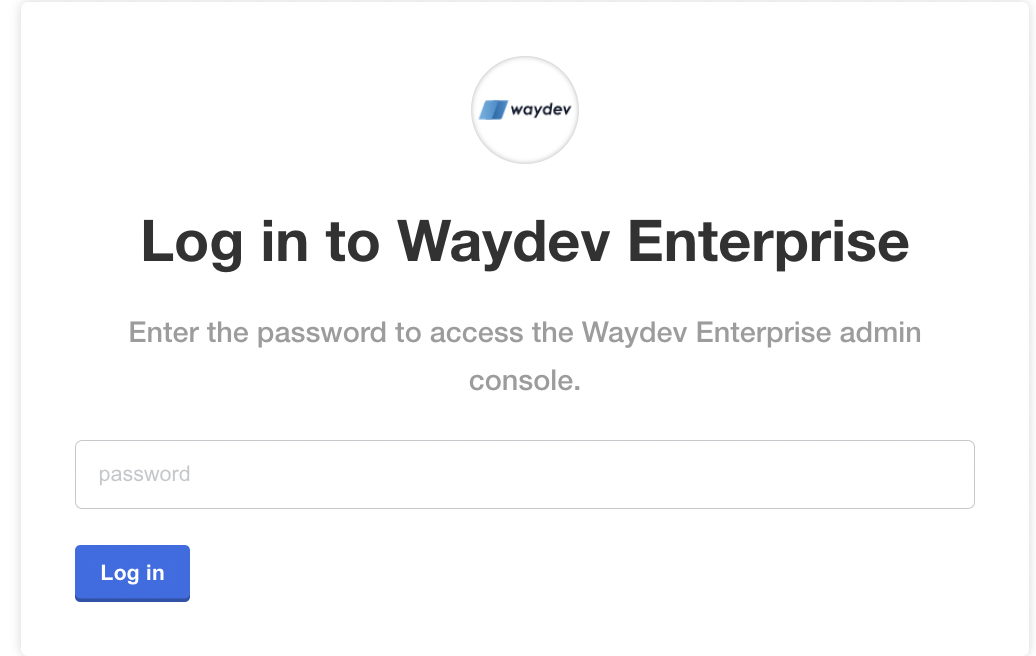
When prompted with the screen below, insert the default password the terminal displayed earlier or the one you set up.
Step Two: Uploading Your License
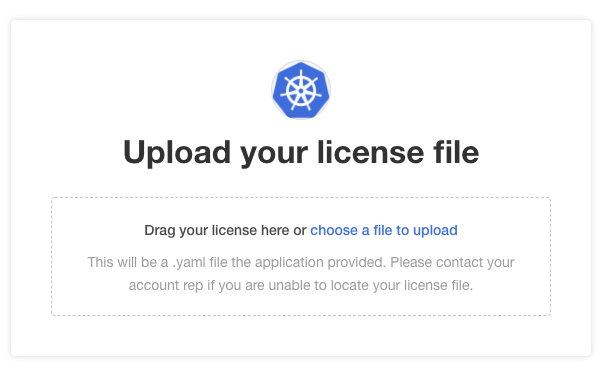
You will have been provided with a license file by your account executive or customer support. This file will end with the file extension ".yaml" and will most likely be the name of your company. You will be prompted to upload the license file.
Step Three: Install Waydev
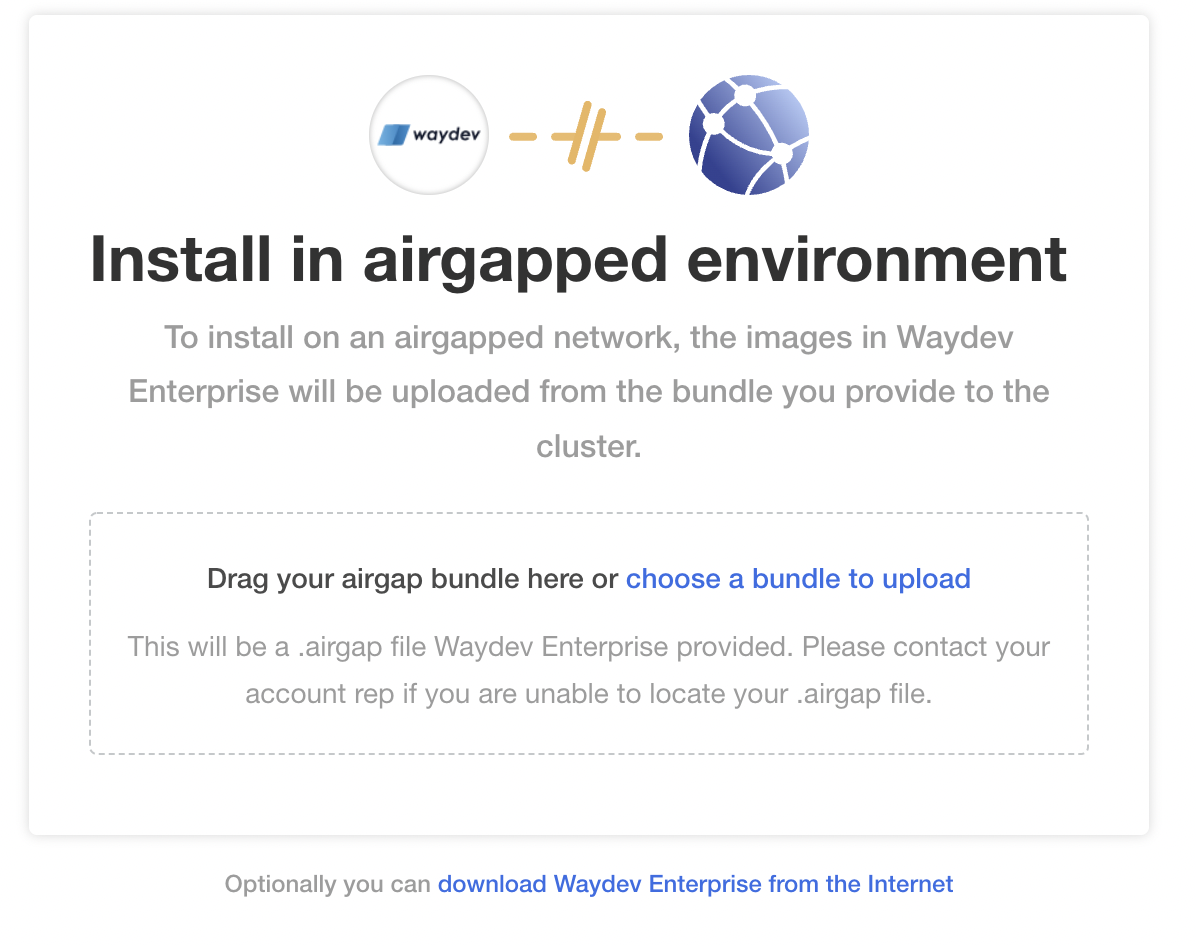
Depending on the type of installation you are doing, select to either install the application from the internet (non-airgap installation) or drag the airgap bundle that you have received (airgap installation).
After this is done, proceed to the Configuring Waydev page.
Updated about 1 year ago