GitHub
Repositories not showing up or stuck in tour phase
This behavior is a common issue with GitHub OAuth and typically occurs when our application has not been authorized for the entire project.
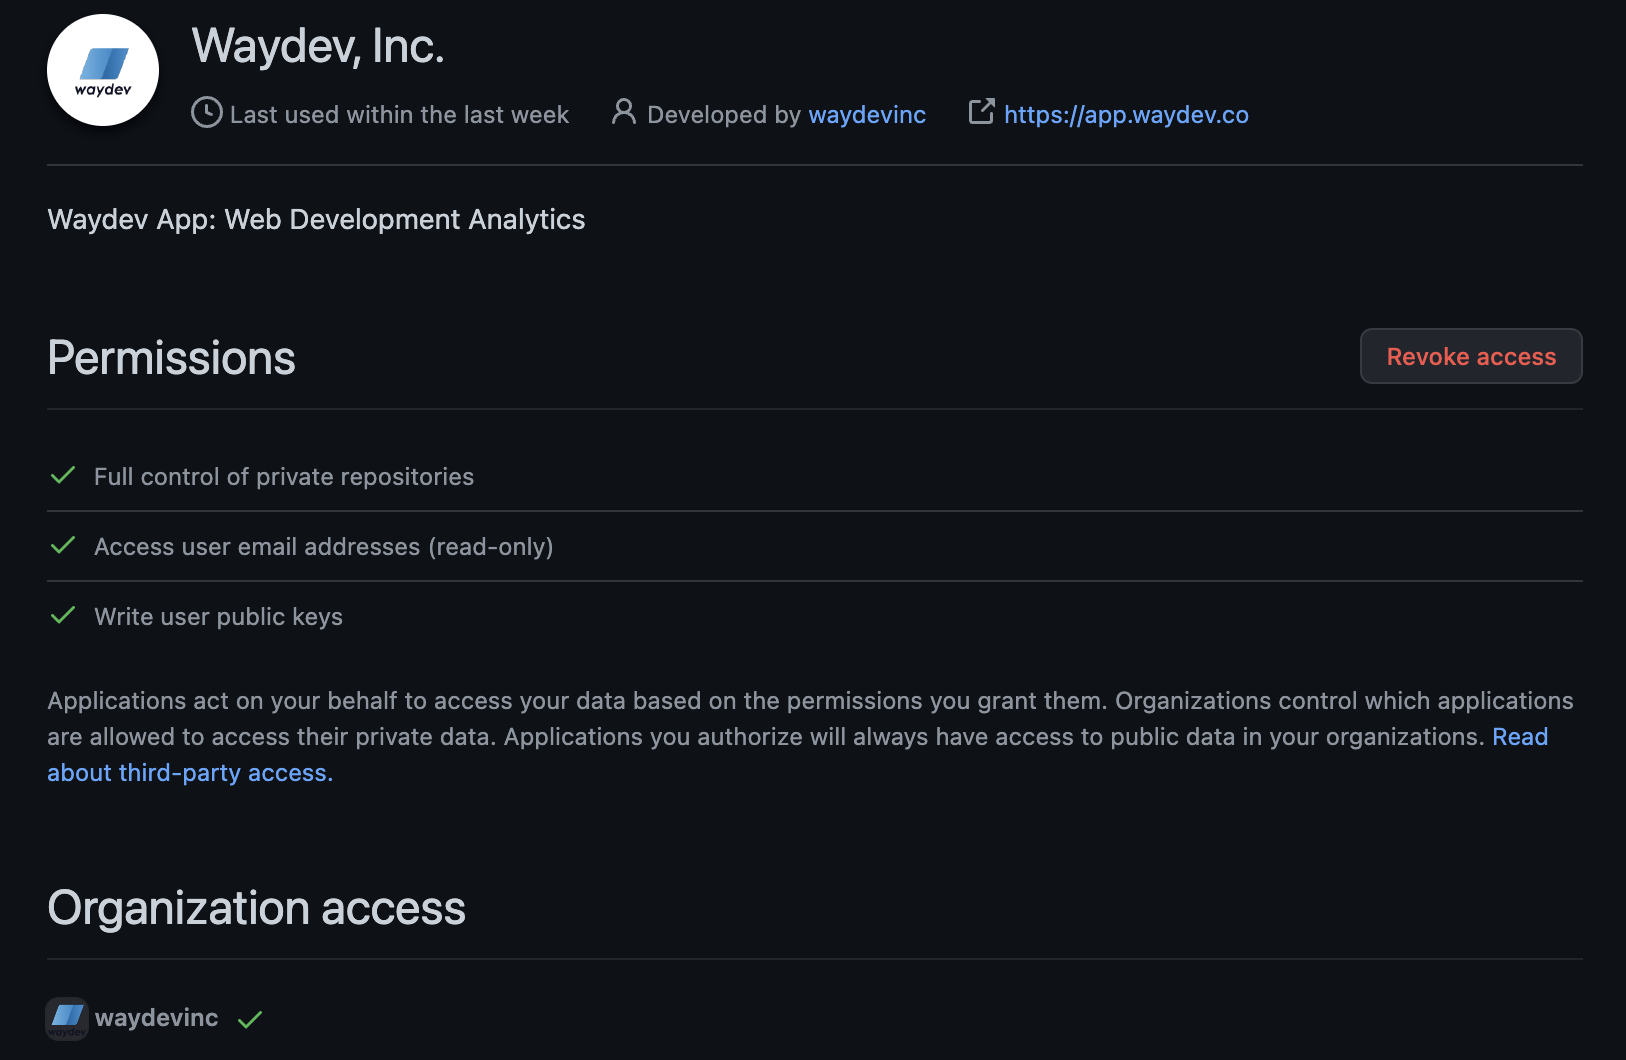
Please double-check that the correct permissions/scopes have been granted to our application. In GitHub, you can review and update this by navigating to:
Settings → Applications → Authorized OAuth apps
Then click on Waydev, Inc. and confirm that all required permissions/scopes are enabled. It should look something like this:
GitHub OAuth
Step 1
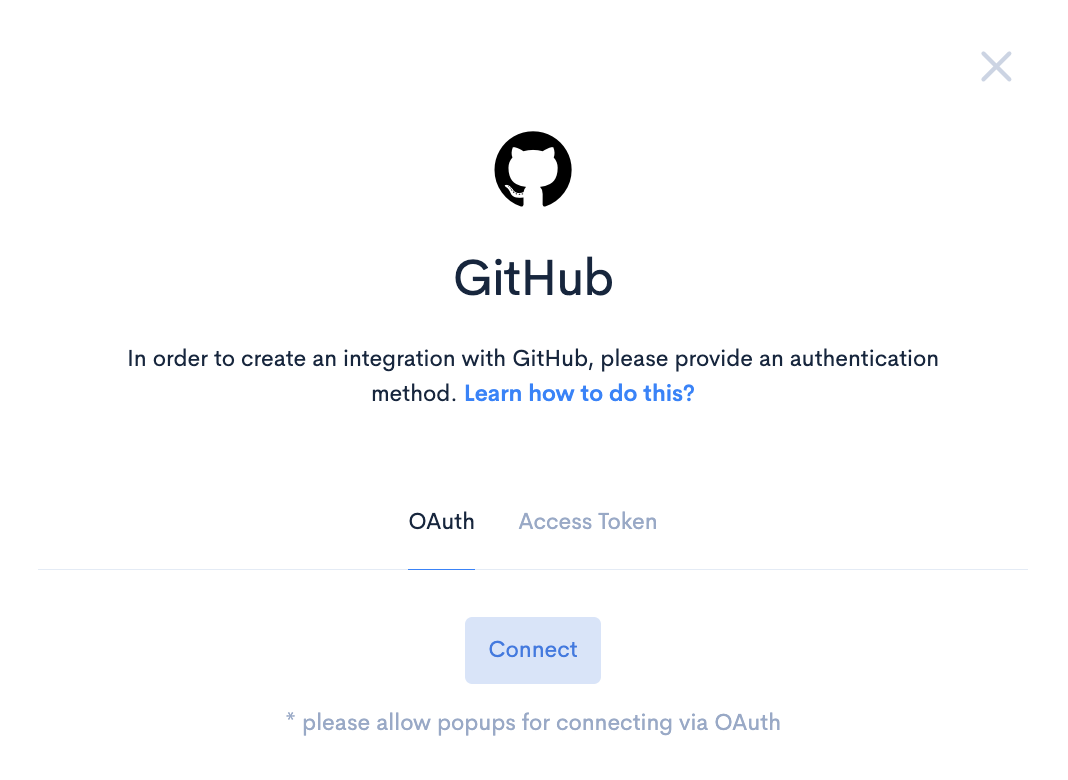
Navigate to Setup -> Integrations. Select GitHub.
Step 2
Select OAuth , and click Connect. You will be redirected to your Git provider where you will need to authorize access to your organization.
‼️ Please make sure that you authorize Waydev for your organization, otherwise we will only be able to access your personal repositories. If you do not see the repositories you expected to see after this step, then this is probably the case.
Step 3
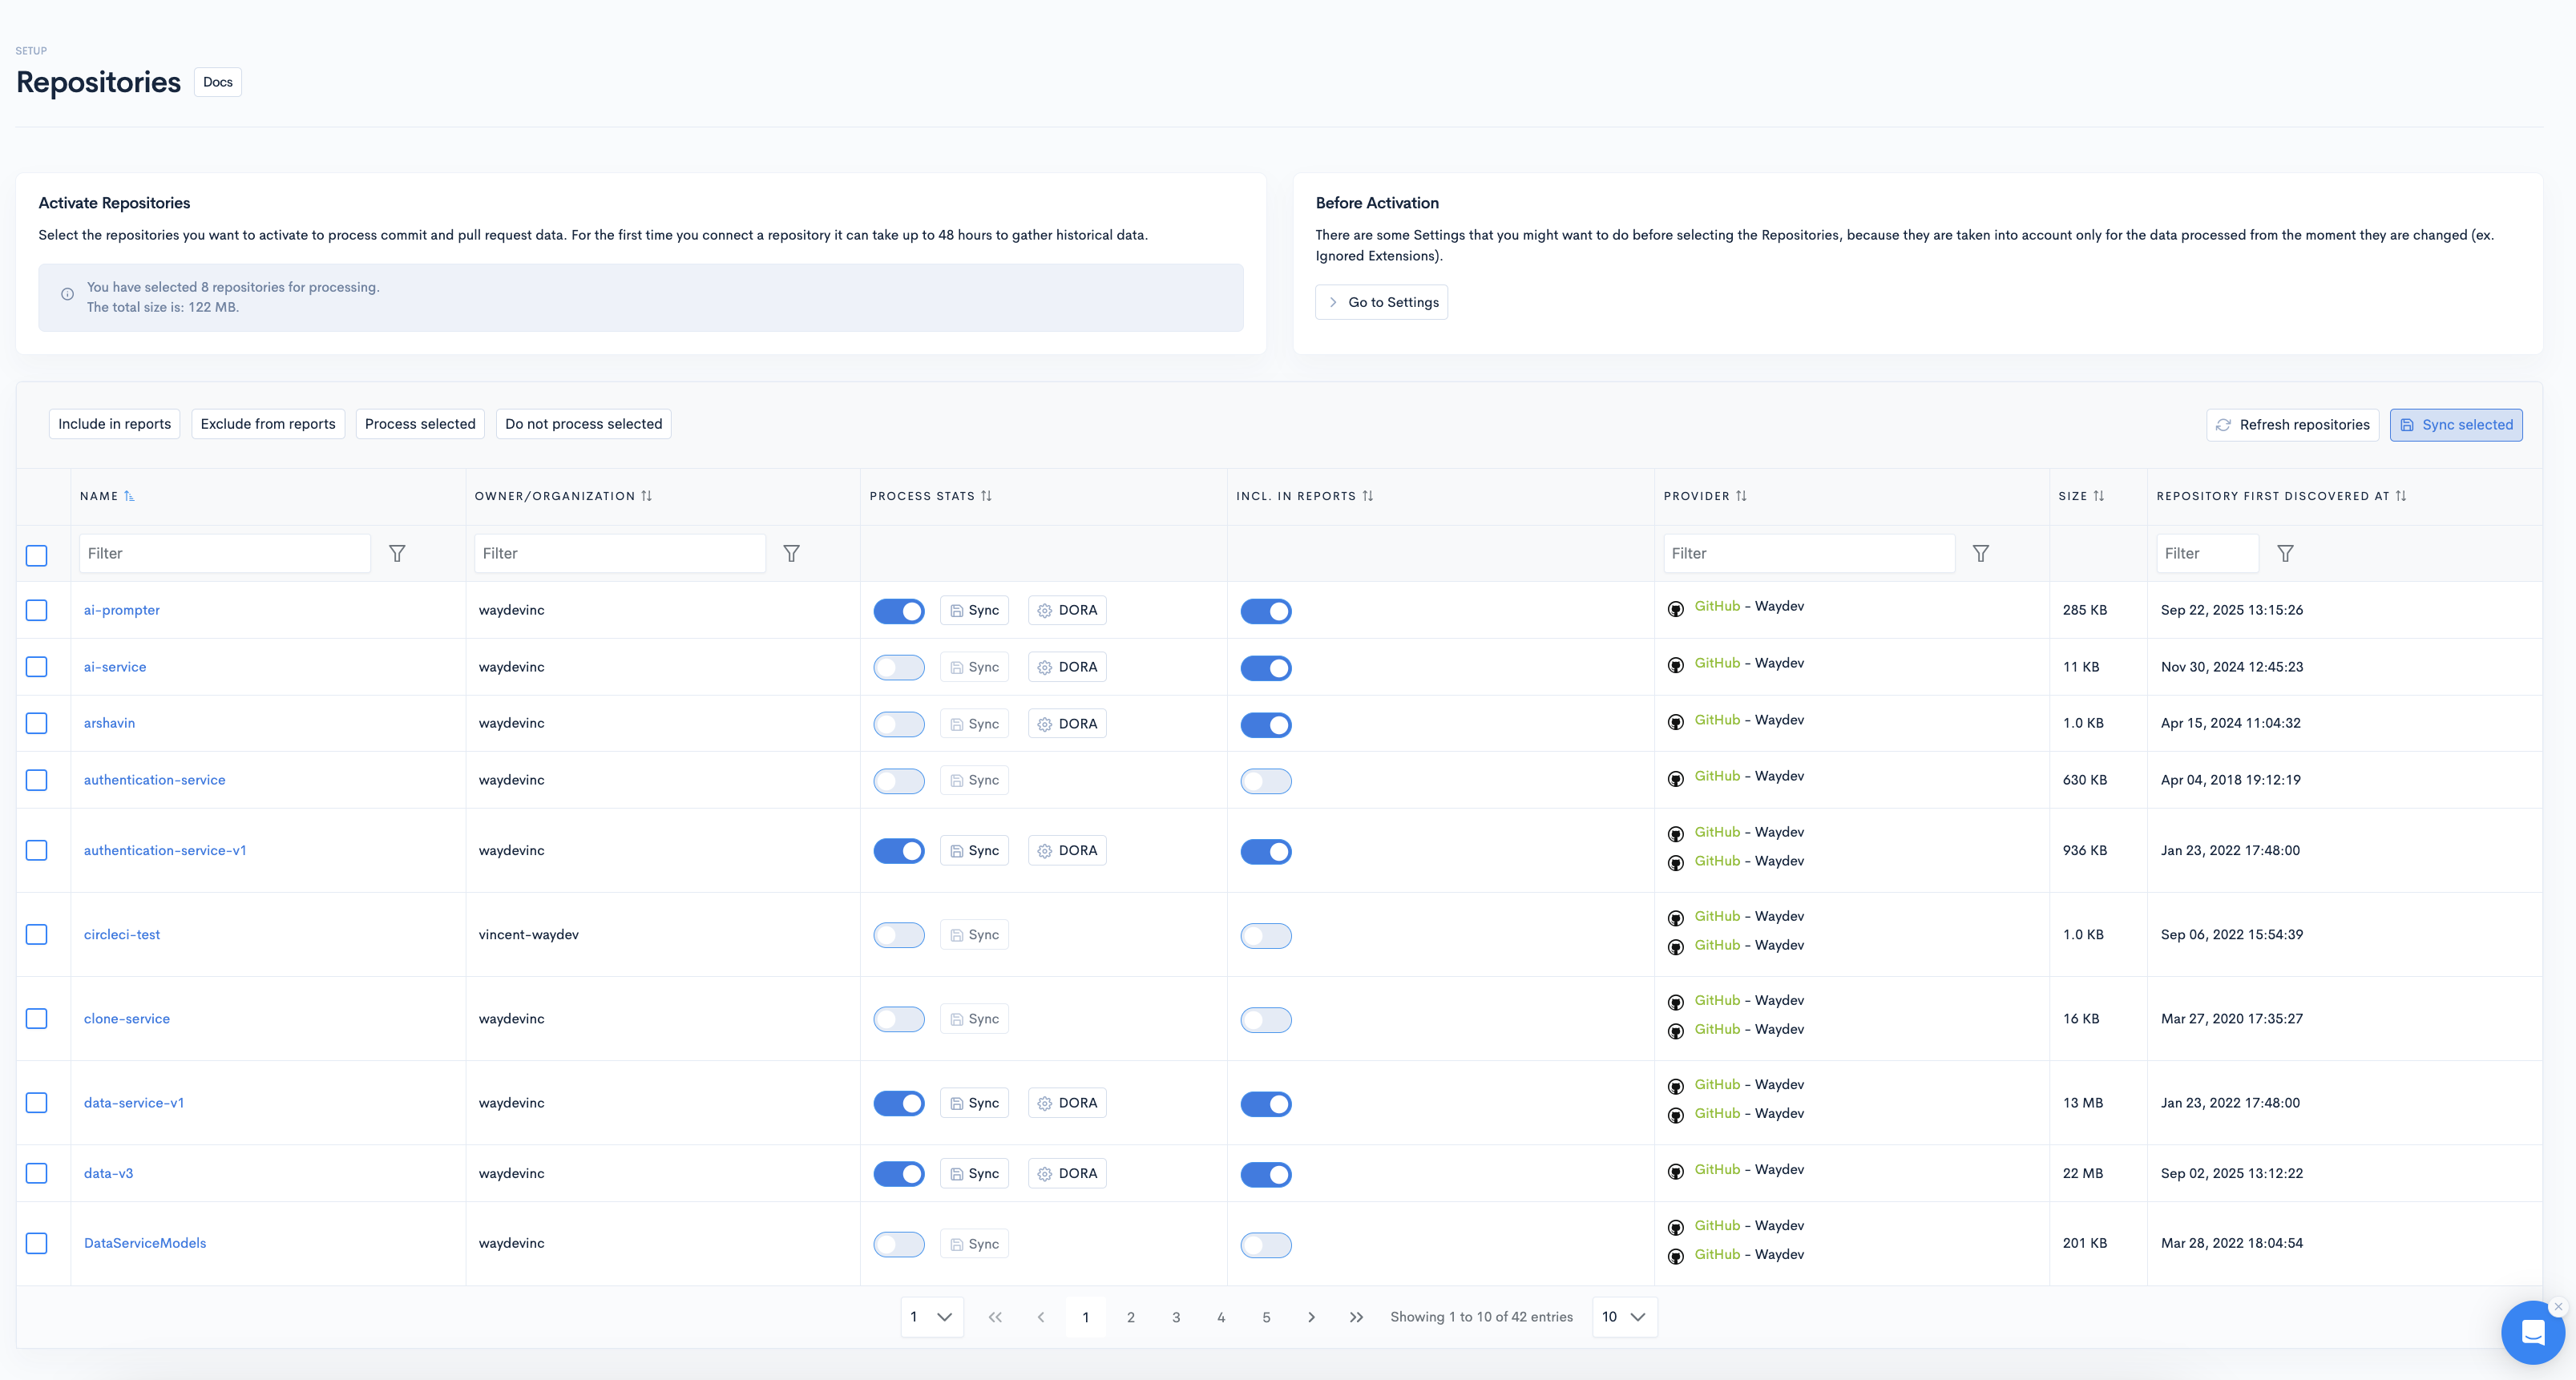
After the connection is done, you will be redirected to the ‘Repositories’ page, with a message of success. Now you’ll need to select relevant repositories for your project. You can select all or you can choose only the ones with data. We recommend selecting only the repos with recent work. After you select the repos, click the ‘Sync selected’ button.
Step 4
We normally process the data in under 1 hour, but for the first time connections it can take up to 12 hours. Pull requests may take 24-48 hours to process completely.
GitHub Personal Access Token
If your Github organization uses SAML single sign-on, you will have to authorize your PAT in order to access internal resources. You can learn how to do this here.
‼️ You must perform this action every time you generate a new token or re-generate an expired one.
Steps 1-5
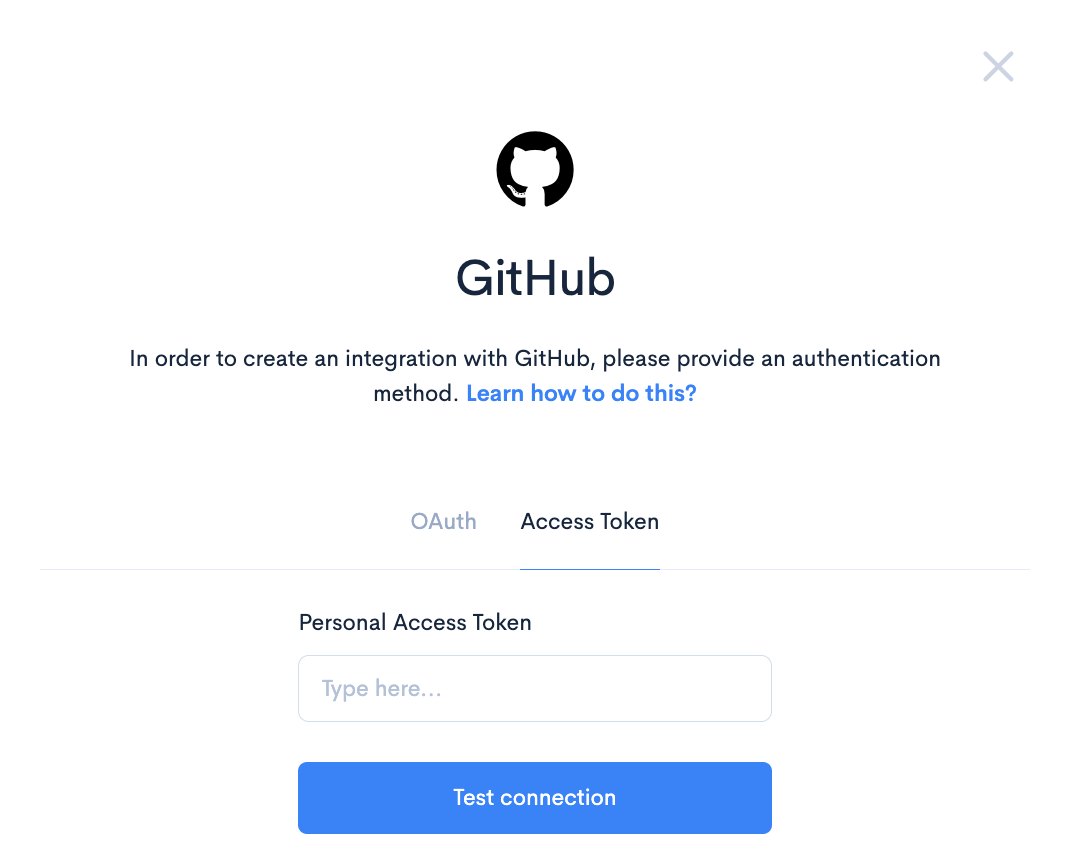
- Step 1: Select the Access Token authentication method.
- Step 2: Navigate to Github.
- Step 3: In the upper-right corner of any page, click your profile photo, then click Settings.
- Step 4: In the left sidebar, click Developer settings.
- Step 5: In the left sidebar, click Personal access tokens.
Step 6
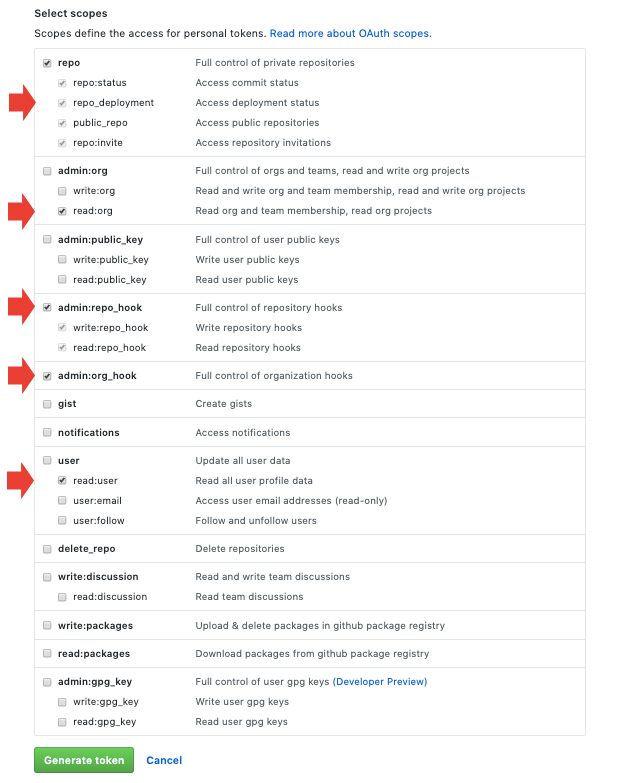
Click Generate new token. Select the scopes or permissions, you'd like to grant this token. To use your token to access repositories from the command line, select repo.
Step 7
Navigate back to Waydev, paste the token in the Personal Access Token field in the GitHub modal, and click Test connection.
Updated 3 months ago