

Jira
Jira
- Step 1: Navigate to Atlassian's API Token Manager, and click Create API token.

- Step 2: Choose a label for your API token, and click Create.

- Step 3: Copy the generated API token.

- Step 4: In the Waydev app, navigate to Setup -> Integrations.
- Step 5: Click Jira, fill in the modal your Jira login email, your personal access token, and your Jira URL, and click Test connection.

The base URL is formatted like this: https://your-domain.atlassian.net
-
Step 6: Navigate to Setup -> Ticket Projects.
-
Step 7: Select the projects you want to process by toggling them on, then click Sync selected. If you create new projects in Jira, you need to click the Refresh Ticket Projects button to add them to the Ticket Projects page.

New Jira Configuration
Why Configure your Jira Tickets?It is important to Configure your Jira Ticket types in order to give you more accuracy regarding Project Costs
General Configuration:
Go to Menu -> Setup -> Integrations -> Jira Active Integration -> Configure
Configuration per ticket project:
Go to Menu -> Setup -> Ticket Projects -> Jira project -> Configure

In the first step, Jira's statuses can be mapped to their respective statuses.

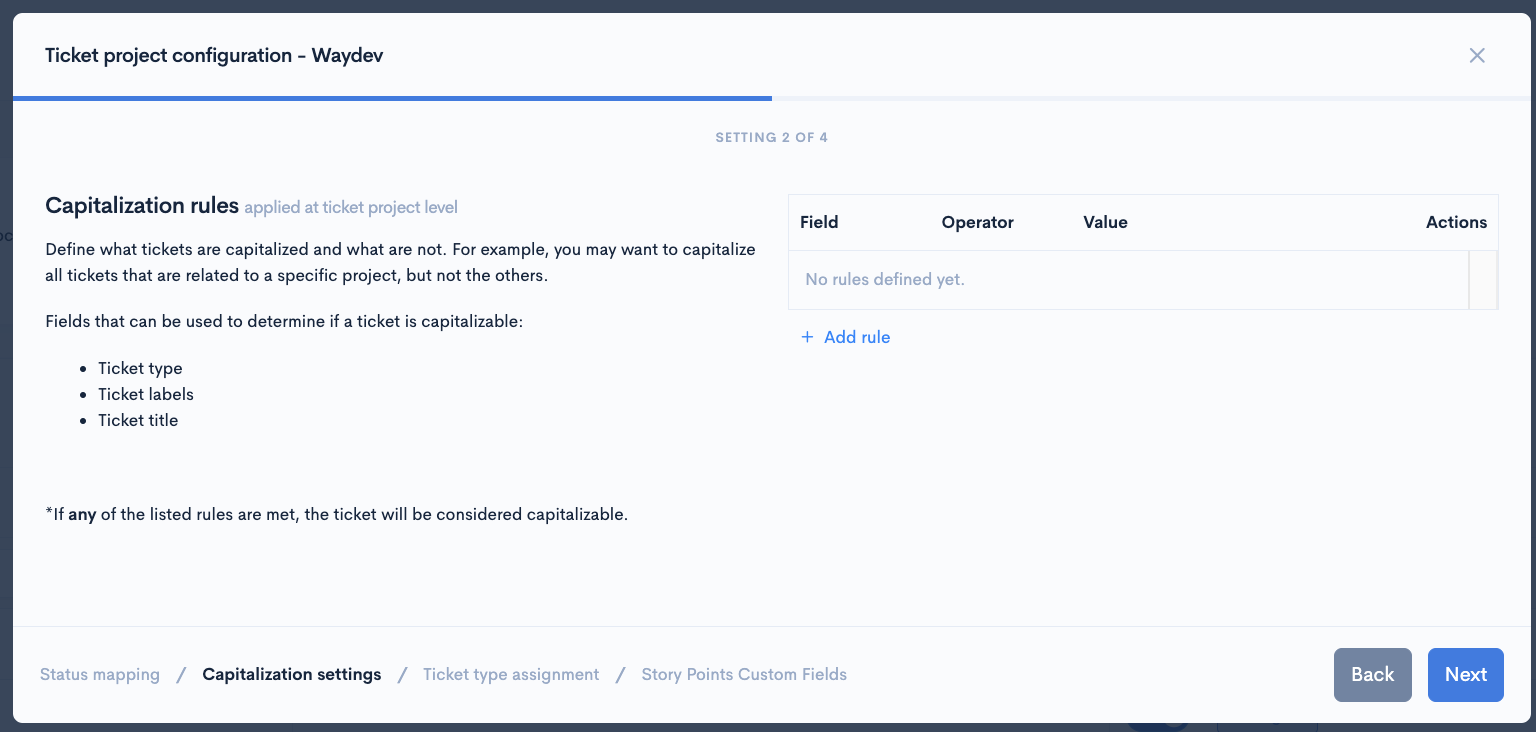
In the second step, setup the capitalization rules if necessary.
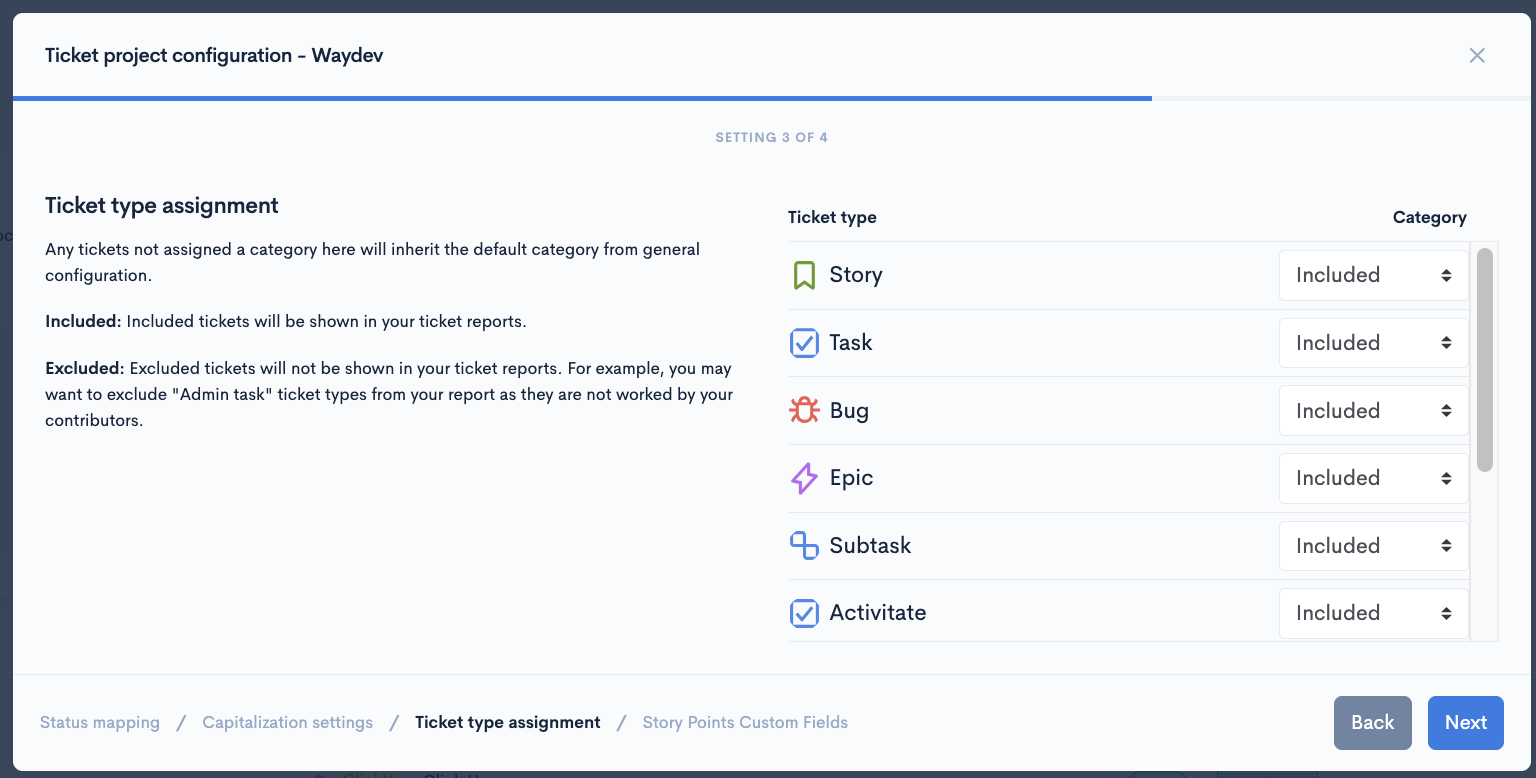
The third step allows you to include or exclude ticket types from tickets reports.
In the 4th step, you can configure the Story Points Custom Fields.
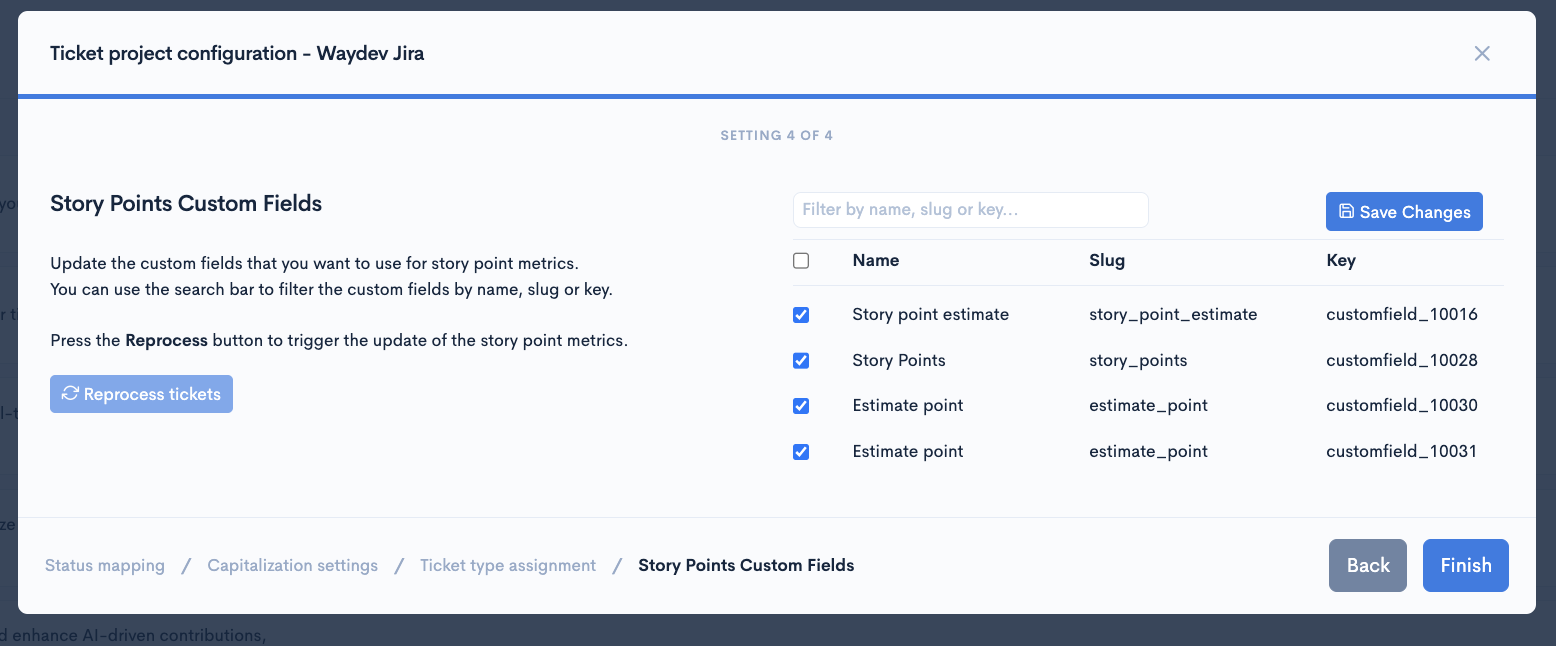
When done, click "Finish."
Updated 8 months ago