Configuring Waydev Enterprise
Following the process outlined in "Installing Replicated", you will be prompted with the configuration stage.
You will see several sections of configuration options. This document illustrates how to configure each.
Domain Configuration

This is the domain that you want the site to be available on for your users. This should be a full URL in the form of waydev.mycompany.com.
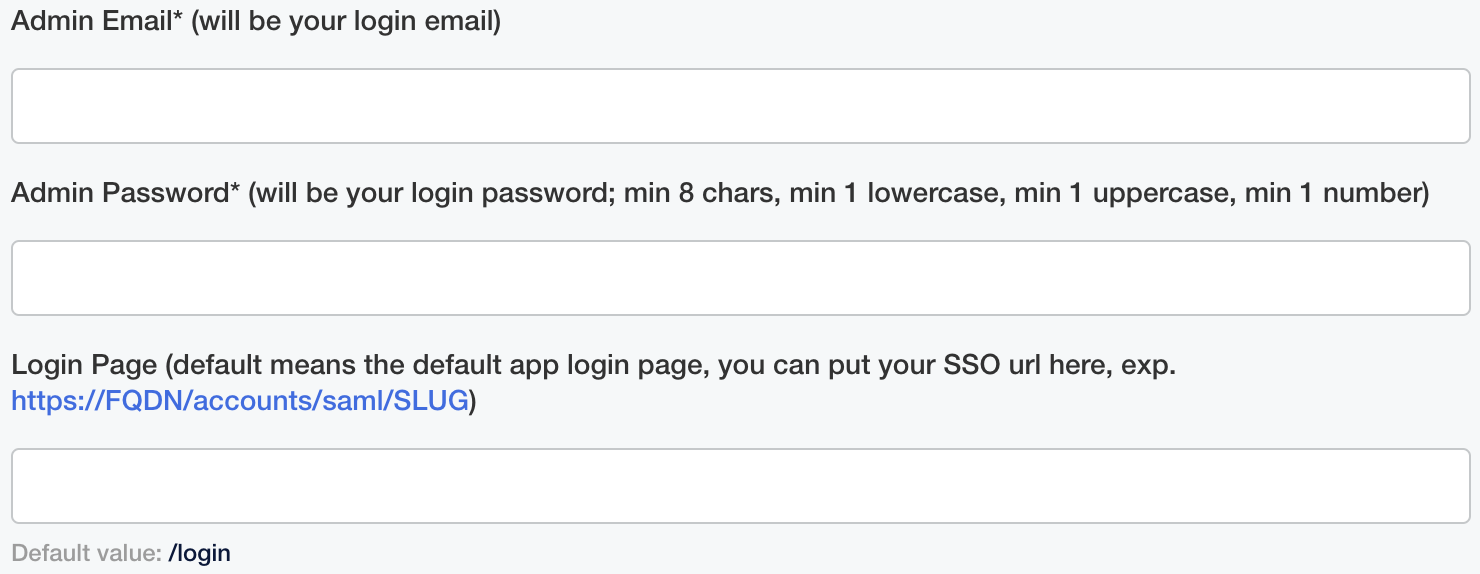
Login Details

Here you will have to configure your login email and password. The password must mandatory contain min. 8 characters, 1 lowercase, 1 uppercase and 1 number, otherwise the login will fail. If you are using an SSO login, please paste the URL accordingly.
Advanced Settings
This section contains advanced settings regarding SSL certificates, proxies and HTTP basic checks. It is recommended to leave those fields empty if you do not require those settings or if you already uploaded a certificate.
Email settings
Waydev sends weekly and monthly email reports containing summaries of your teams activity, as well as confirmation and invitation emails. If you require those features, please complete this section so that the application can access the email server for sending those emails.
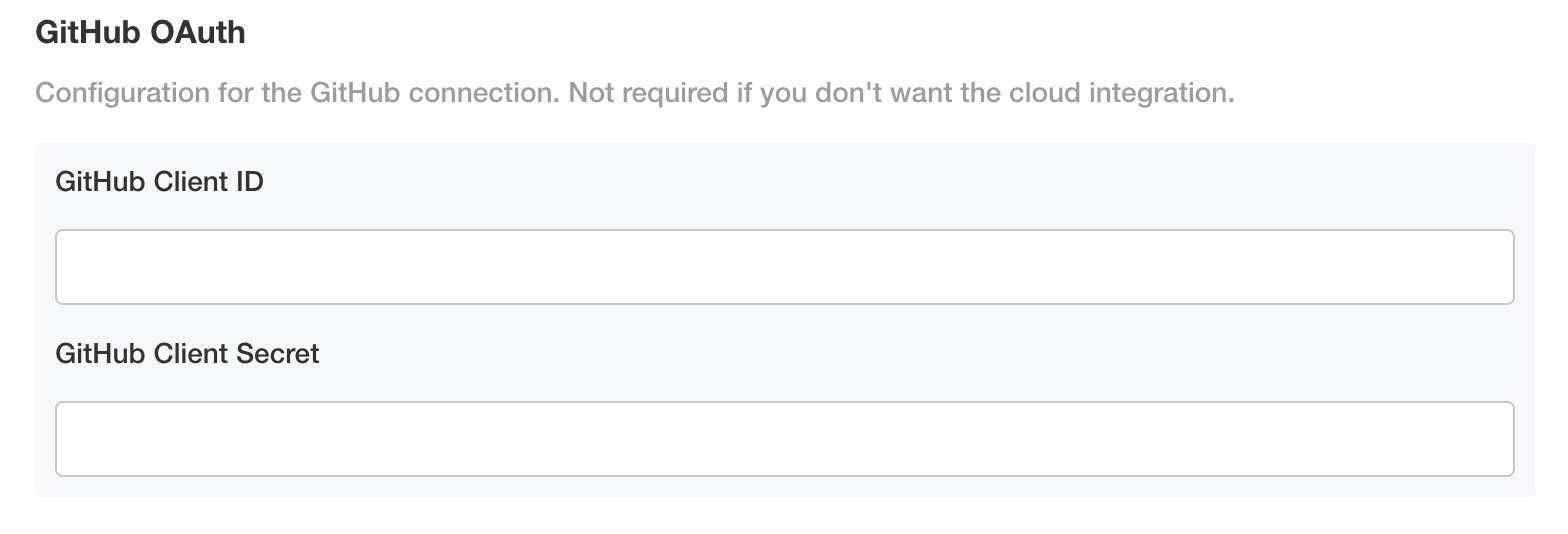
Cloud OAuth applications settings

If you have a cloud solution for the integrations that you want to add, you will need to create and configure an OAuth application if you want to establish this type of connection (for most integrations we also support authentication via personal access token, which we recommend over OAuth).
BitBucket Settings
If you use BitBucket Server, ignore this step. If you use BitBucket Cloud, complete the fields with the key and secret pair generated from BitBucket.

GitLab Settings
If you use GitLab Enterprise, ignore this step. If you use GitLab Cloud, complete the fields with the key and secret pair generated from GitLab.

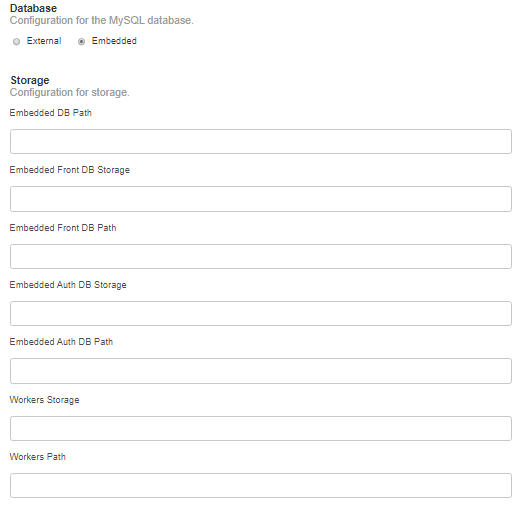
Database Settings
This section controls how Waydev communicates with the required MySQL database. As mentioned in previous documents, Waydev Enterprise requires a MySQL database.
External Database Settings
- The fields available to you are as follows:
- Front Database Host: This is the hostname or IP address of the database server.
- Front Database Port: This is the port of that server.
- Front Database Name: The name of the database you created on the server.
- Front Database Username: The user that has ownership rights to the database.
- Front Database Password: The password for that user.
Embedded Database Settings

If you choose to use the embedded database method, you will be prompted to enter a directory on the server where MySQL can store data. This allows us to persist your data between system restarts. We recommend keeping all the storage-related fields as default (do not insert any value).
It must be set to file permissions mode 0725 or rwx-w-r-x. It must be owned by root:root.
The directory must be empty when you start the installation. MySQL will place its database files in this directory.
Workers Path
This section is where you define the location of temporary storage for your repository data. In the field "Workers Path", simply enter the path on the server that you prepared.
Finishing Up
Once you fill in all the fields above correctly, you can hit save. At this time, the Replicated framework will persist the data and restart all the Waydev Enterprise services so that they can take effect. If this is the first time the server has started, or the first restart after an upgrade, the database will be migrated forward to the latest schema and default data.
Preflight Checks
This screen shows all the checks that the system performs to validate that it can run. If any dependencies are not met, they will be called out in red.
Once you have validated that the checks are correct, you may choose to re-run the checks (if you've corrected them) or proceed anyway, ignoring any warnings.
Important noteYou should not skip warnings and errors here. Modify the system to meet proper specifications, especially for production machines.
Once that is complete, you should see the main dashboard screen.
Please note that the initial start of the application may take quite some time the first time it is installed. The dashboard will keep you informed of the status.
Updated 5 months ago