
Applications (Projects)
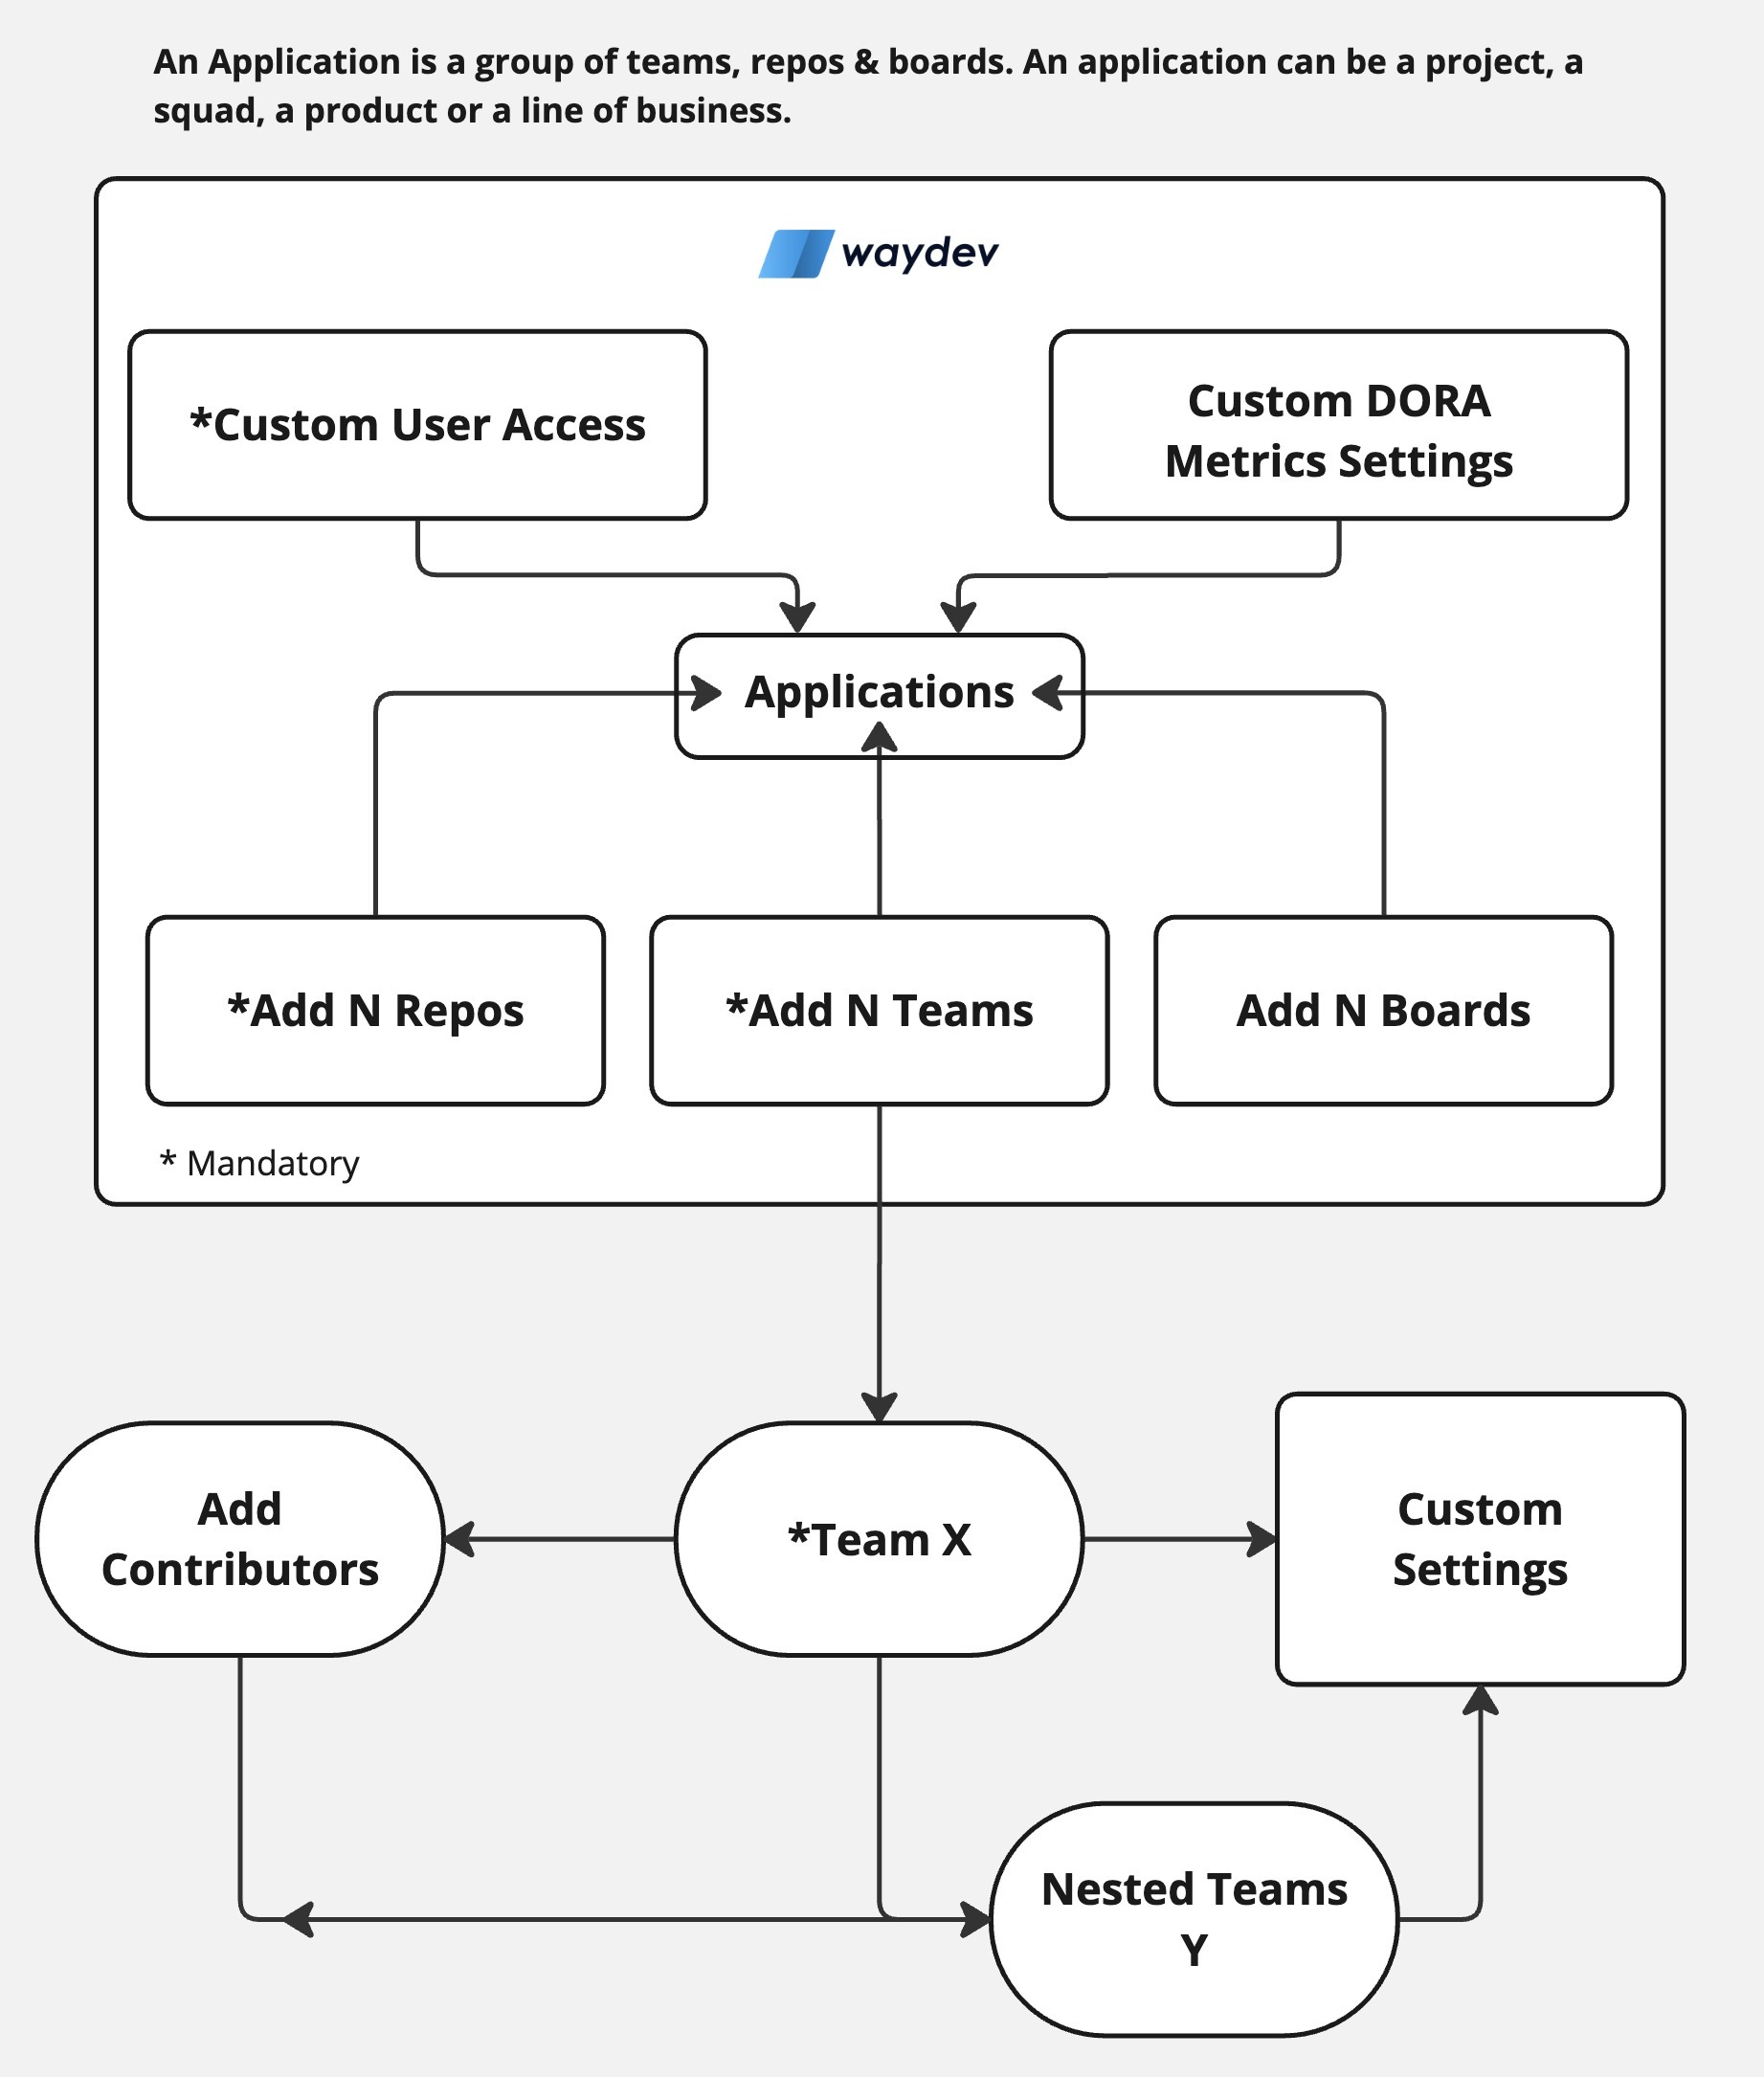
Applications in Waydev are used to group multiple repositories, teams, and boards into a single entity, allowing for more efficient management and filtering of reports. This feature simplifies tracking and analyzing project progress across various components.
How to create an Application
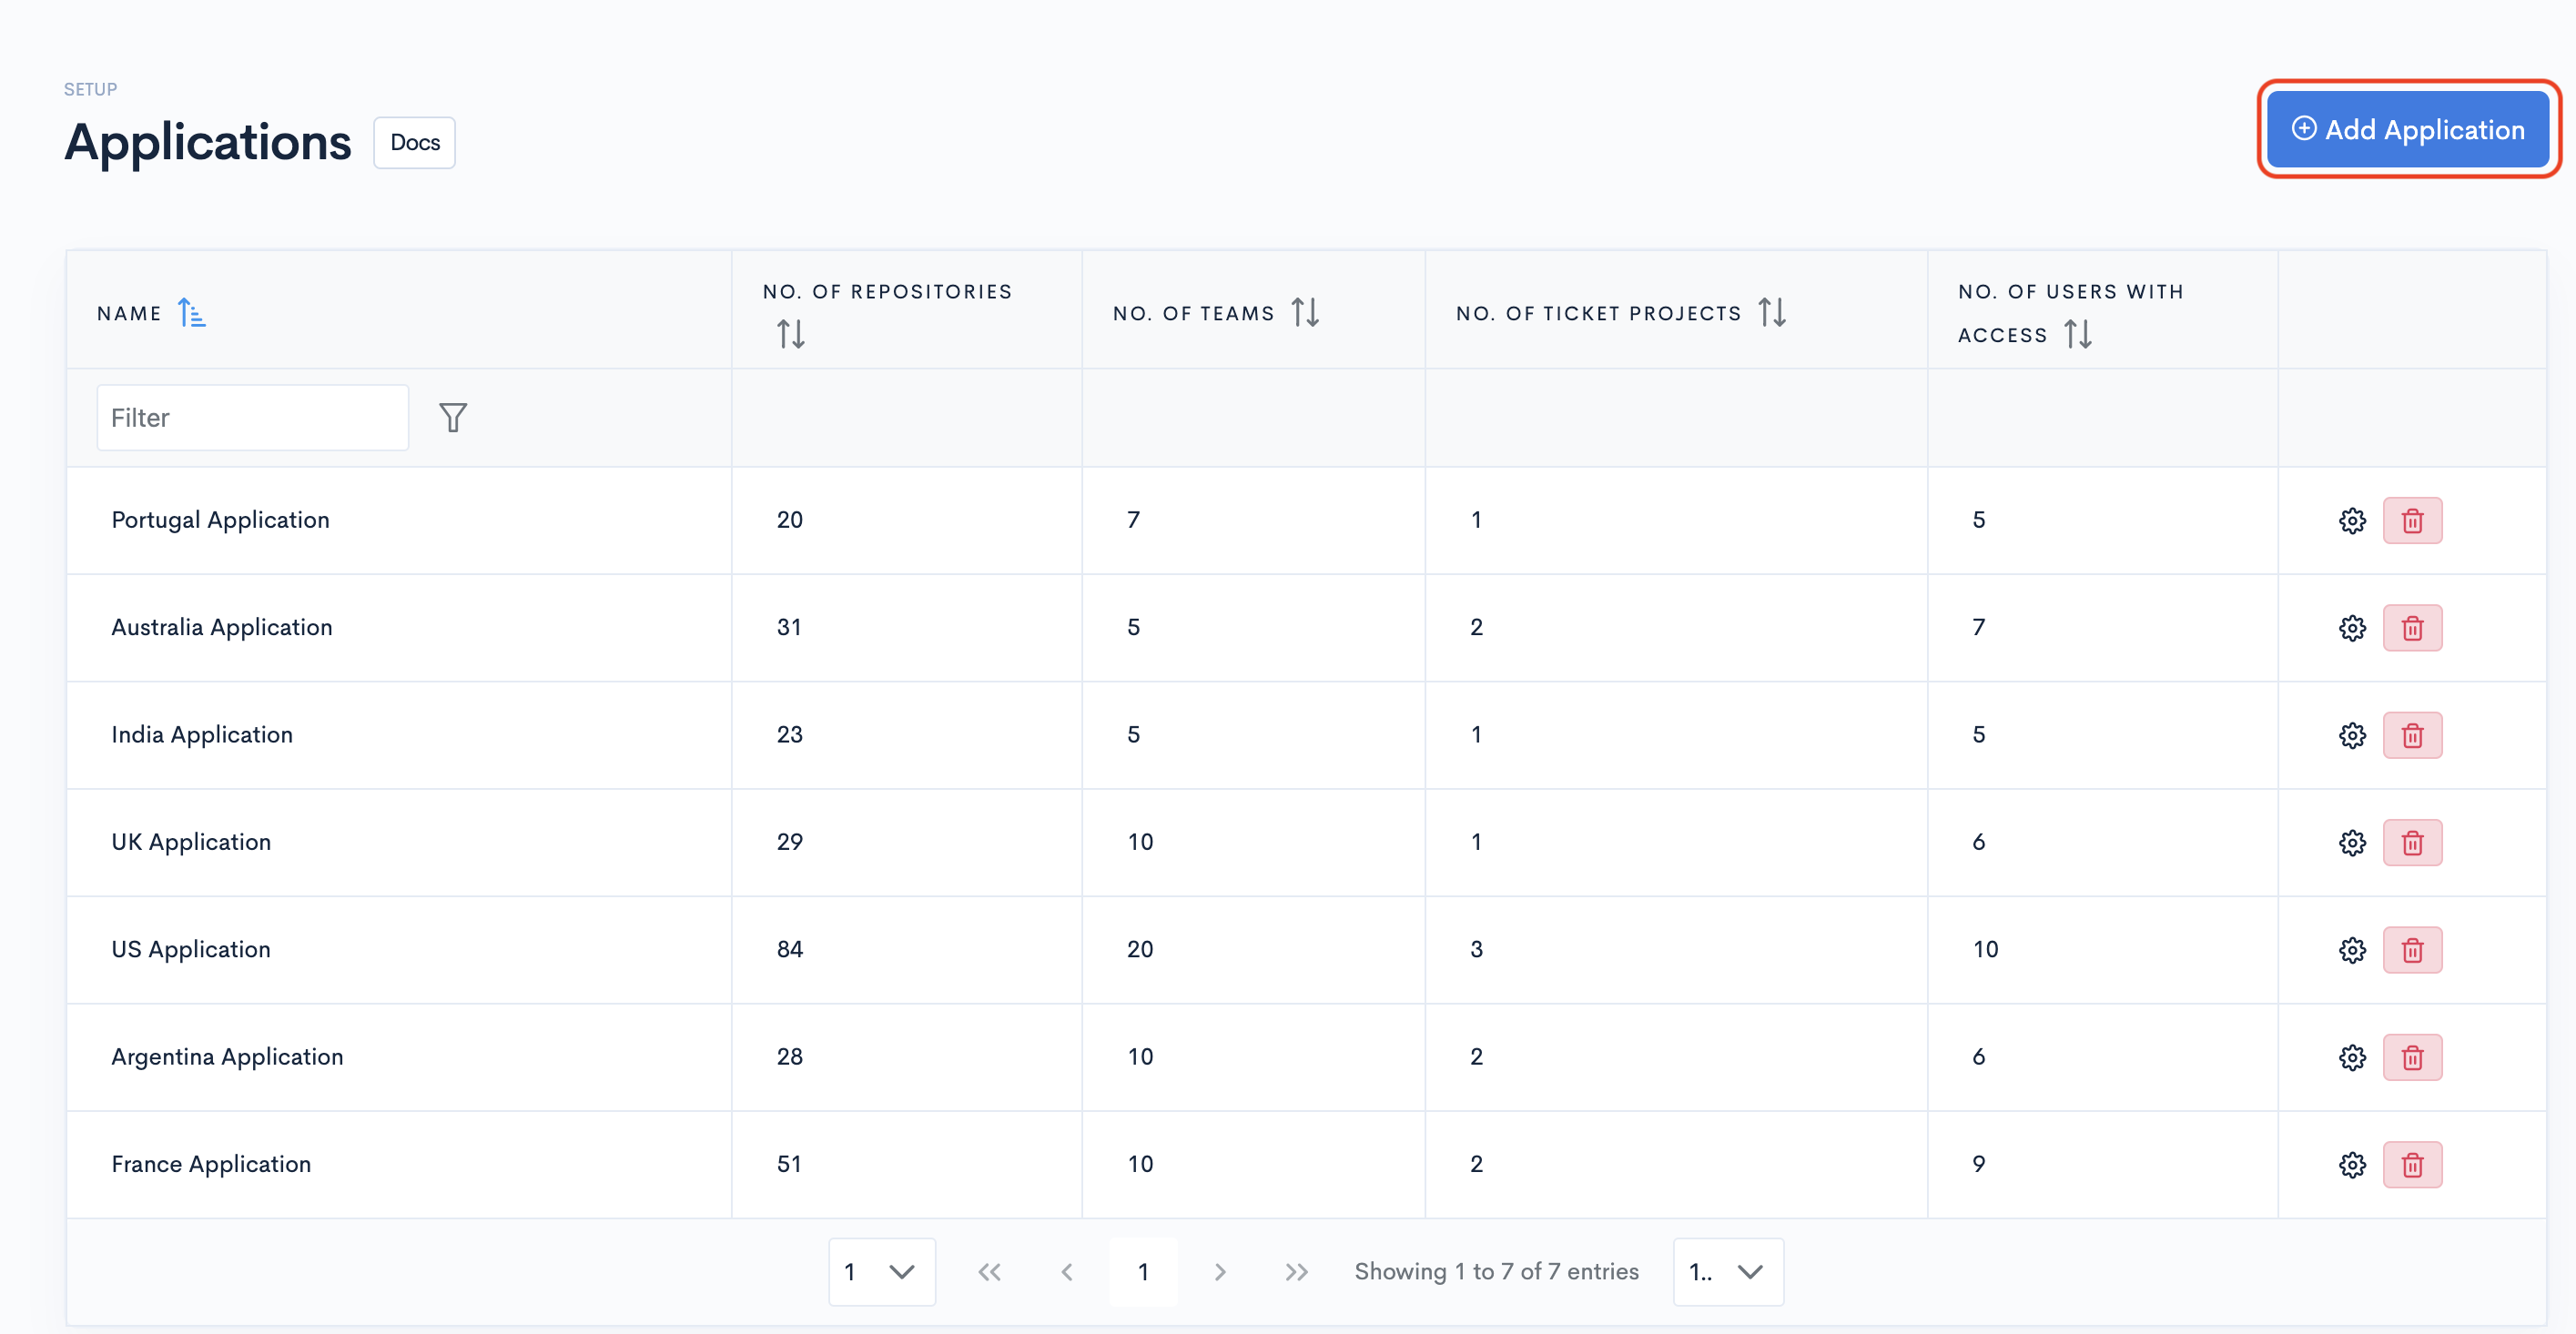
Step 1: To set up your Applications, navigate to Applications in the Setup section from the menu.
Step 2: Create an Application by clicking the Add Application button in the top-right corner of the table.
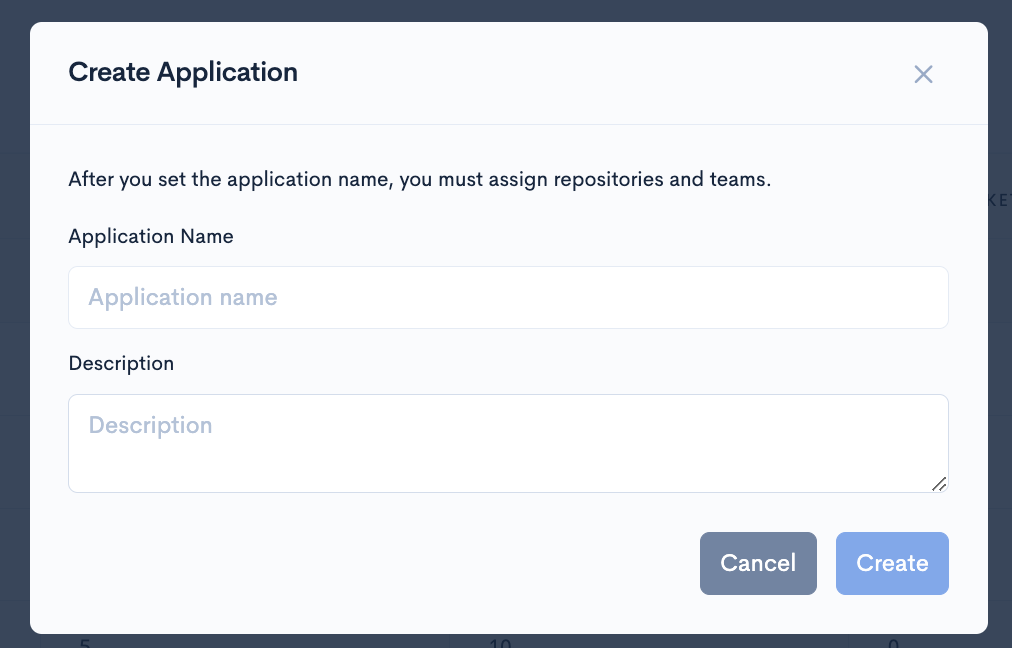
Step 3: Name your Application (required) and give it a description (optional) and click Create.
Now, click the settings button of the Application you just created.
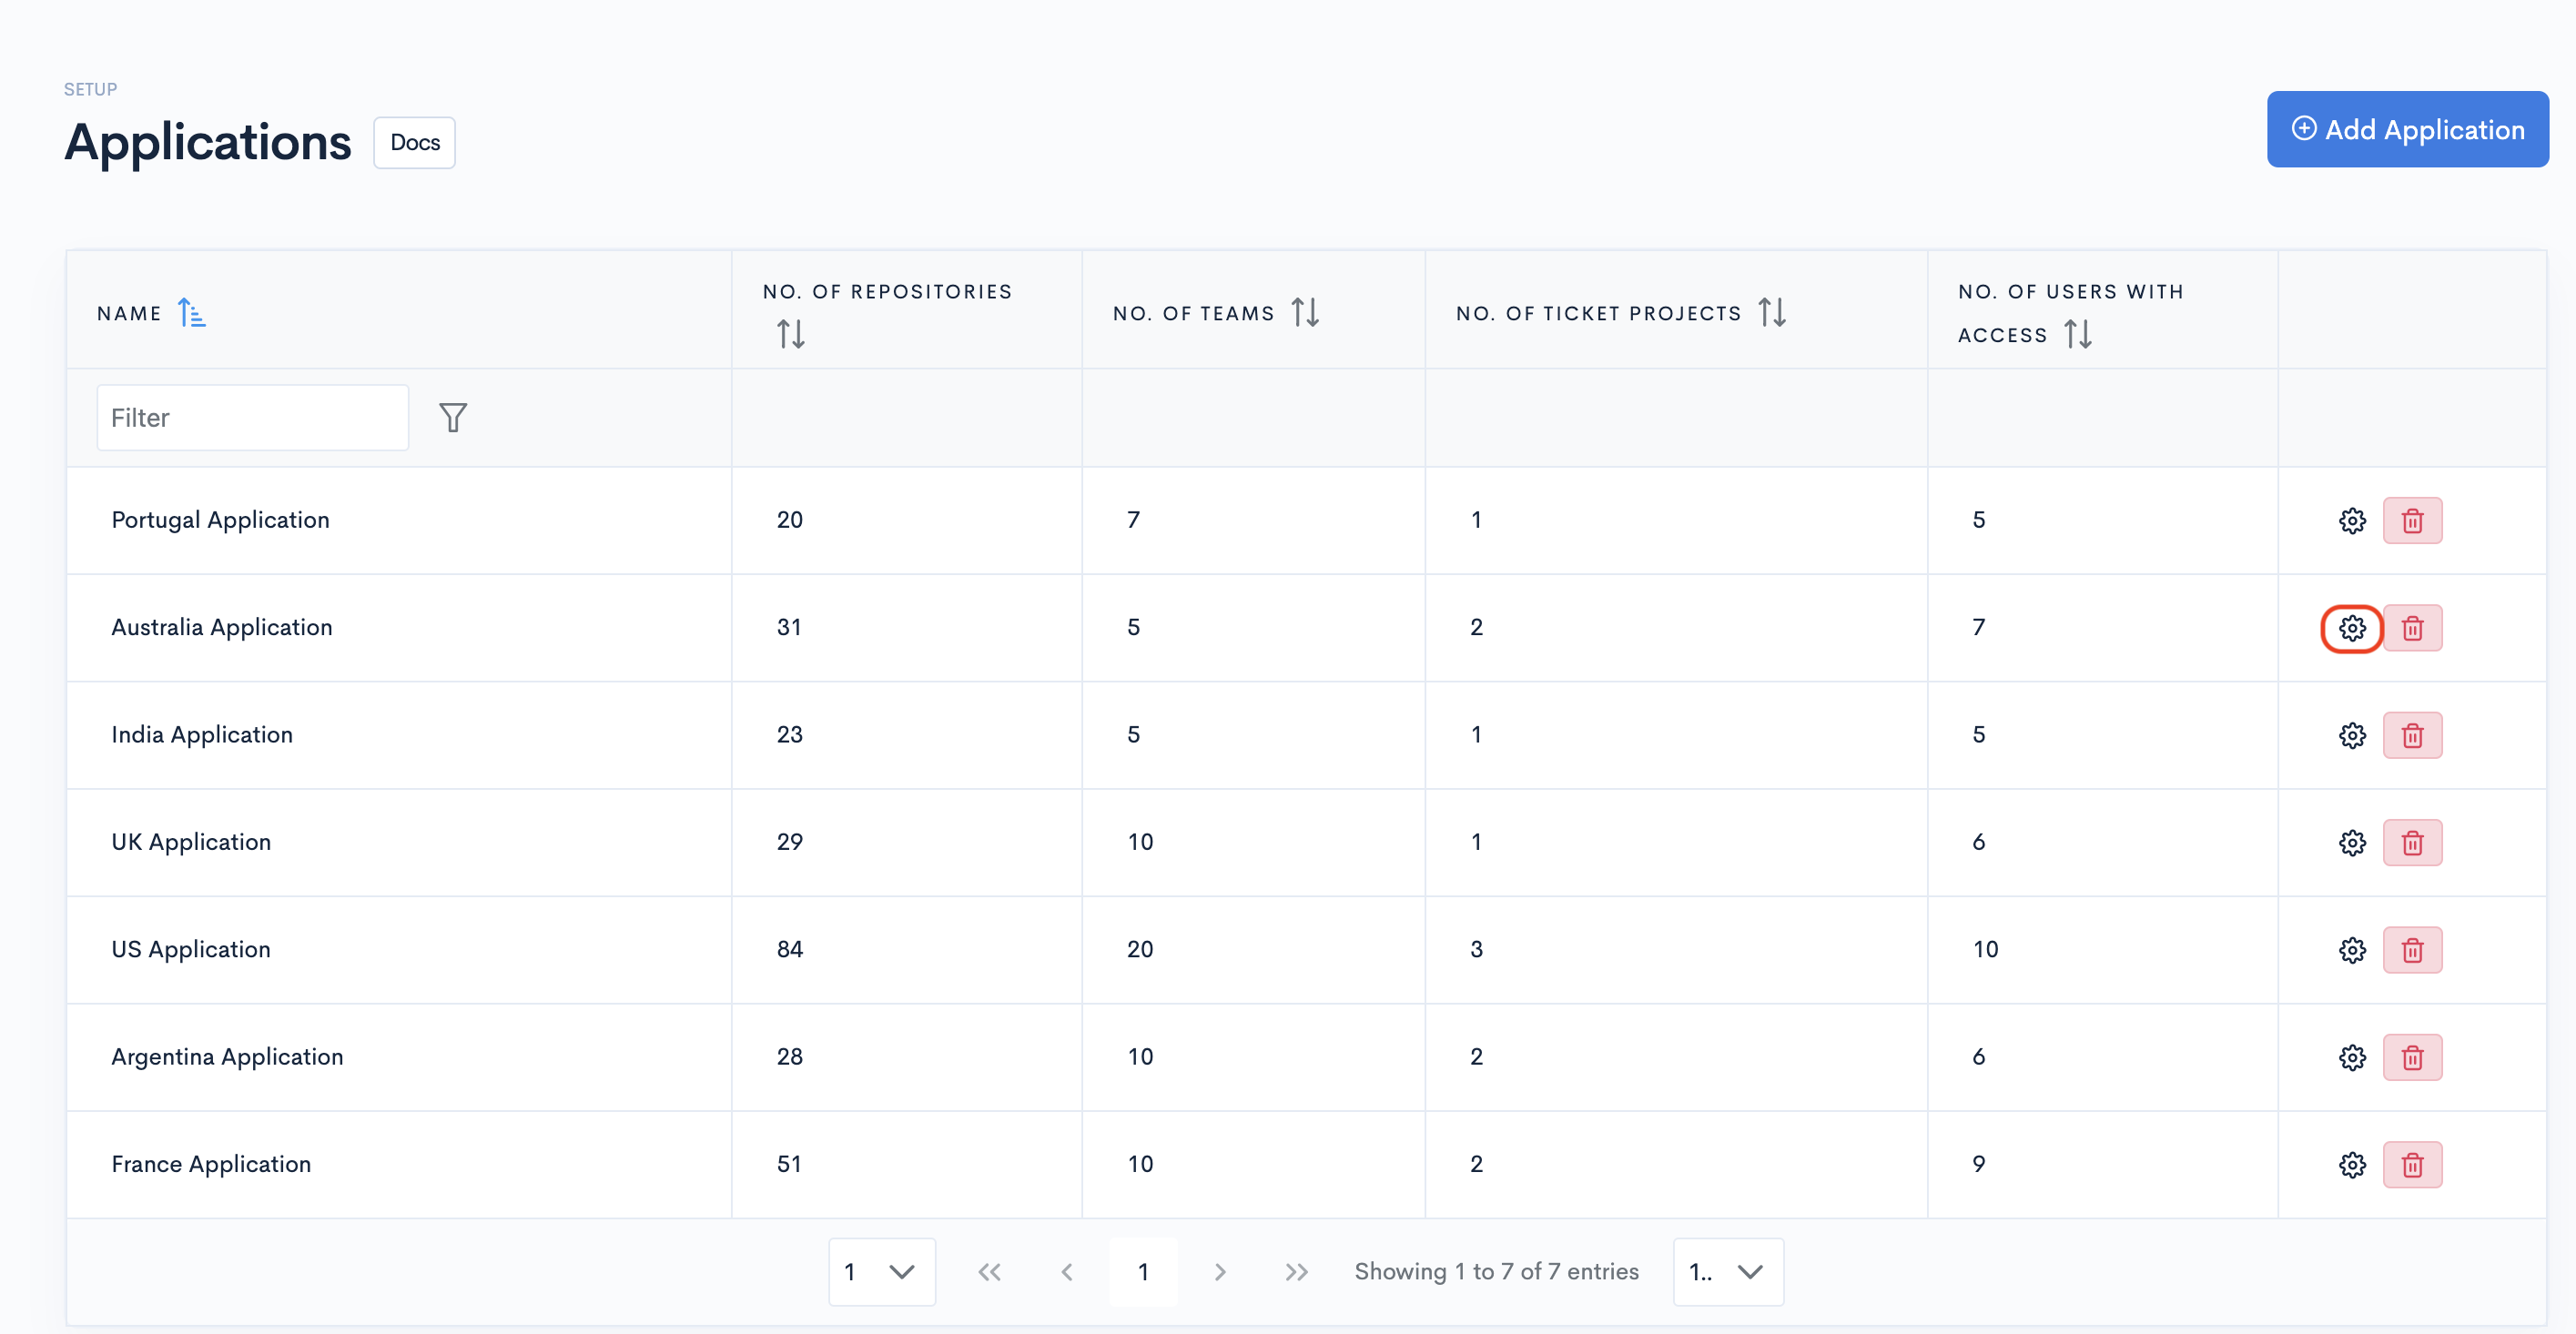
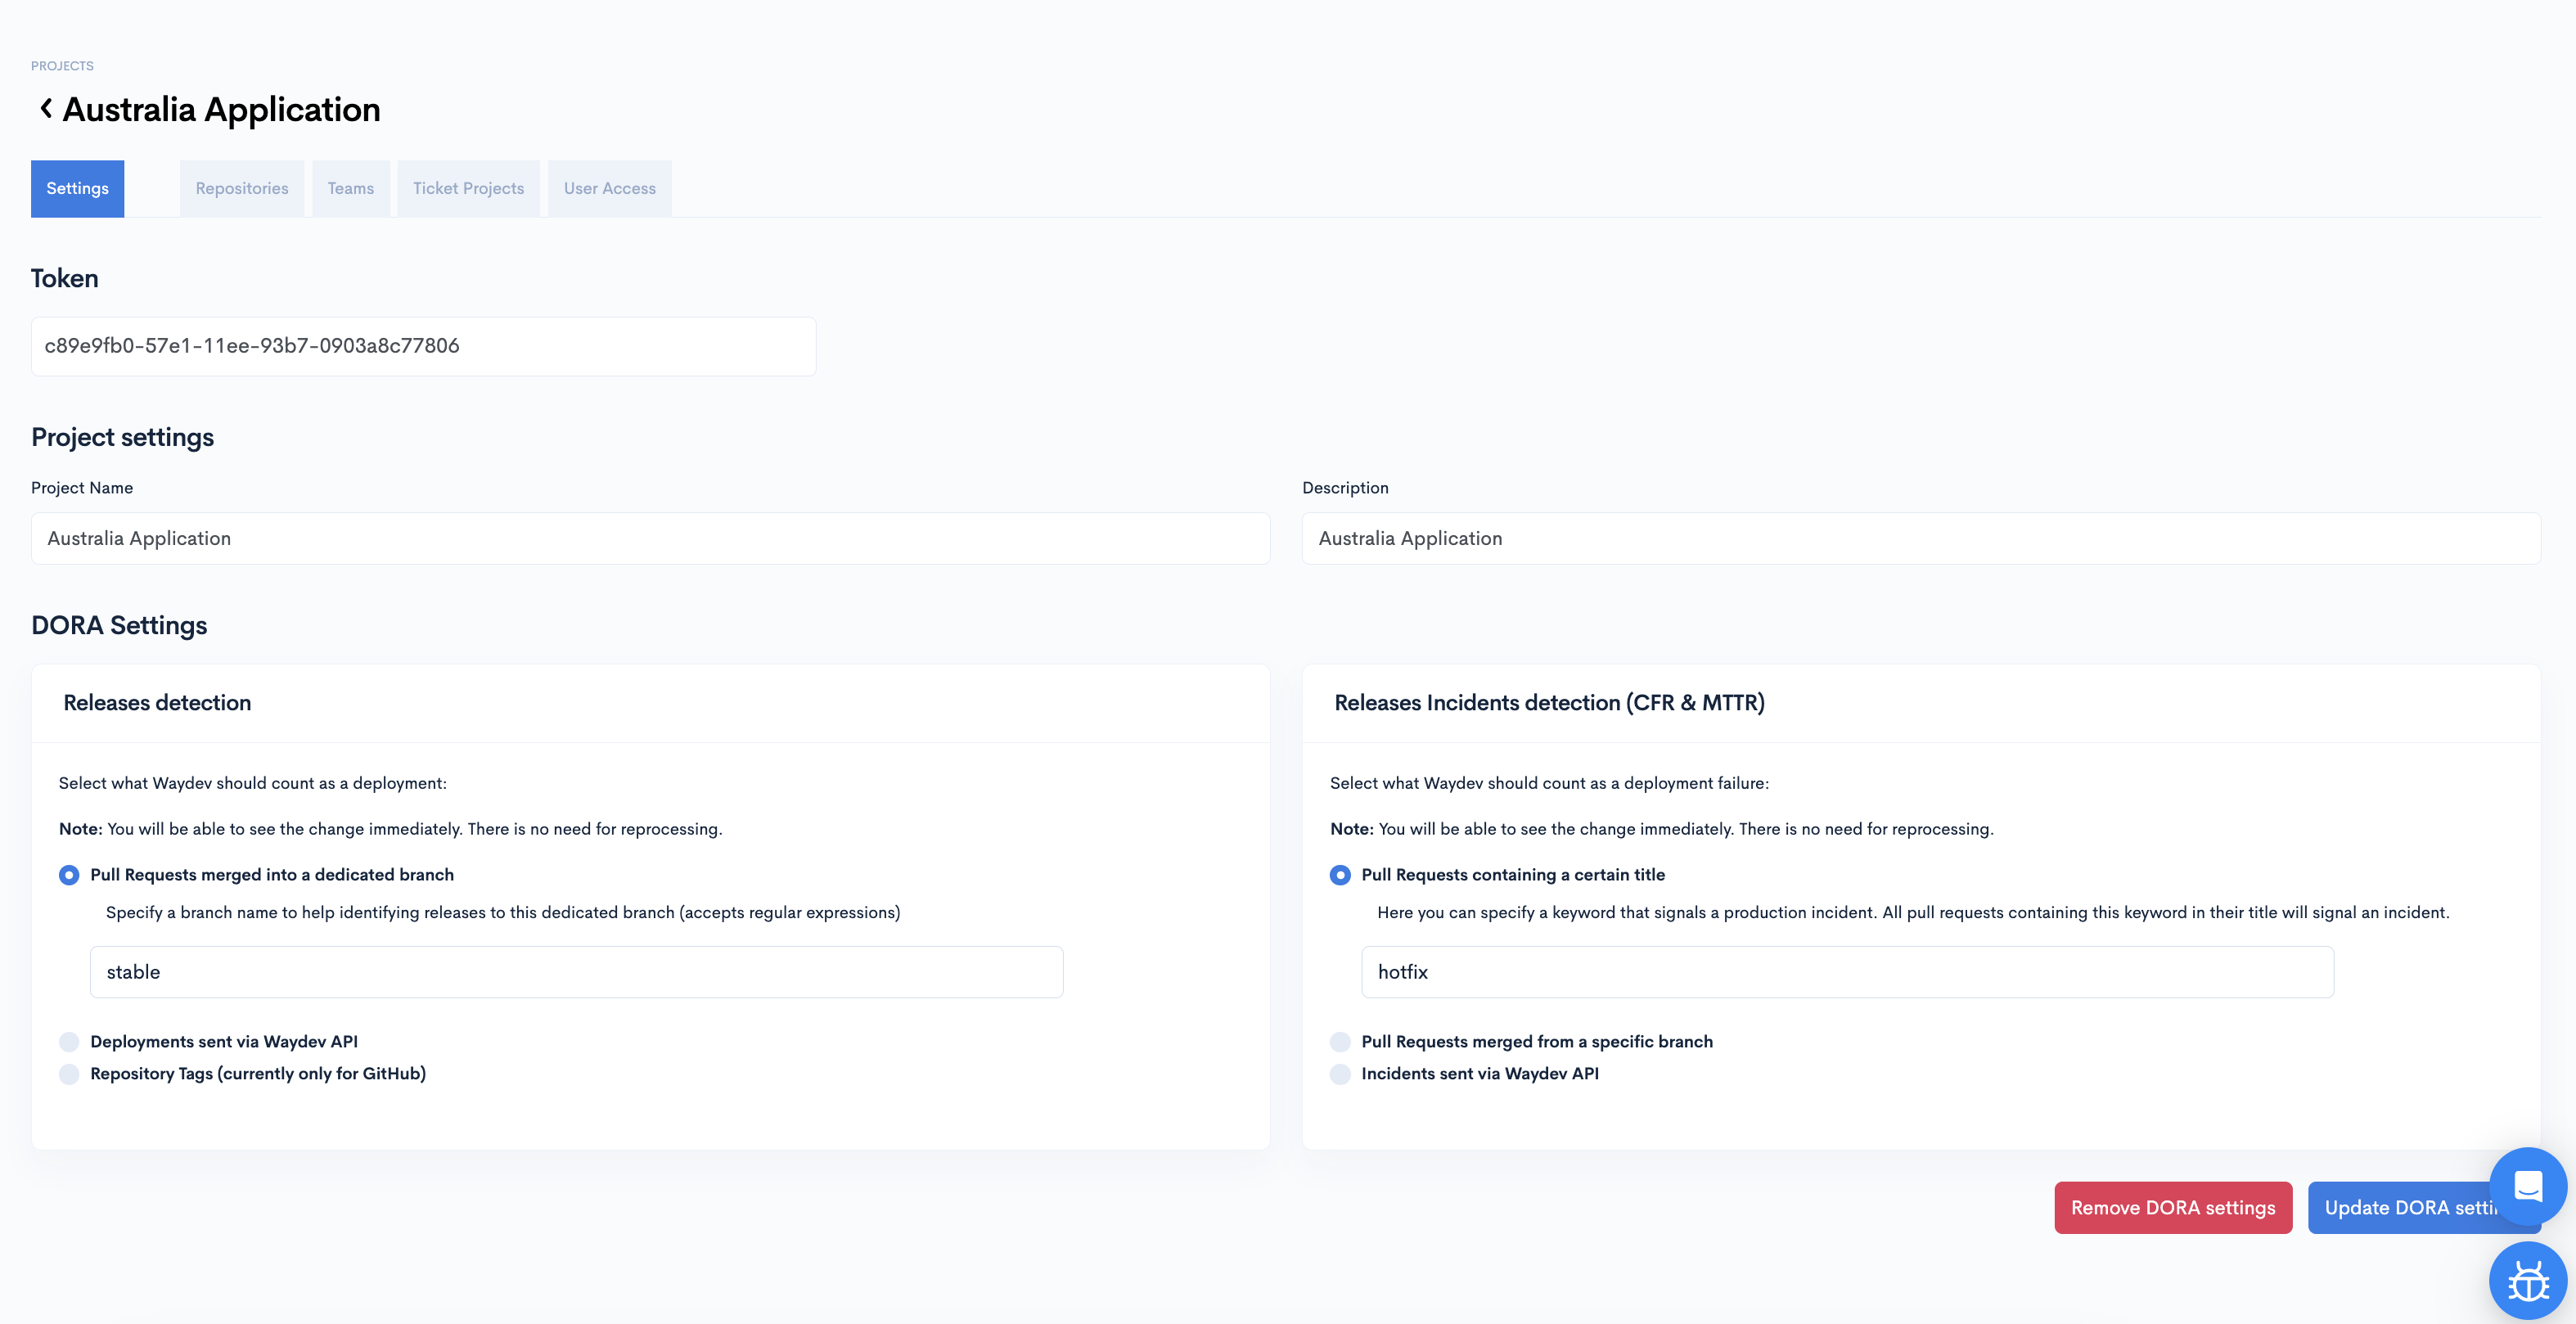
You will now have the option to Manage Repositories, Teams and Ticket Projects, manage User Access and set up DORA Metrics* for this application. Information on how to set up DORA Metrics can be found here.
*Please note that in order to setup Incidents from Tickets for the DORA Metrics you will need to go to Setup->Settings->DORA Metrics.
Step 4: Click the Repositories Tab.
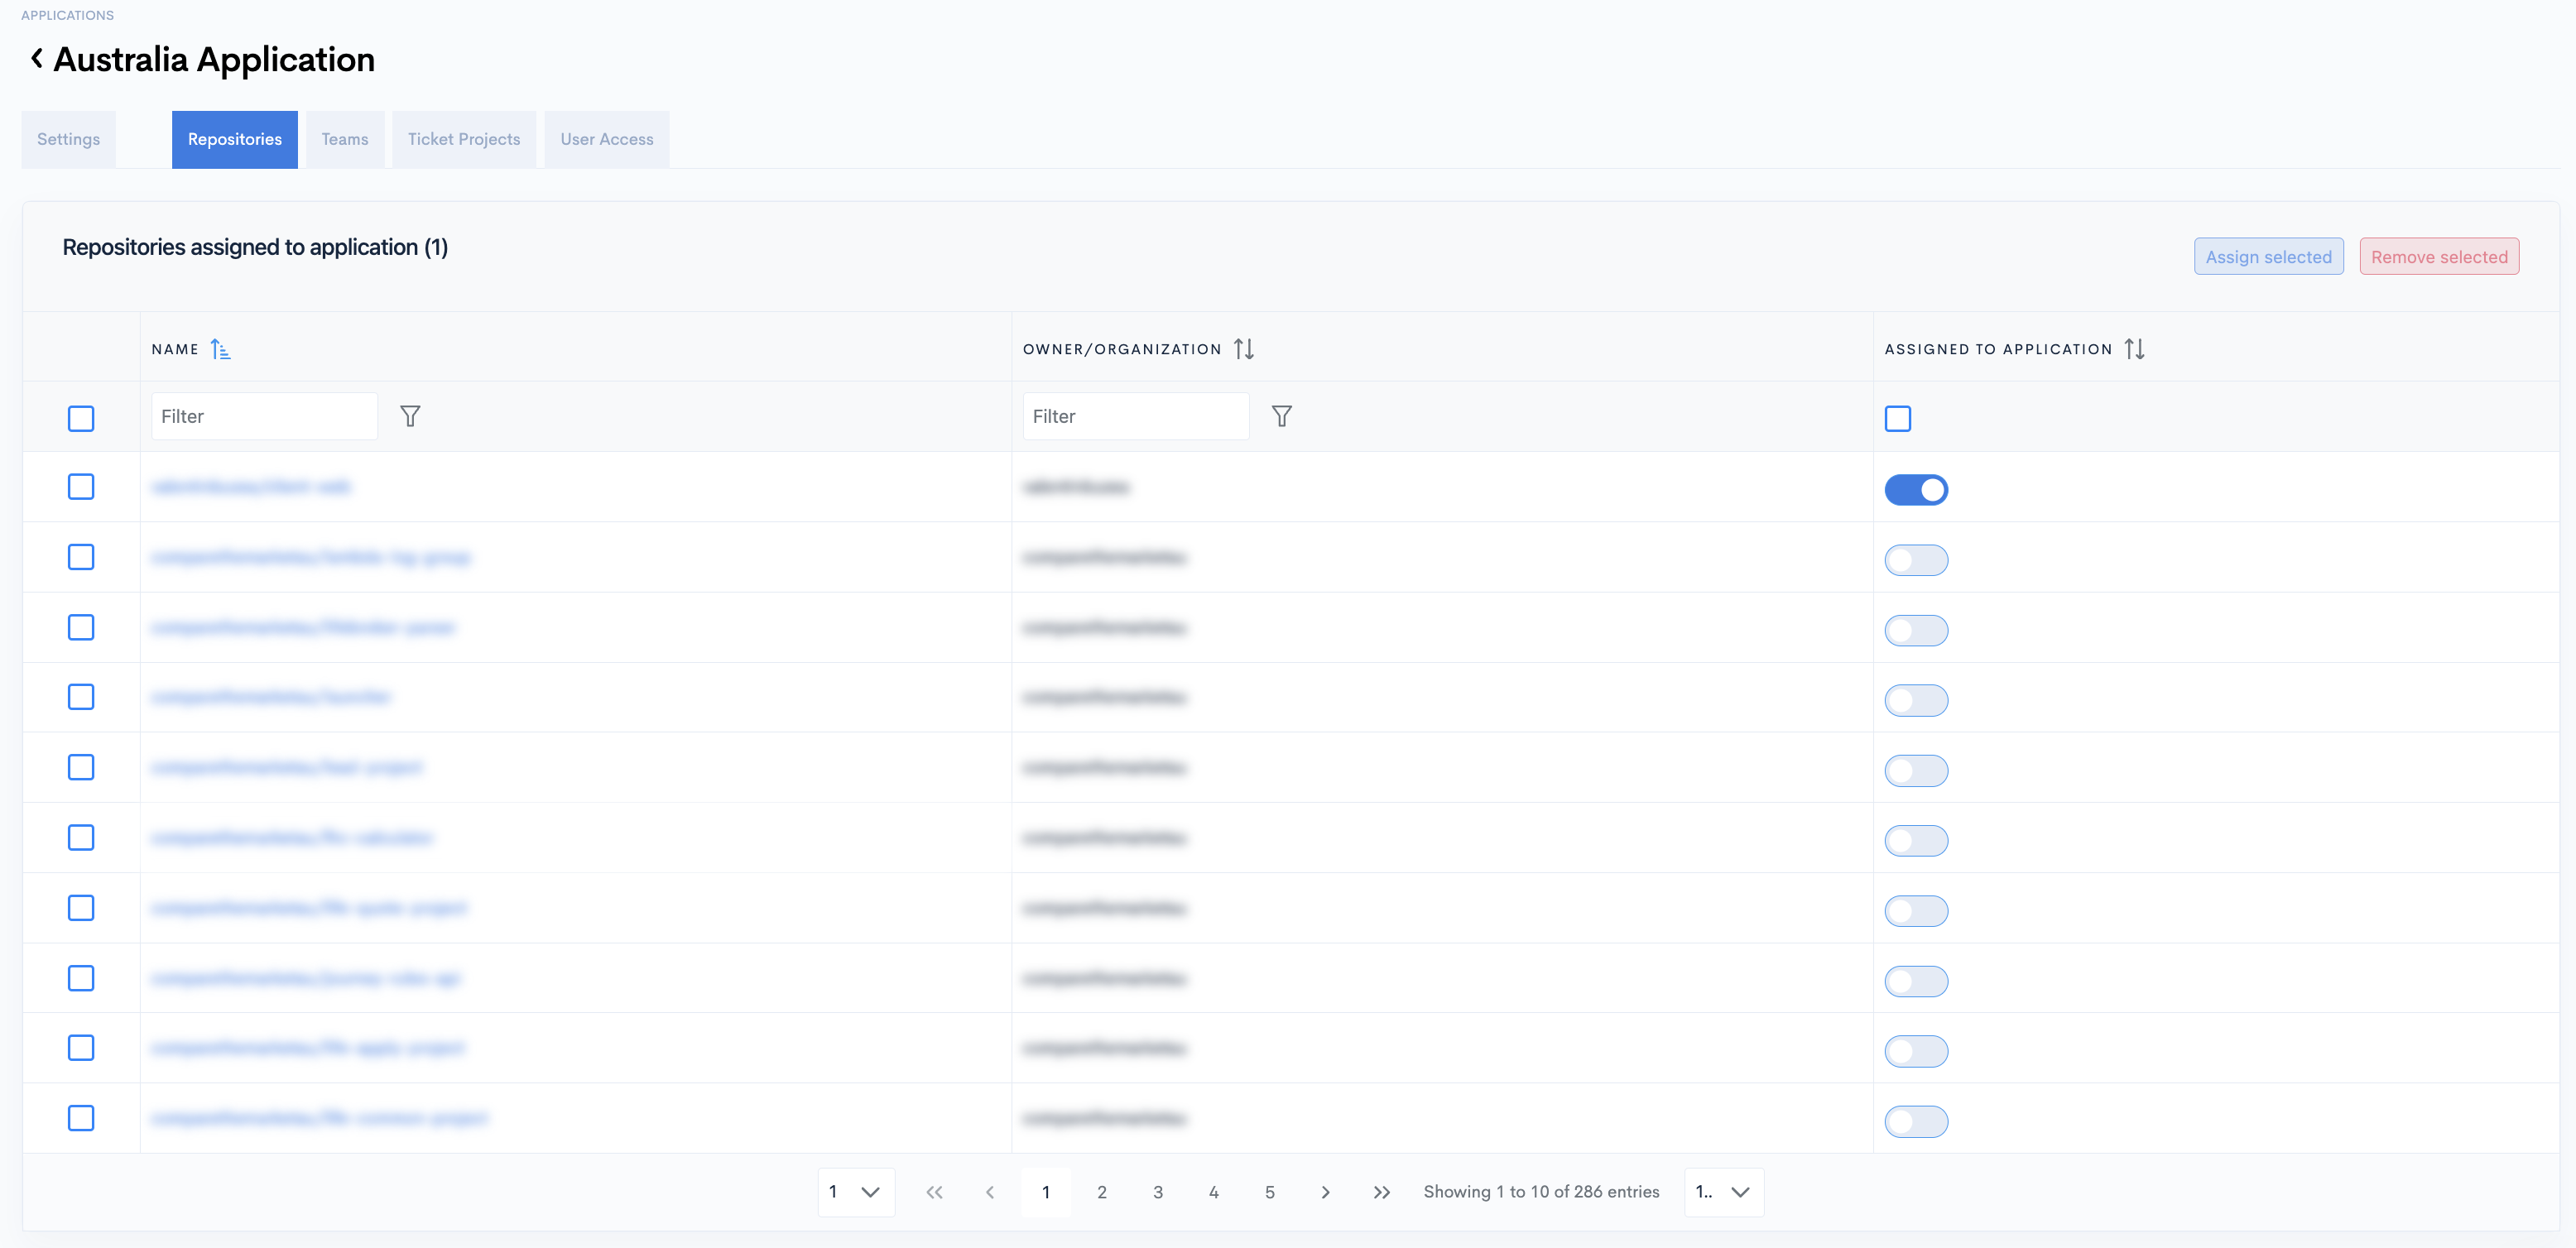
You must assign at least one repository to your application in order to see data!
Step 5: Select the repositories you want to assign to this Application (you will only see the repositories selected for sync on the Repositories page). More info on how to set up Repositories can be found here.
Step 6: You can assign repositories one by one by toggling on "Assigned to Application" or by selecting multiple repositories(1) and then clicking the "Assign selected"(2) button in the top-right. You can do the same to "Remove selected" repositories. When filtering this Application, you will only see data from these selected repositories.

Step 7: Once done, click the Teams tab to select the teams you want to assign to this Application.
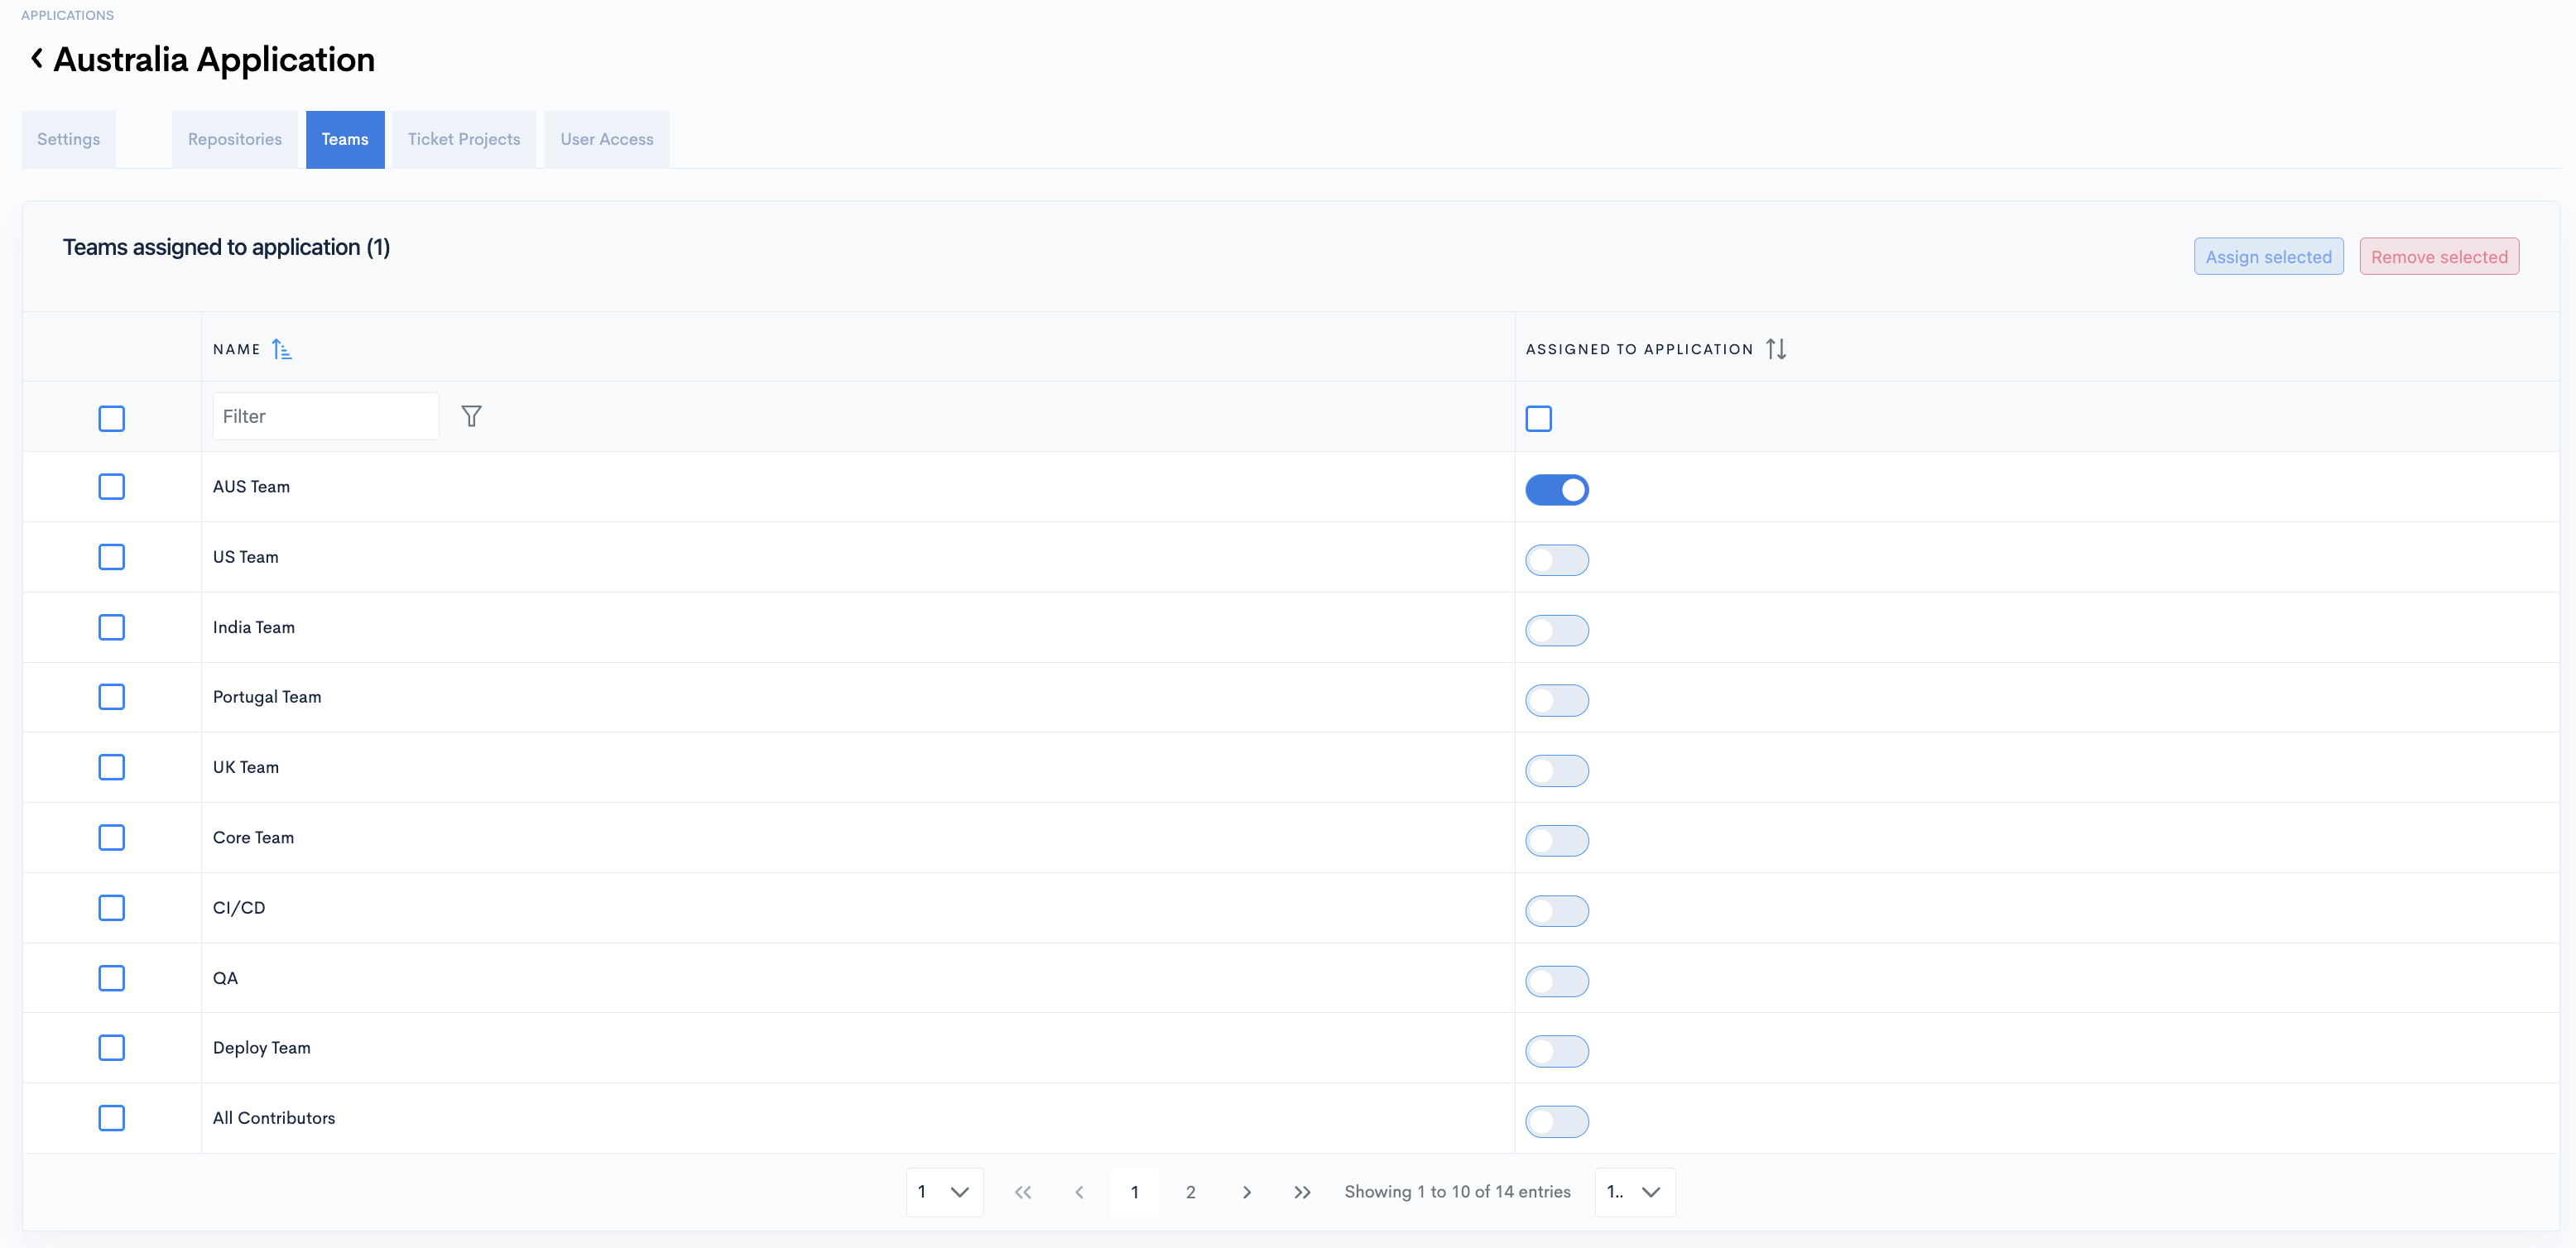
You must assign at least one team to your application in order to see data!
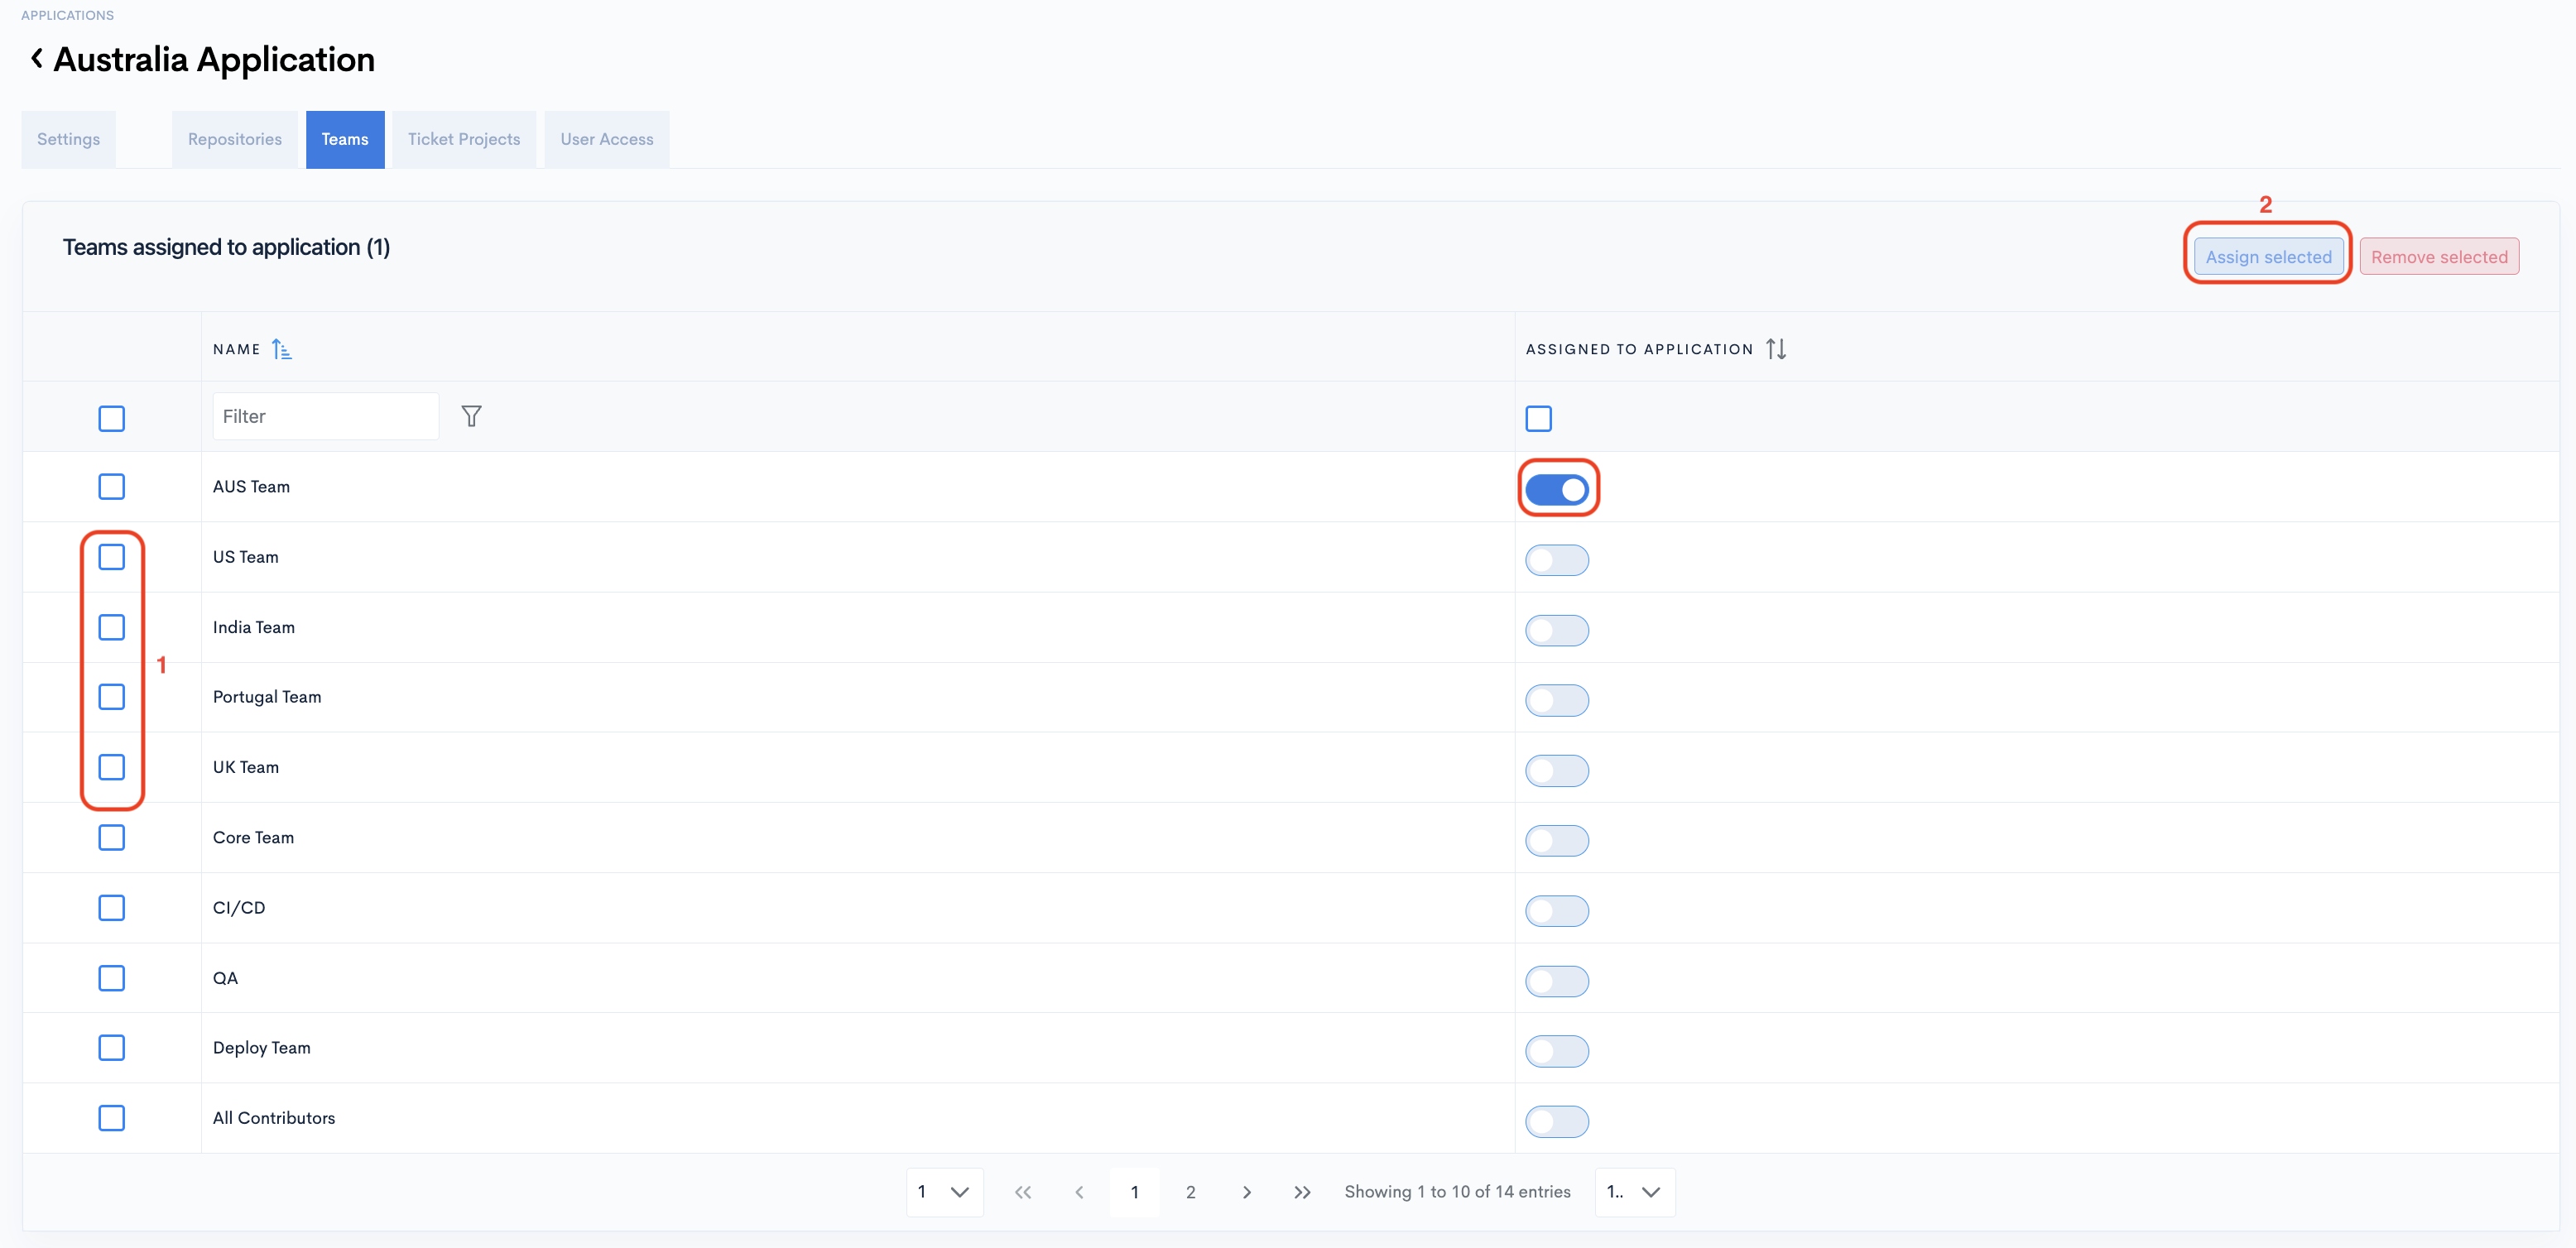
Step 8: You can assign teams one by one by toggling on "Assigned to Application" or by selecting multiple teams(1) and then clicking the "Assign selected"(2) button in the top-right. You can do the same to "Remove selected" teams. When filtering this Application, you will only see data from these selected teams.
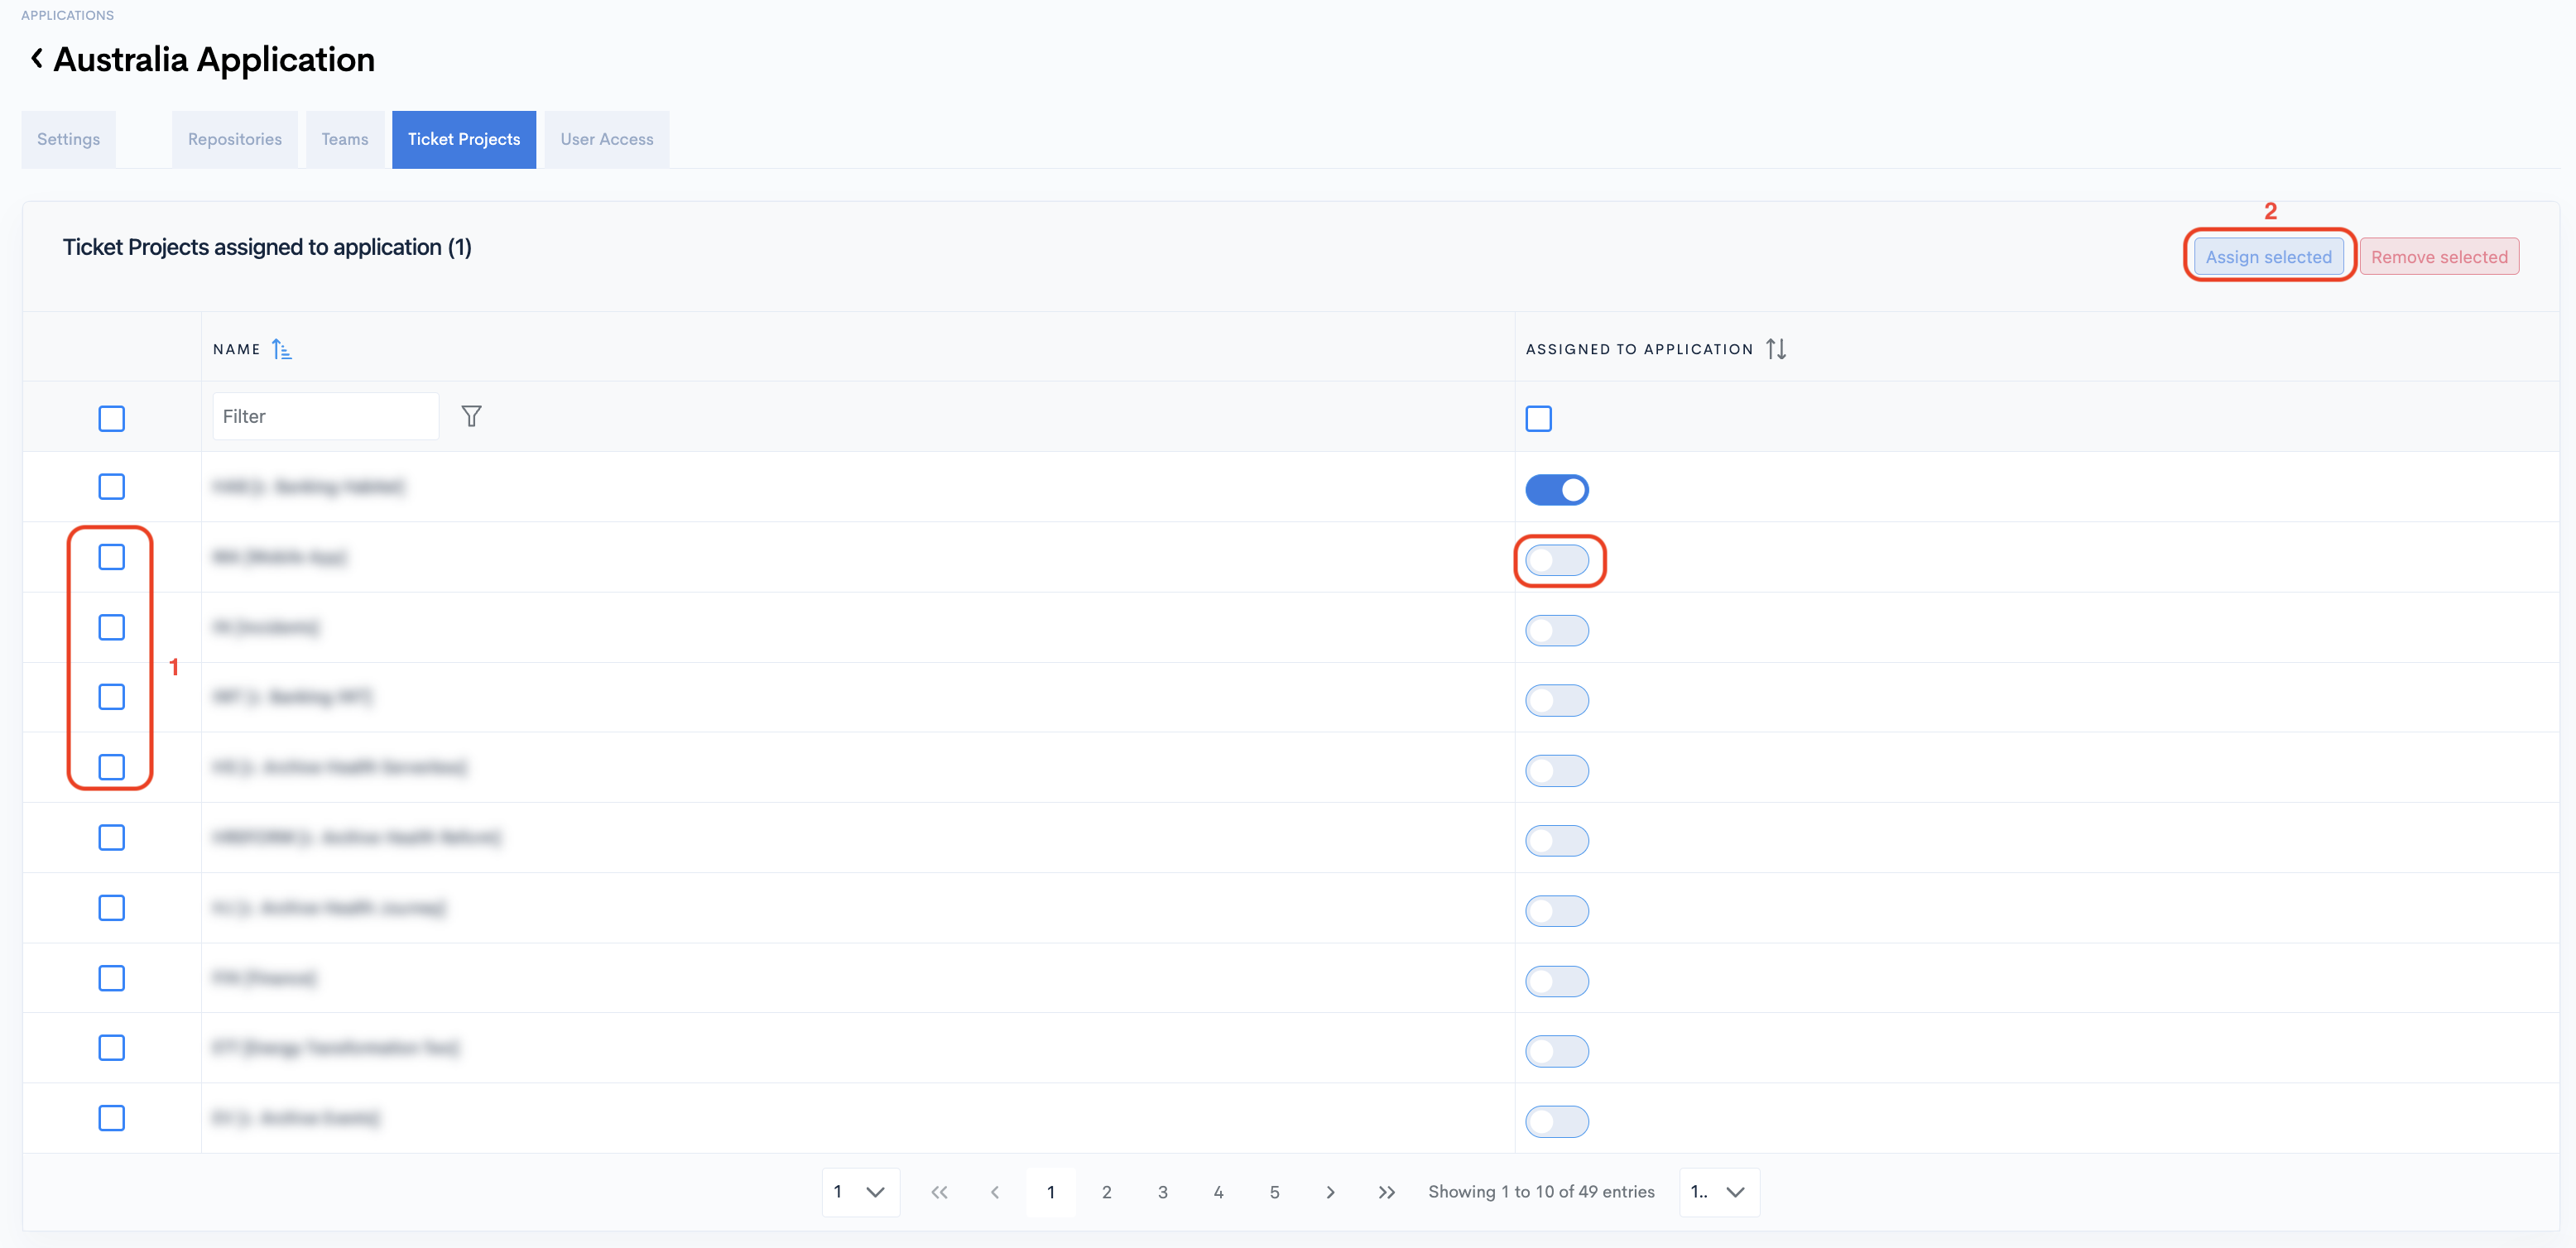
Step 9: Once done, click the Ticket Projects tab to select the ticket tracking you want to assign to this Application.
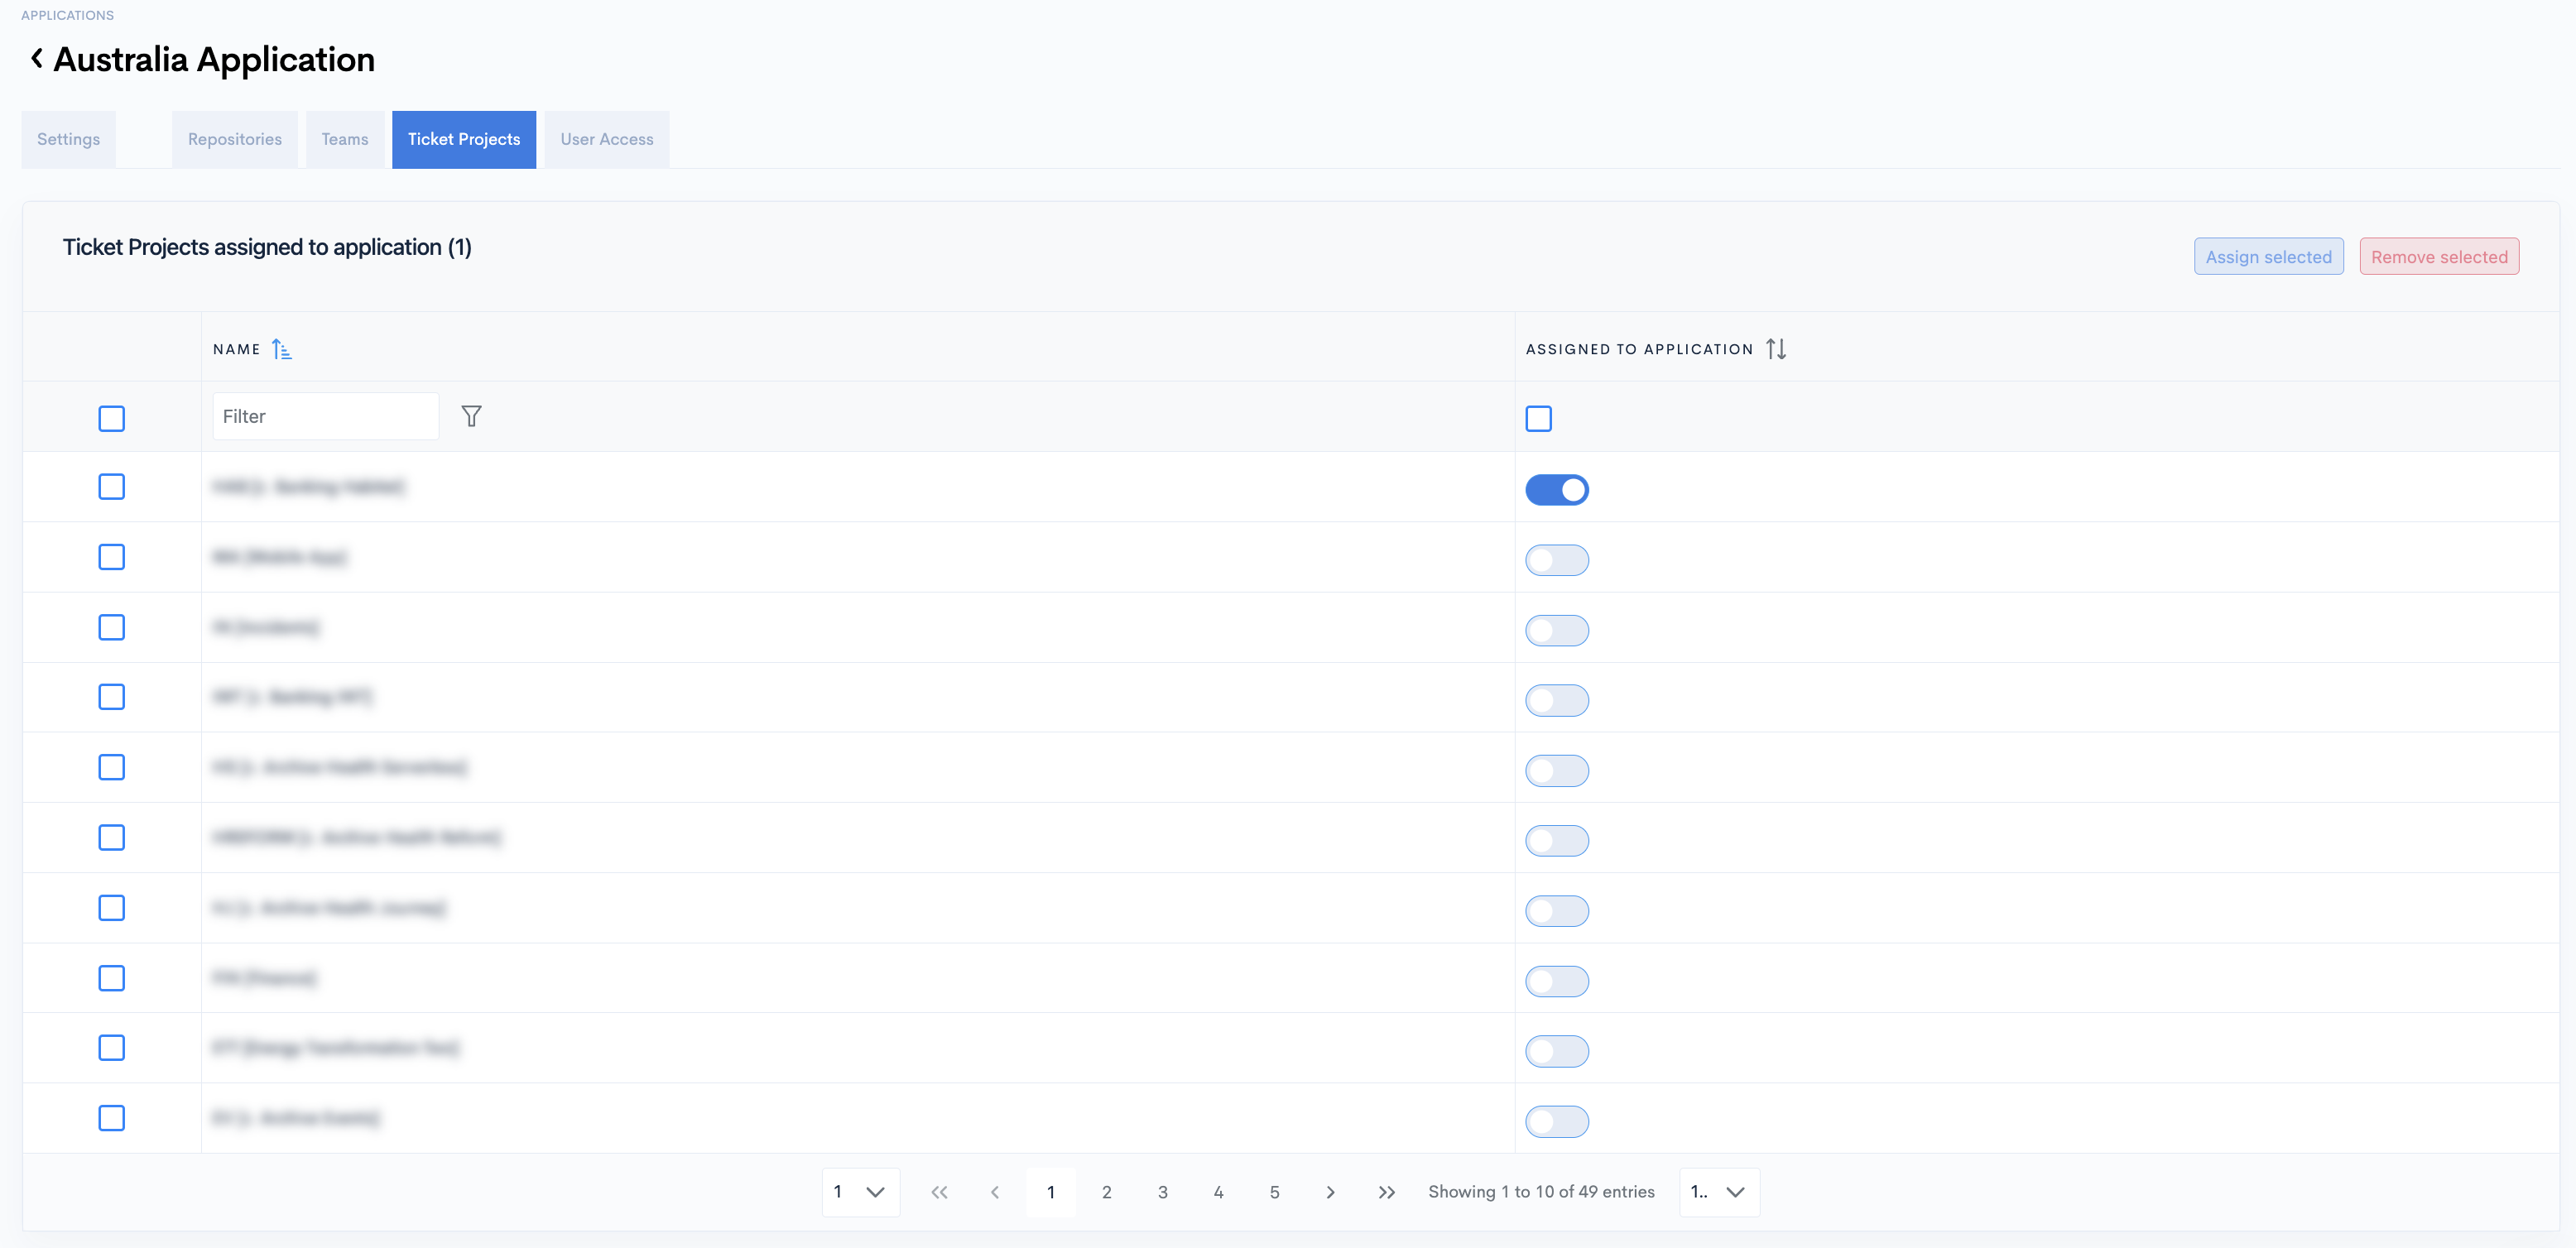
Step 10: You can assign Ticket Projects one by one by toggling on "Assigned to Application" or by selecting multiple ticket projects(1) and then clicking the "Assign selected "(2) button in the top-right. You can do the same to "Remove" selected ticket projects.
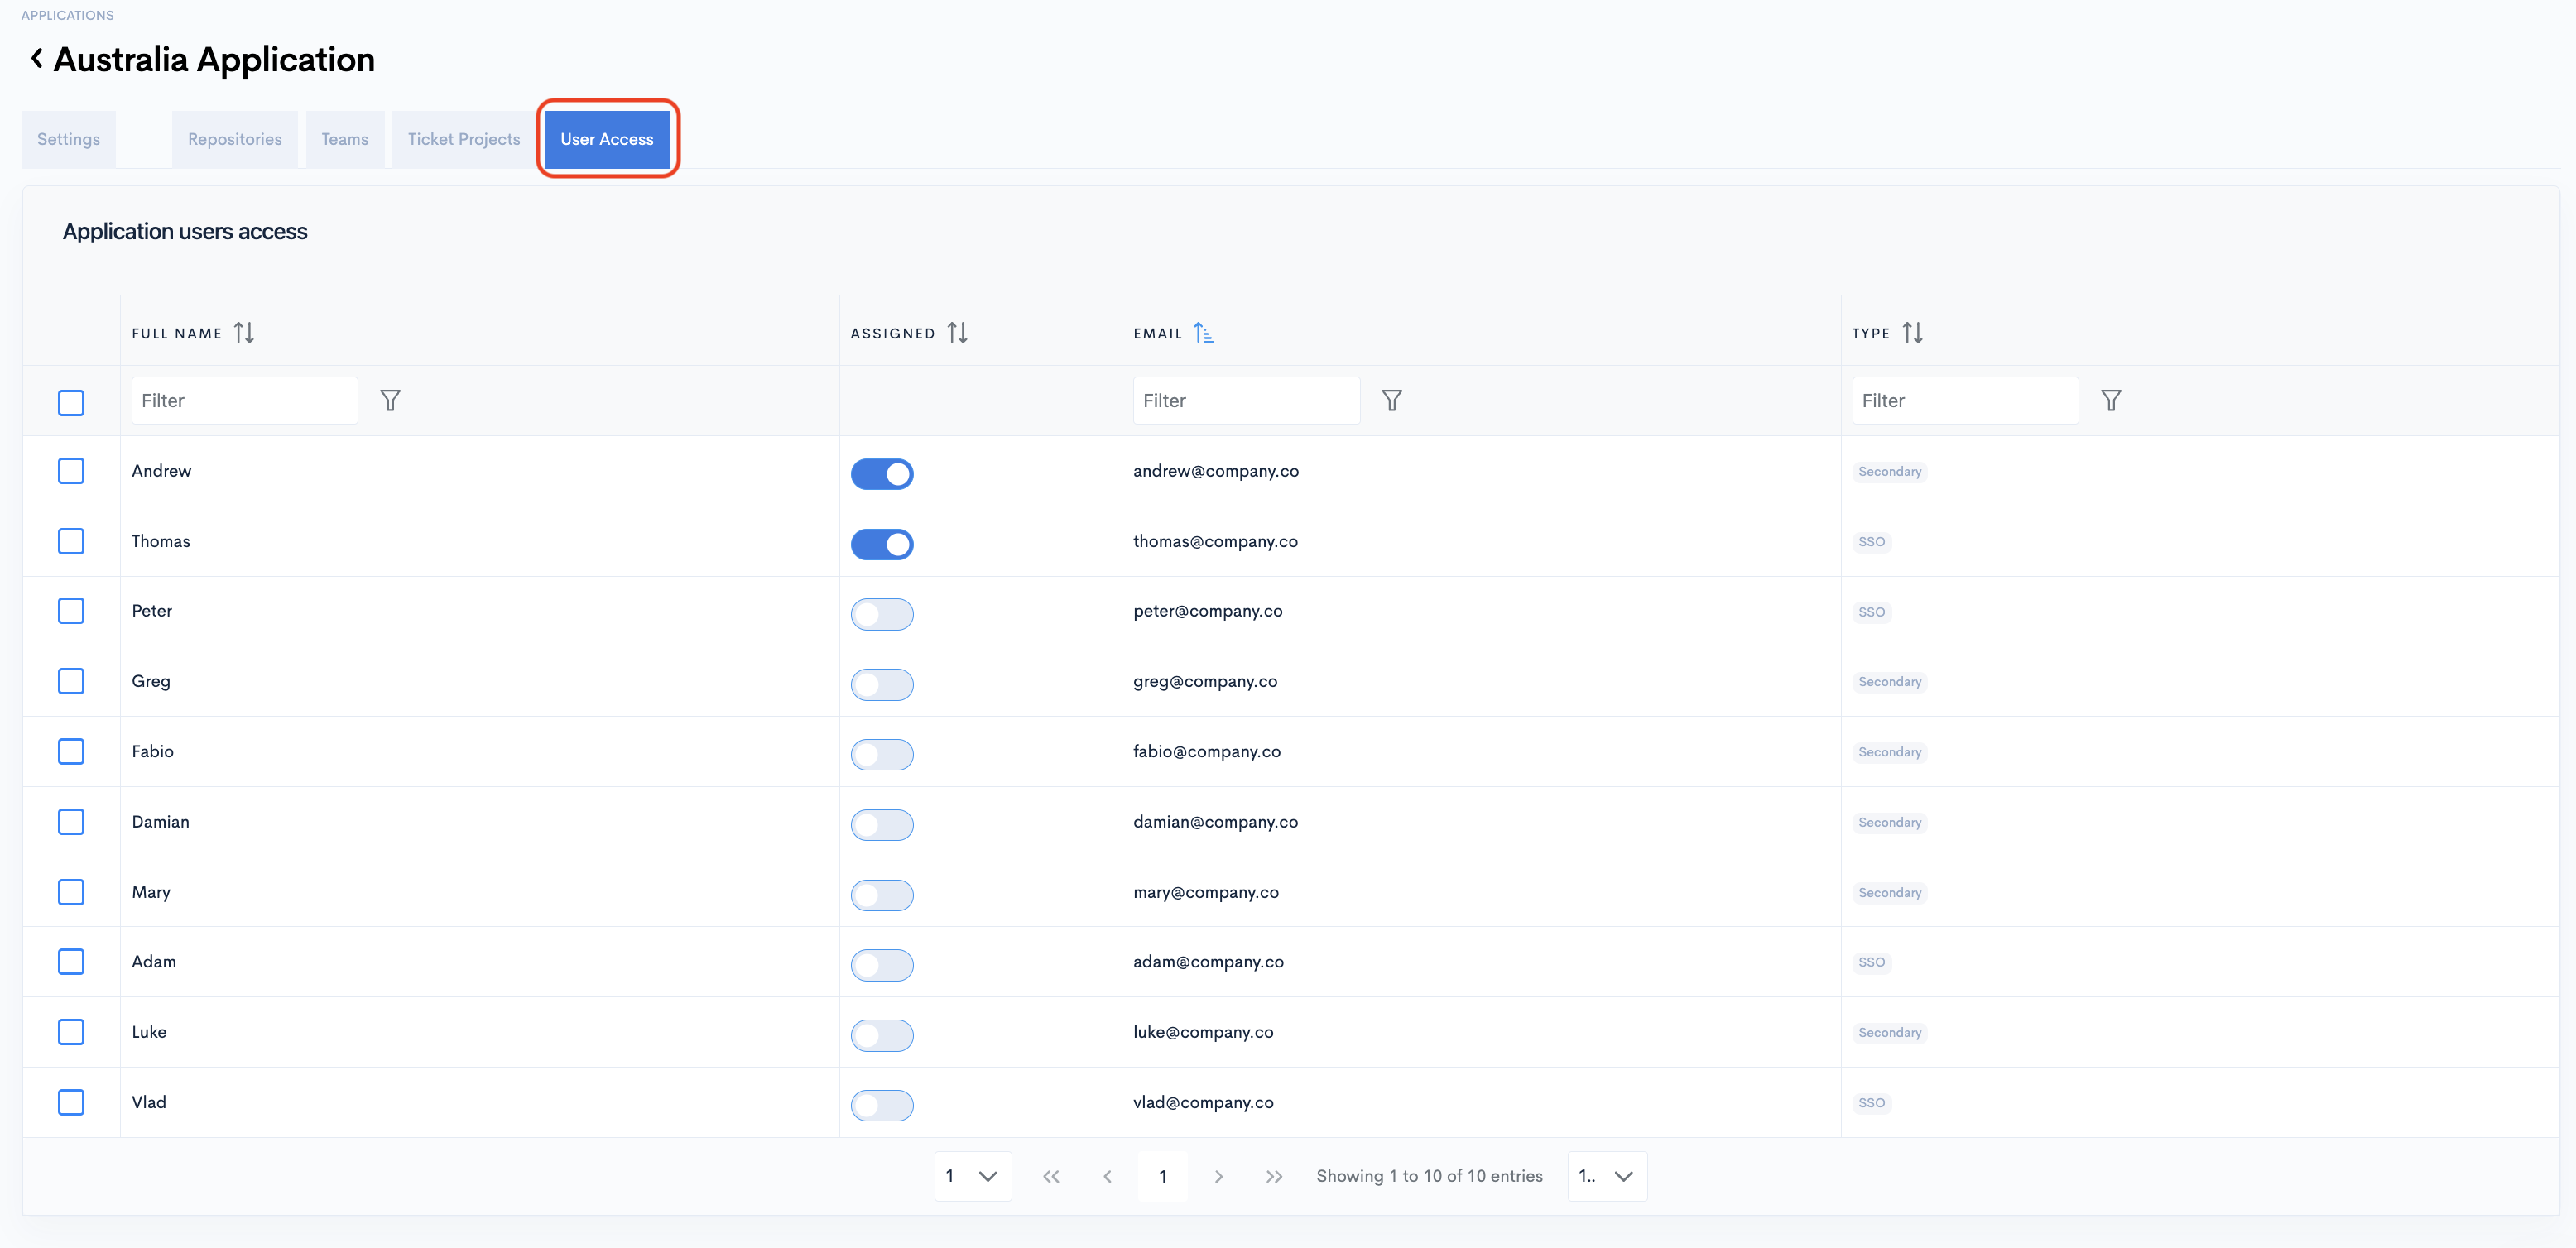
Step 11: Click the User Access tab to manage who has access to this application.
Step 12: You can assign users one by one by toggling on "Assigned to Application" or by selecting multiple users(1) and then clicking the "Assign"(2) button in the top-right. You can do the same to "Remove" users.
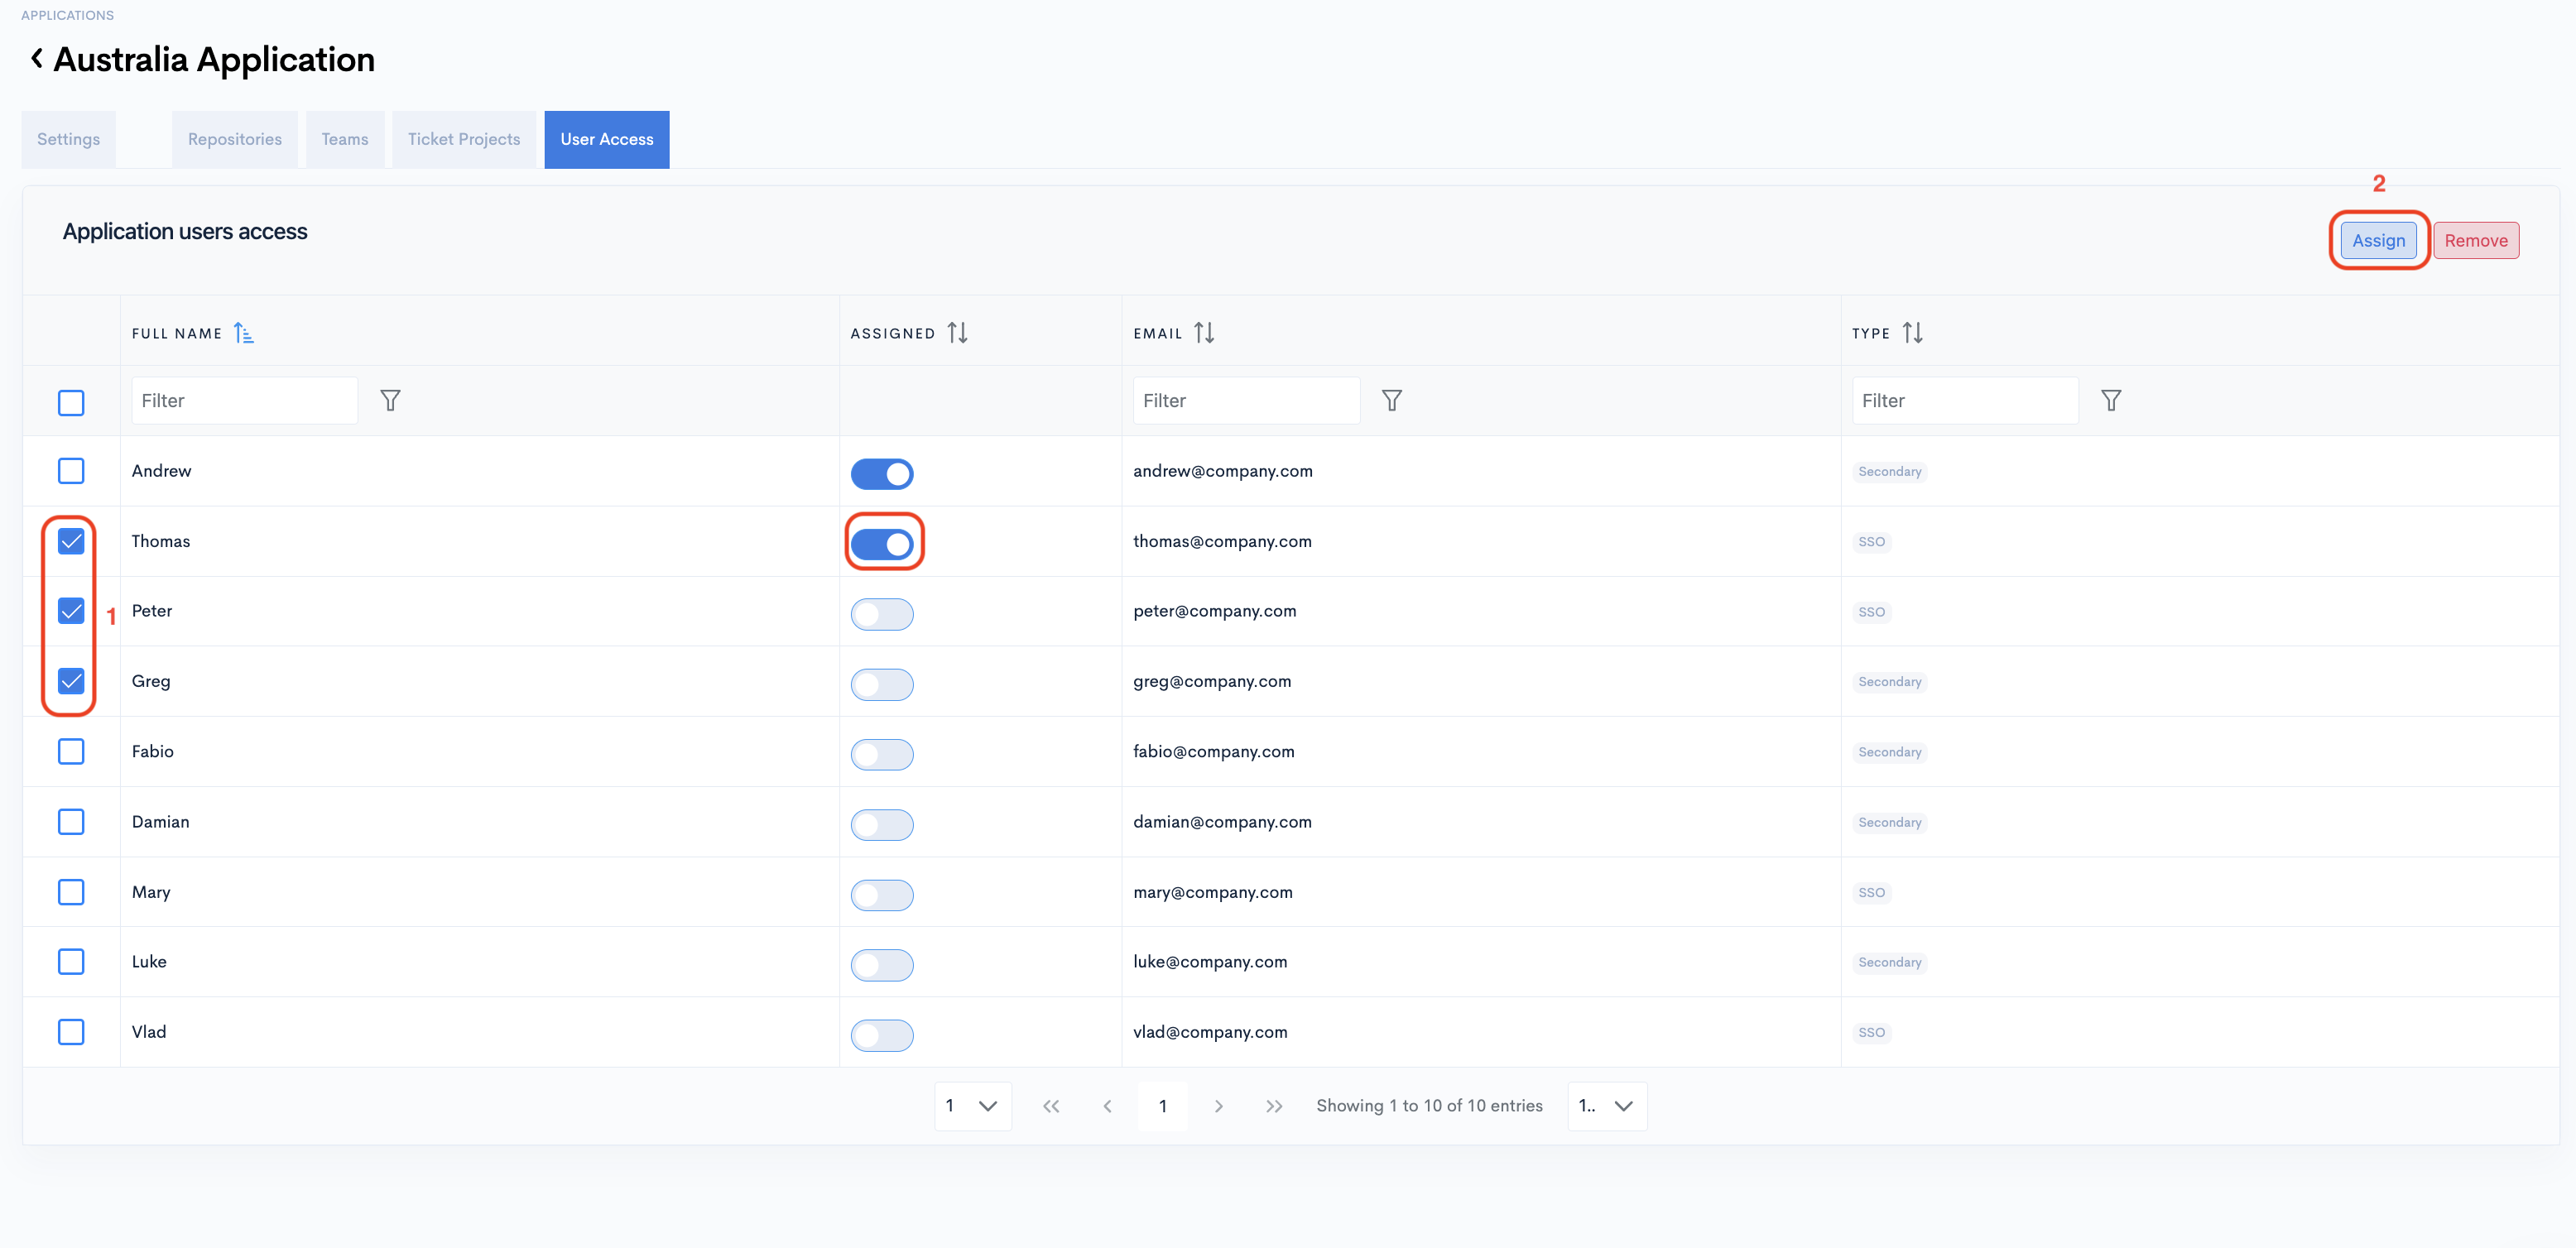
The Assign and Remove buttons will trigger only when the check-box is selected.
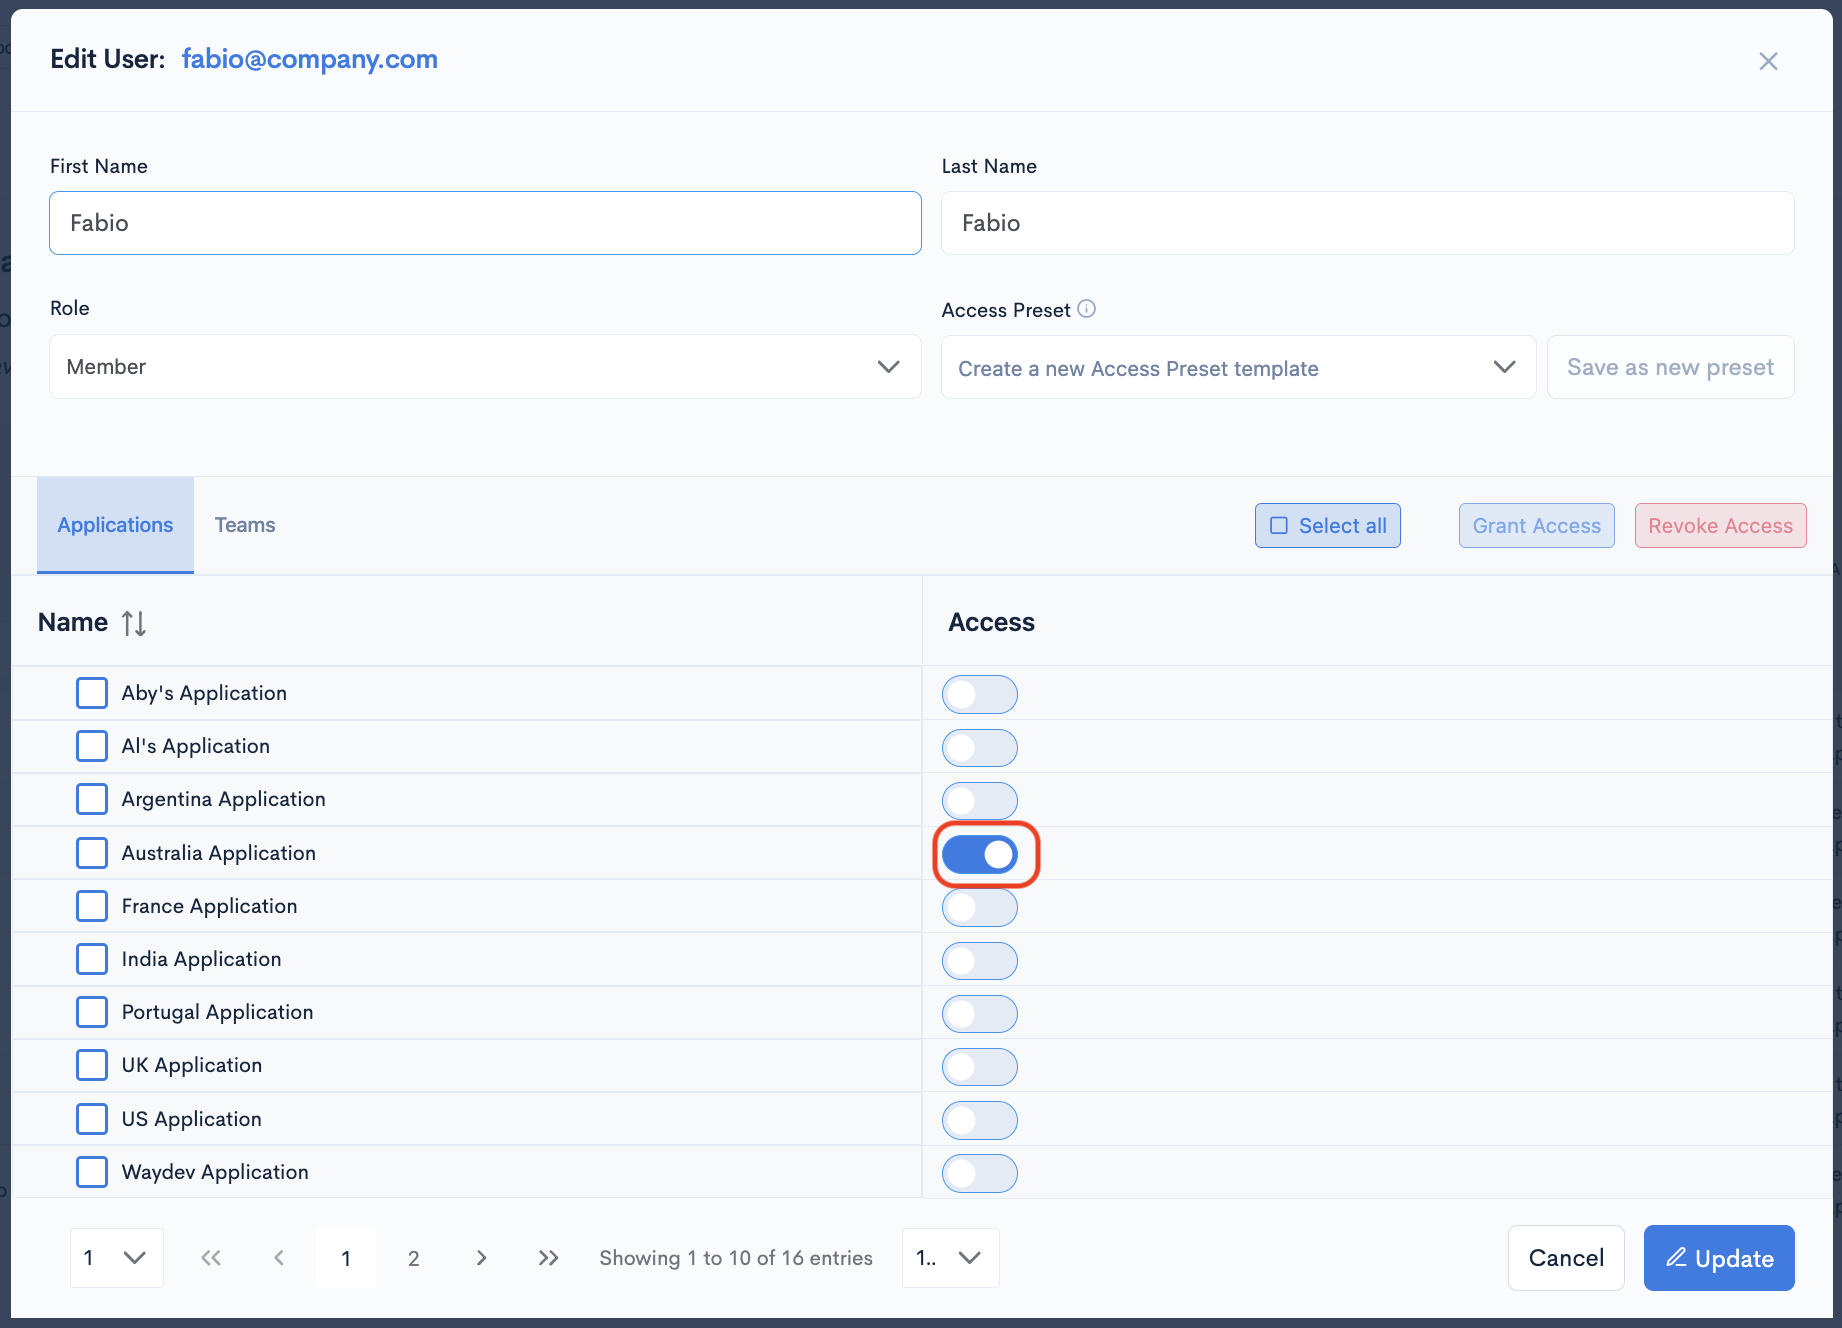
Alternatively, you can provide users access to the Application by navigating to Setup -> Operational Users. Select the user you want to give access to and toggle the Access button.
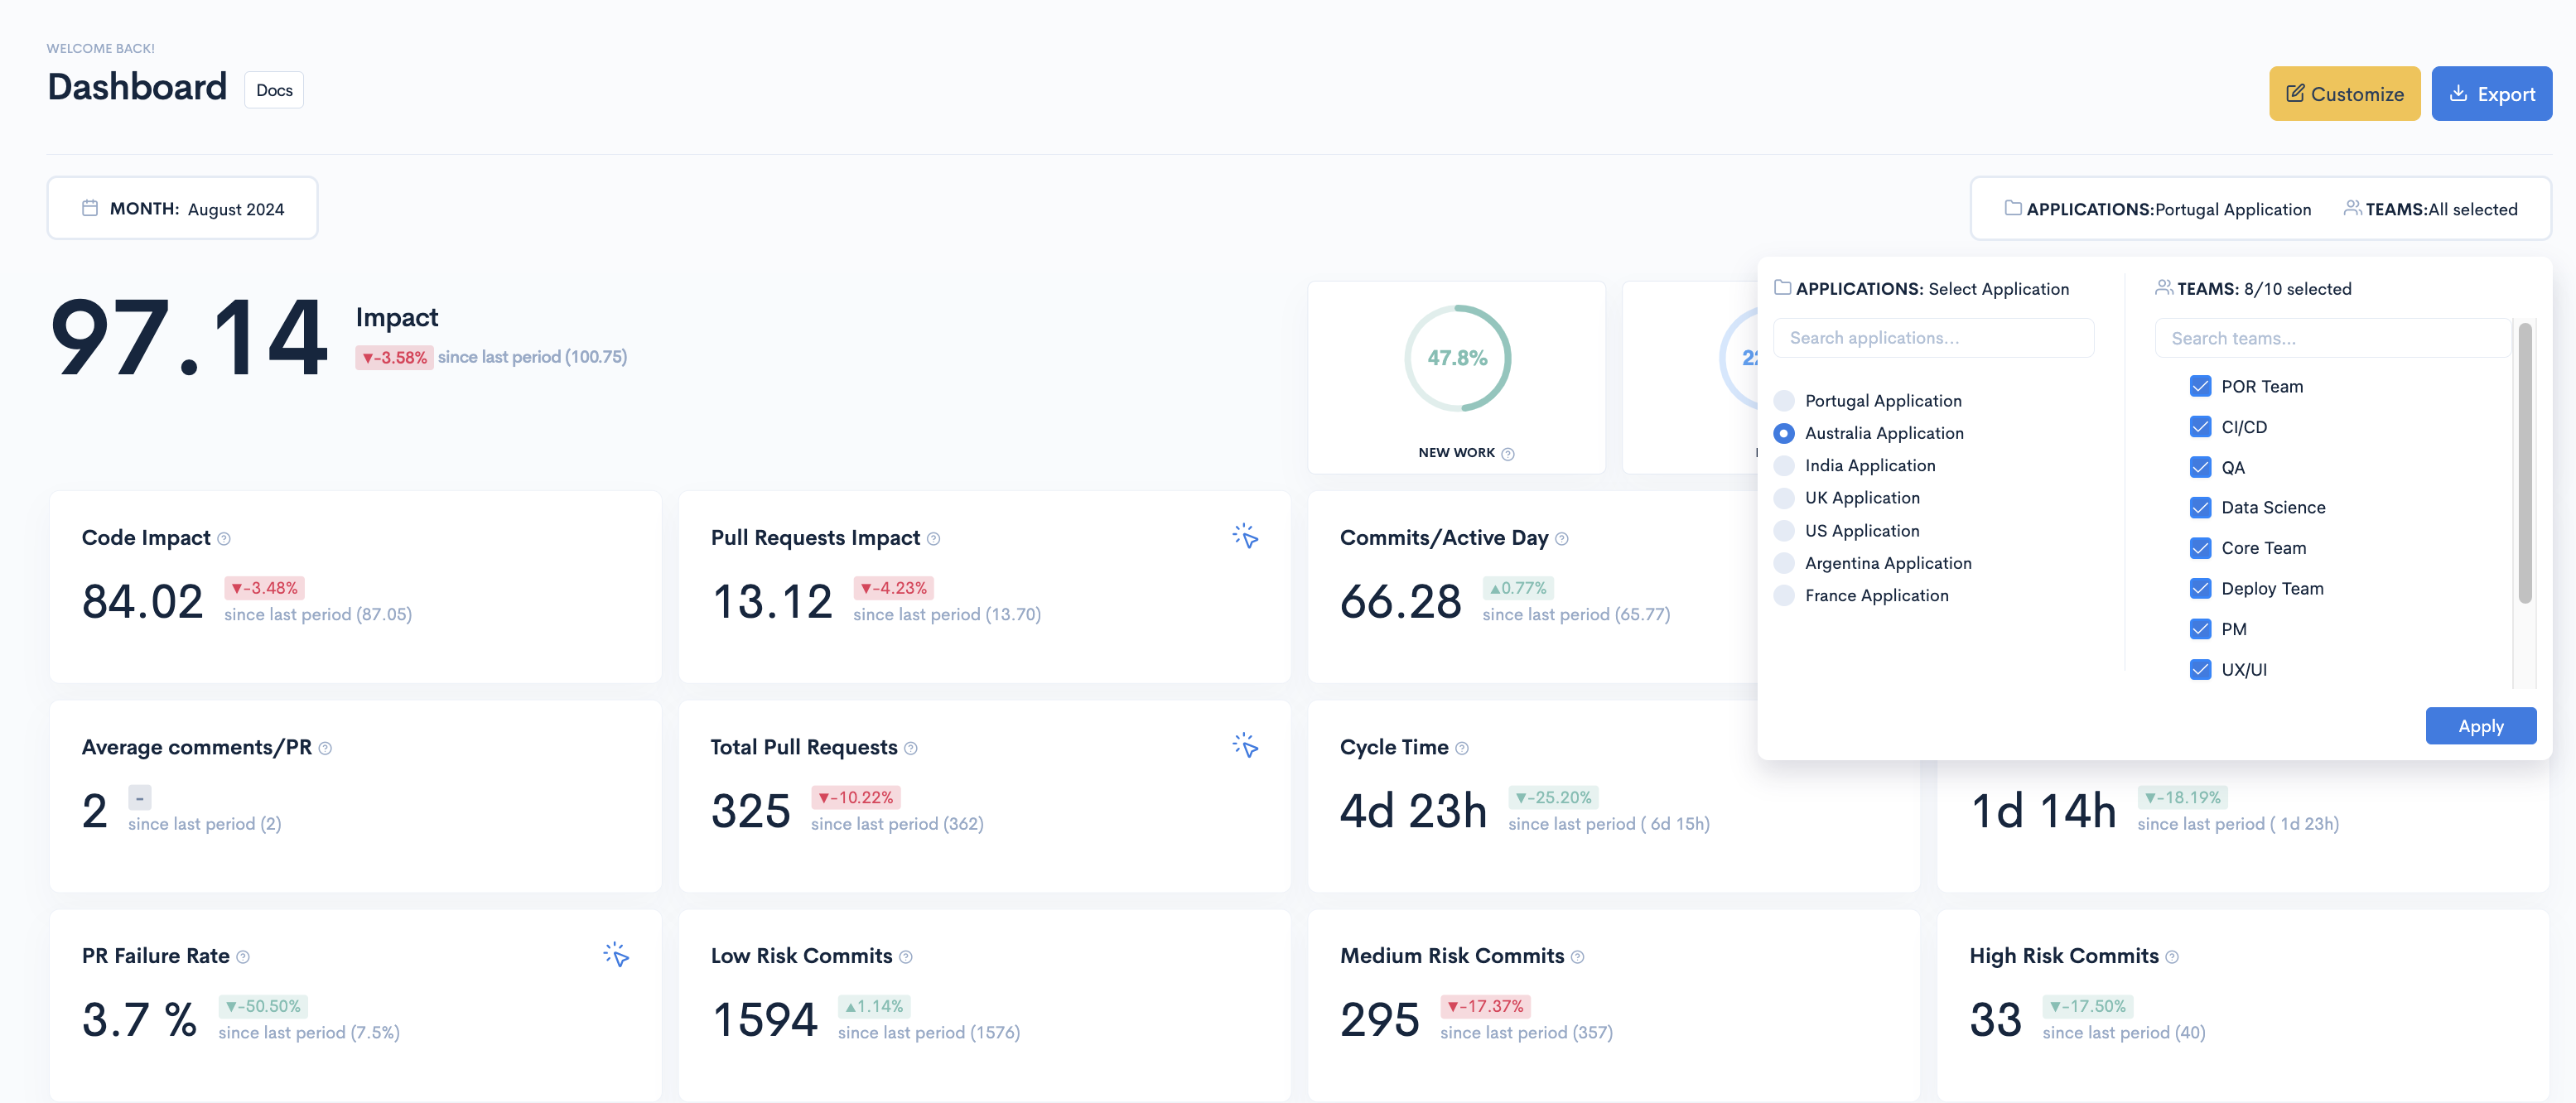
Please refresh the page if you don't see your Application when filtering your reports.
Updated 6 months ago