
Setup Cost Capitalization
In order to calculate the Cost Capitalization, Waydev requires to set up capitalizable tickets. Below is a guide on setting this up!
To view data in the Cost Capitalization report, you need to configure the Capitalization settings, defining which tickets are capitalizable and what not.
You have two options for configuring this:
- Configure all ticket projects from the integration – Apply the capitalization settings to all ticket projects from the issue tracking system integration.
- Configure ticket projects individually – Configure the projects individually, applying different settings.
Configure all ticket projects from the integration
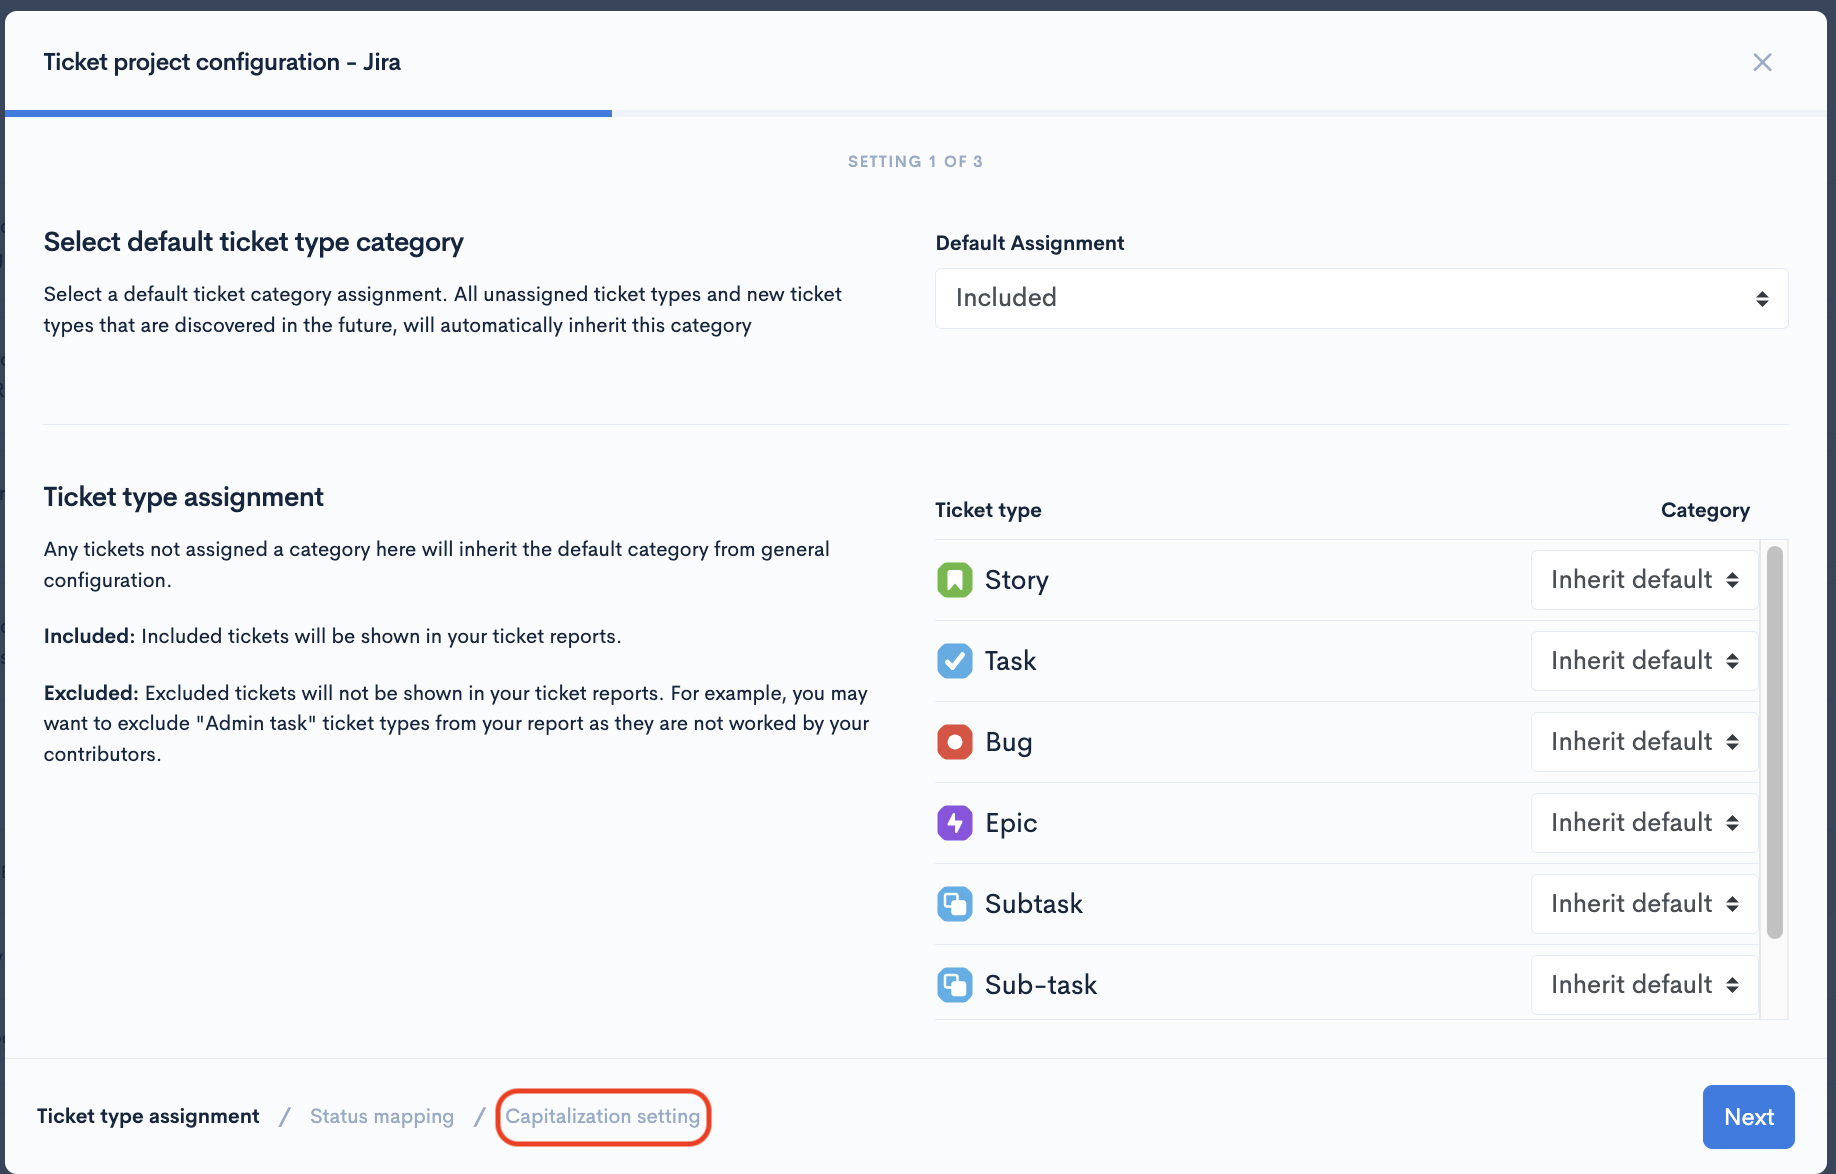
Step 1: From Setup->Settings; click Actions for the project management integration and select Configure Ticket Projects.

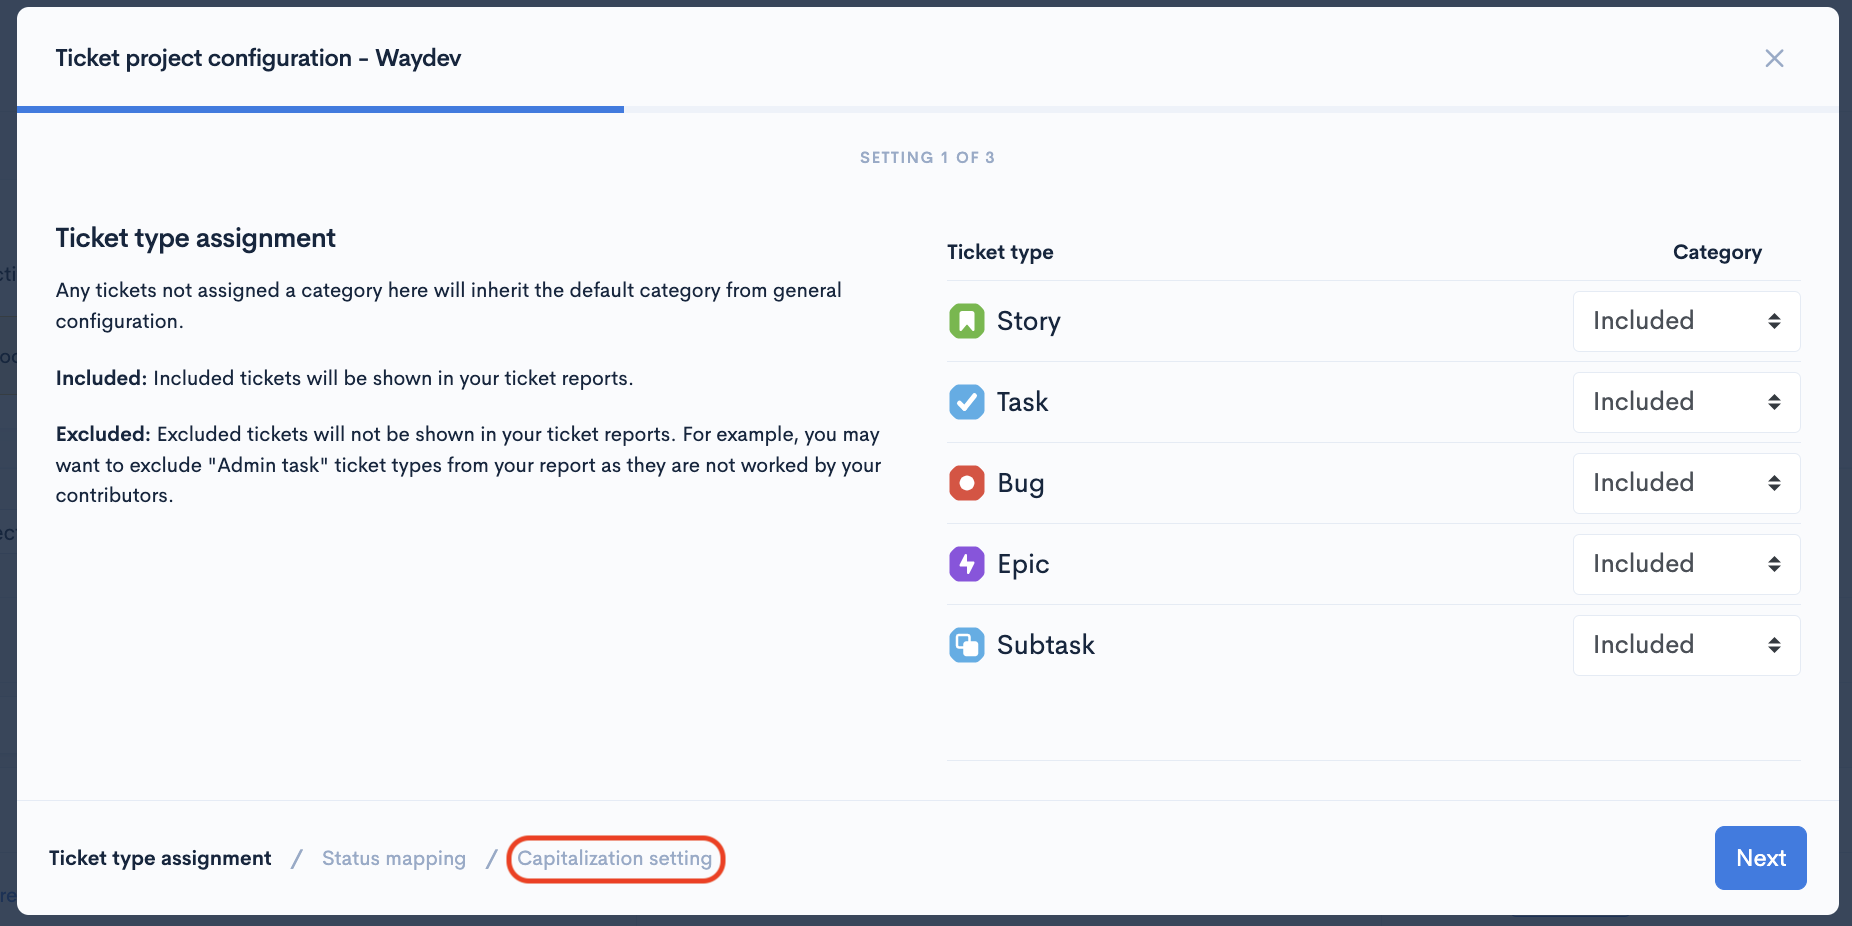
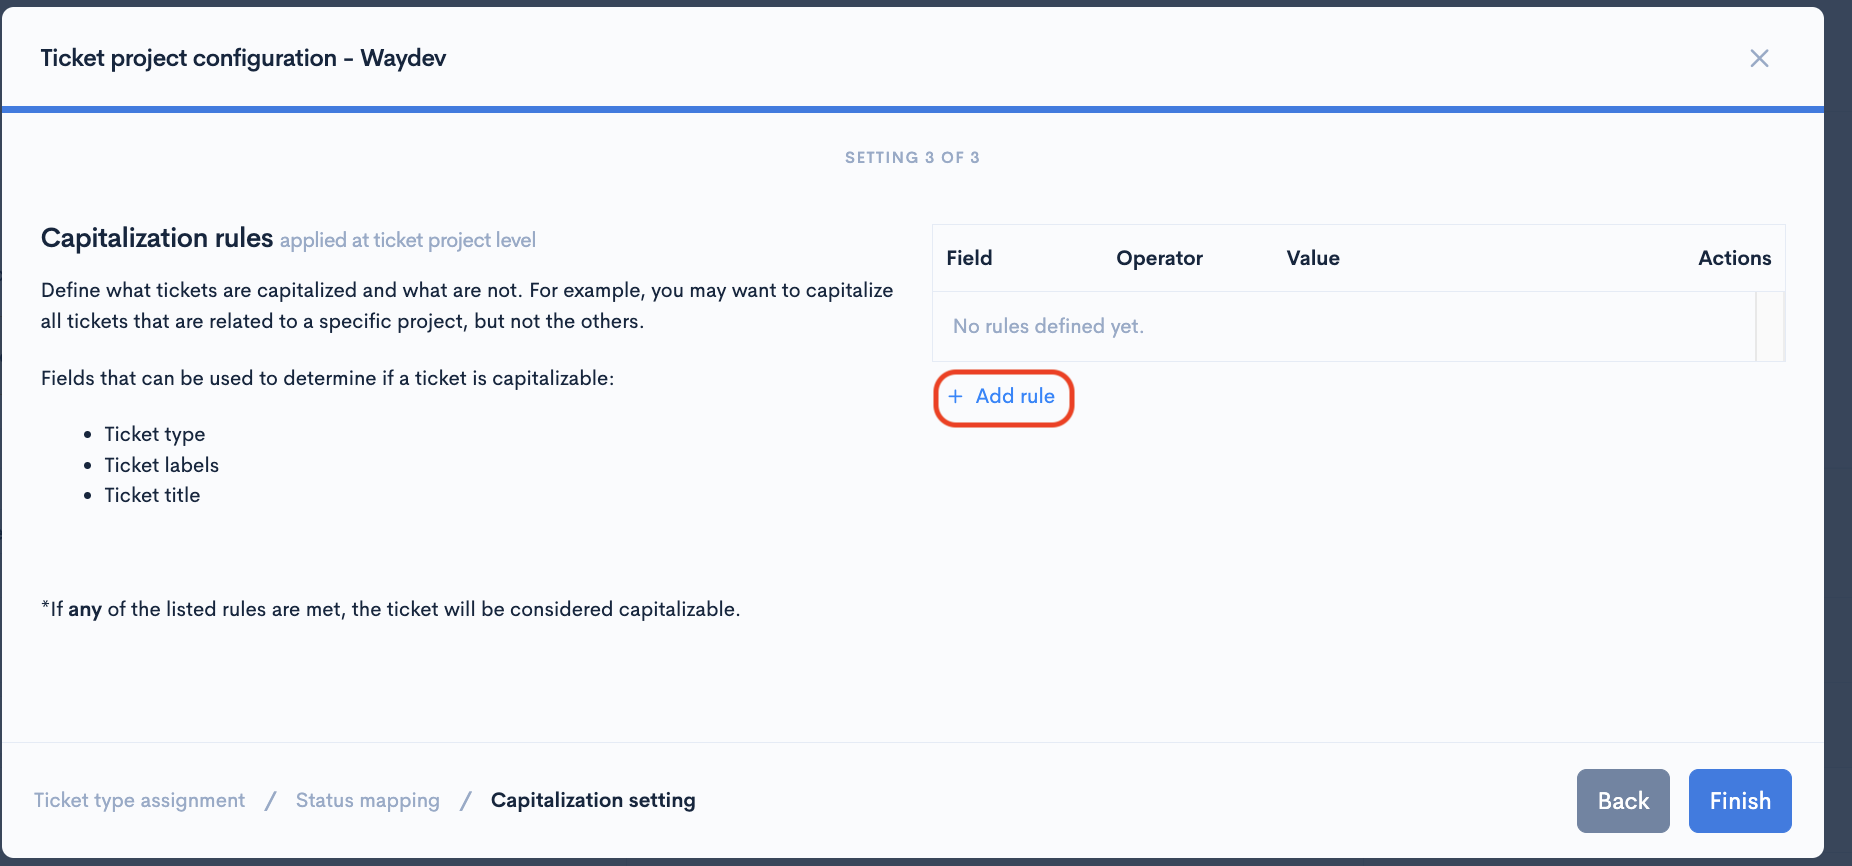
Step 2: At the bottom of the pop-up modal click Capitalization setting.
Step 3: Click the Add rule button.
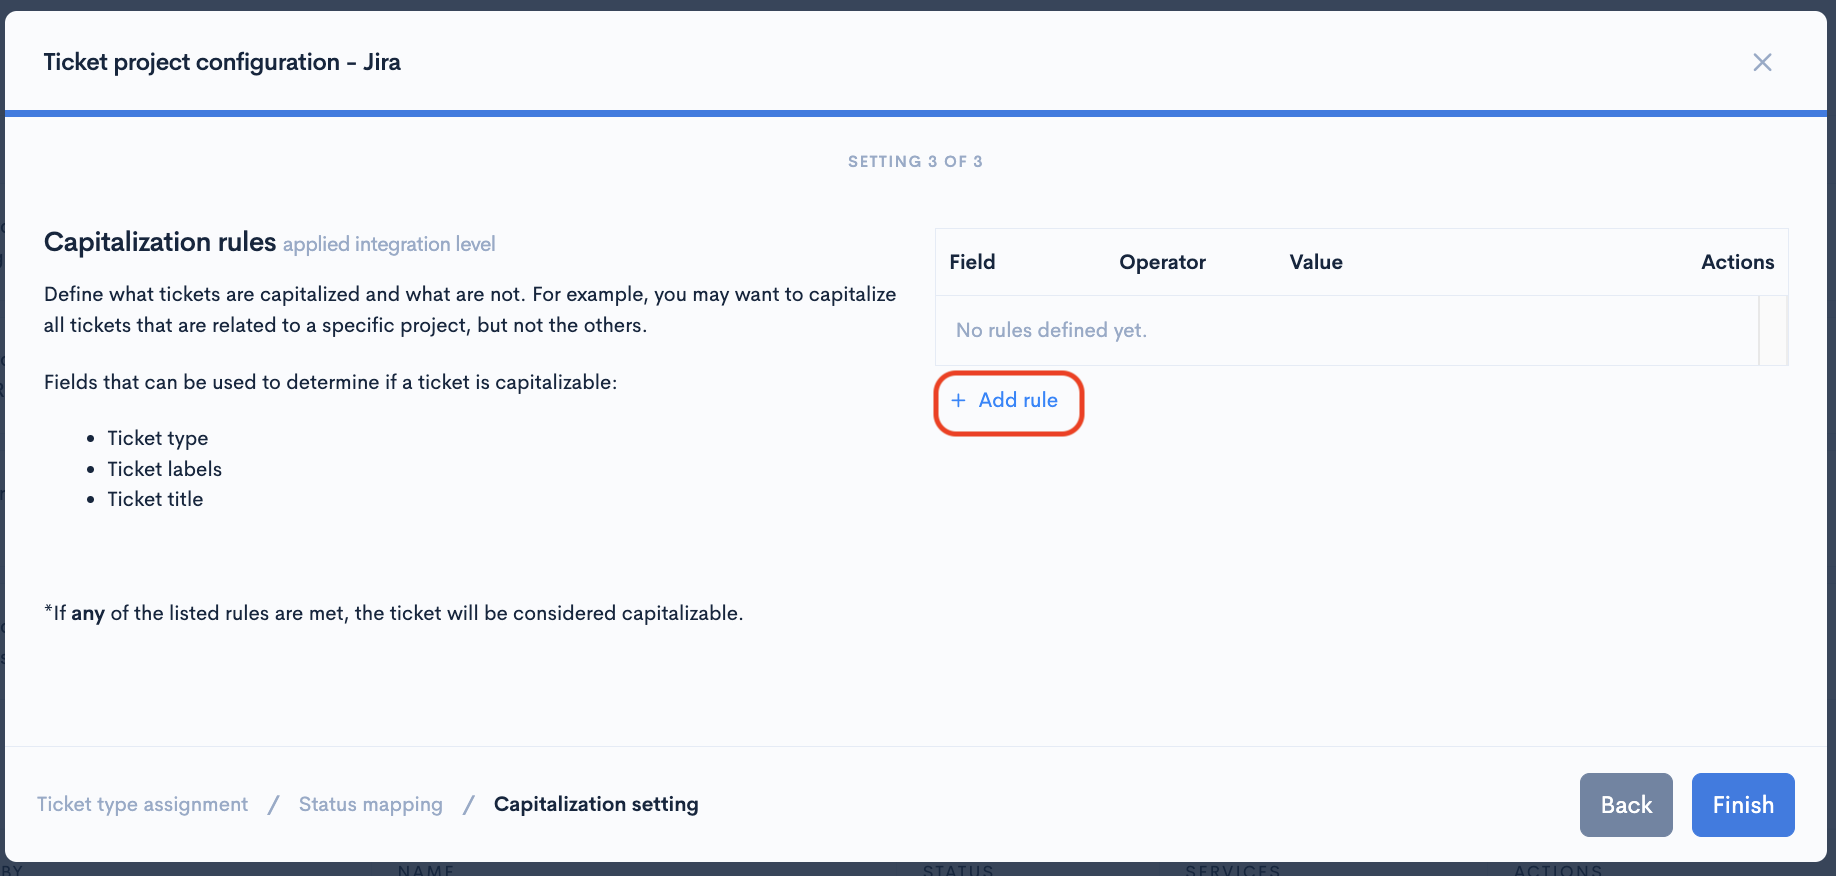
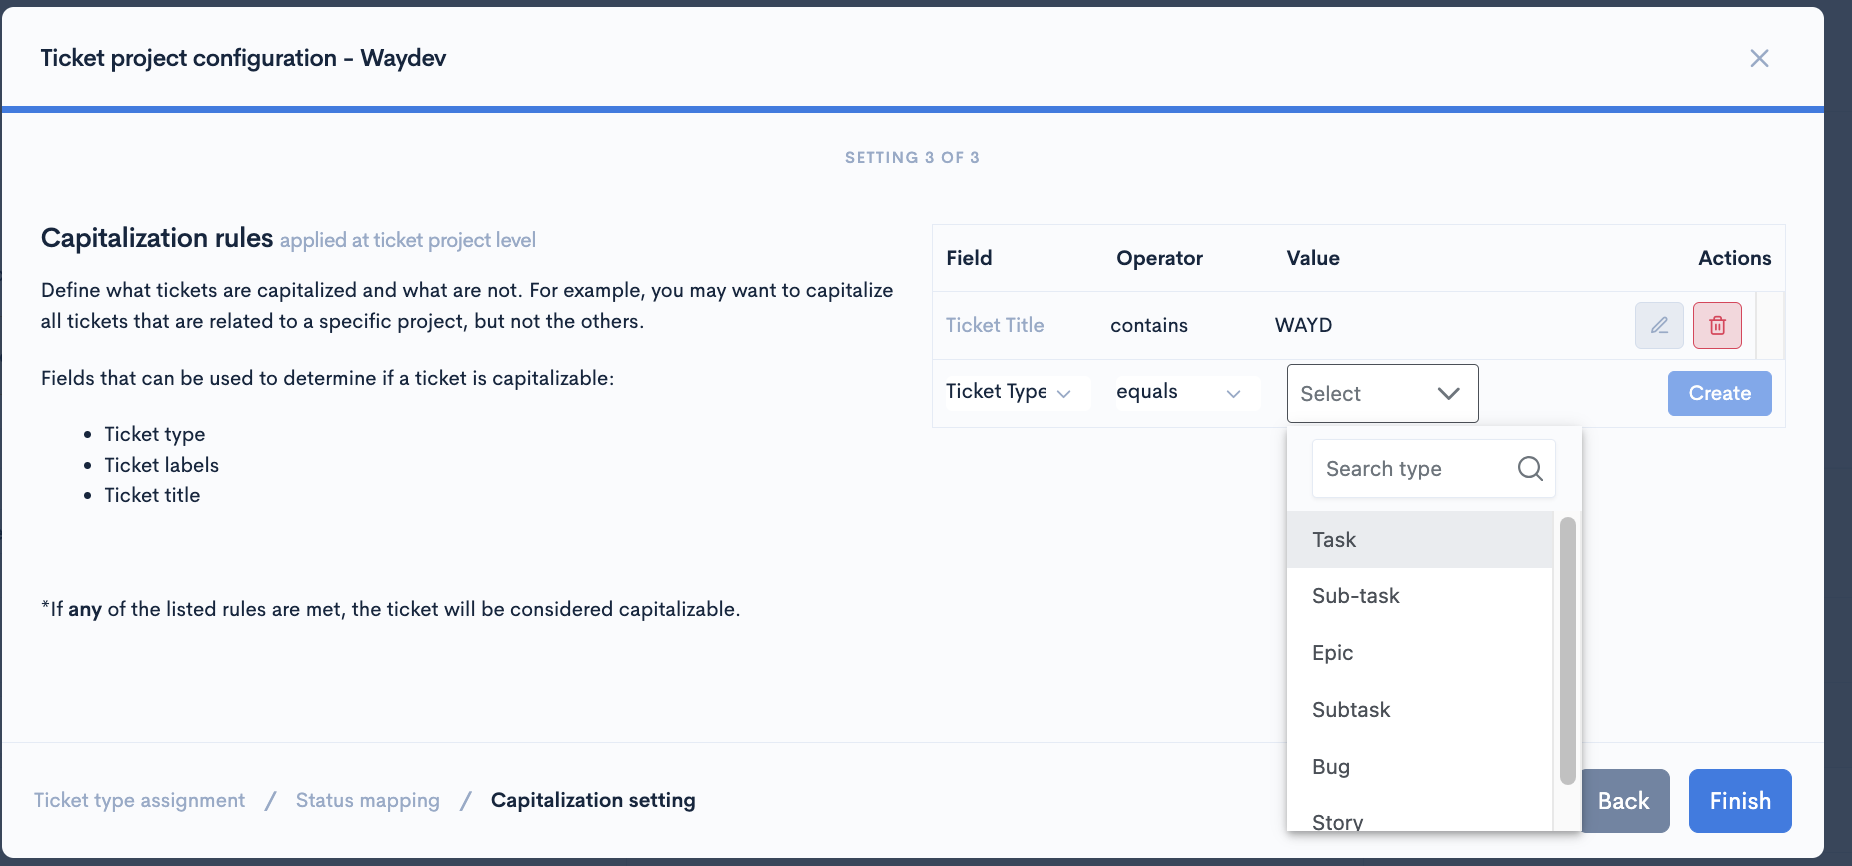
Step 4: From the Field drop-down, choose what tickets should be capitalizable based on the following:
- Ticket Title
- Ticket Type
- Ticket Labels
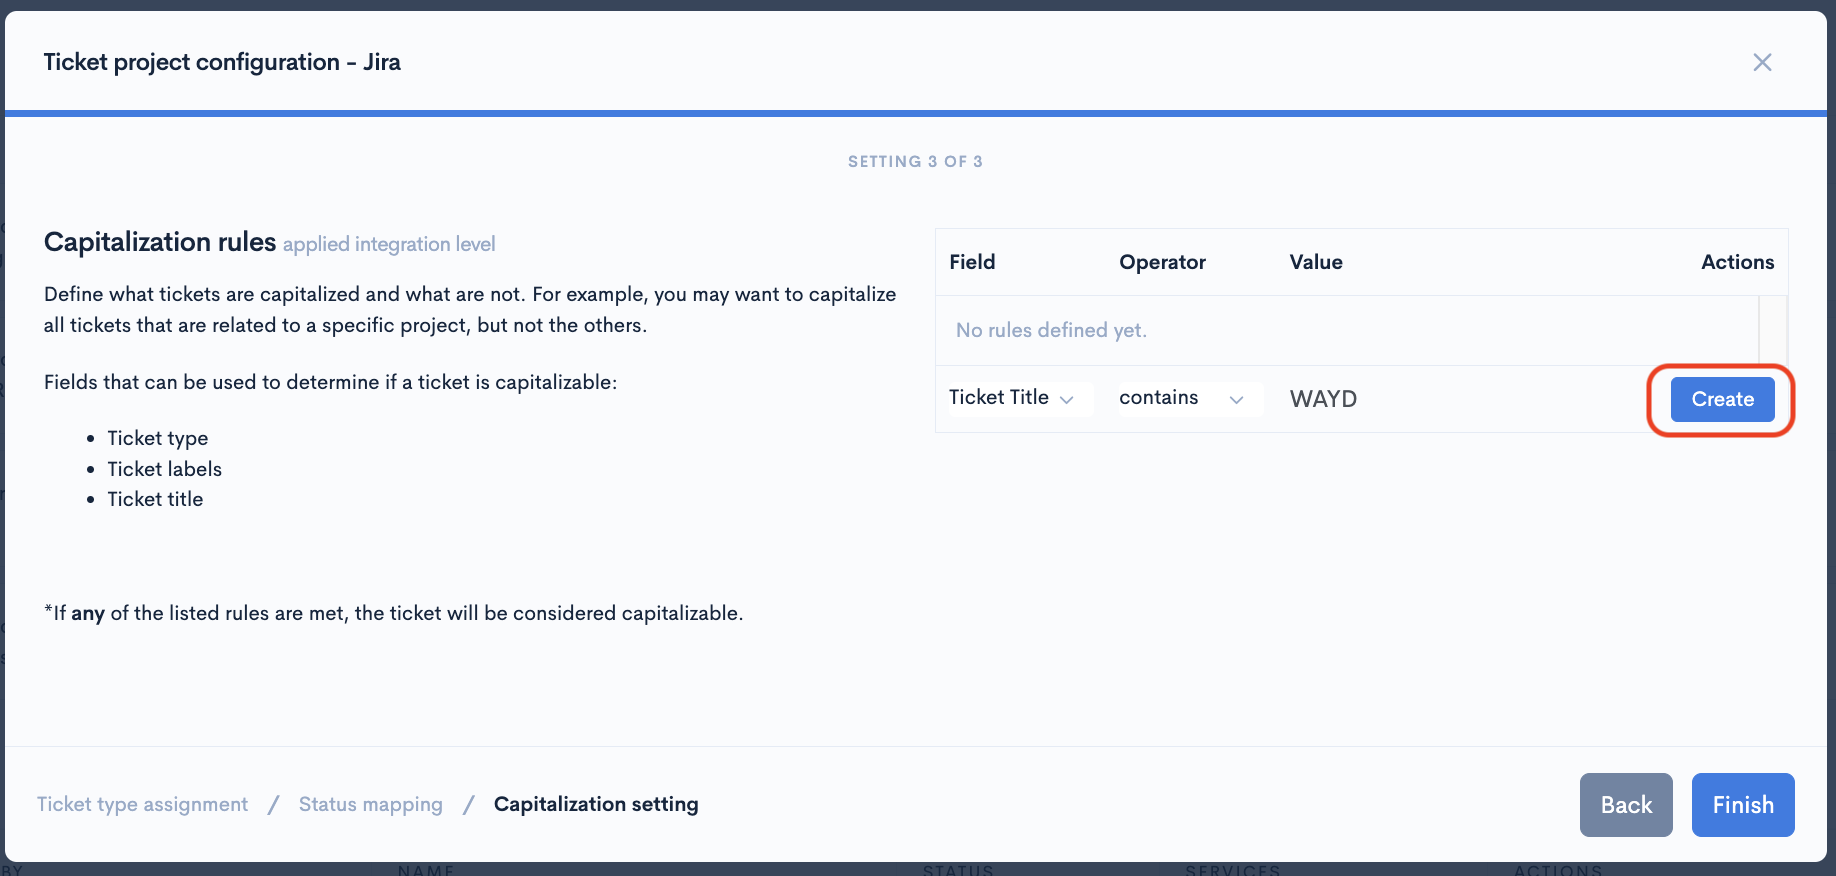
Step 4.1: For the Ticket Title complete the Value field and click on Create.
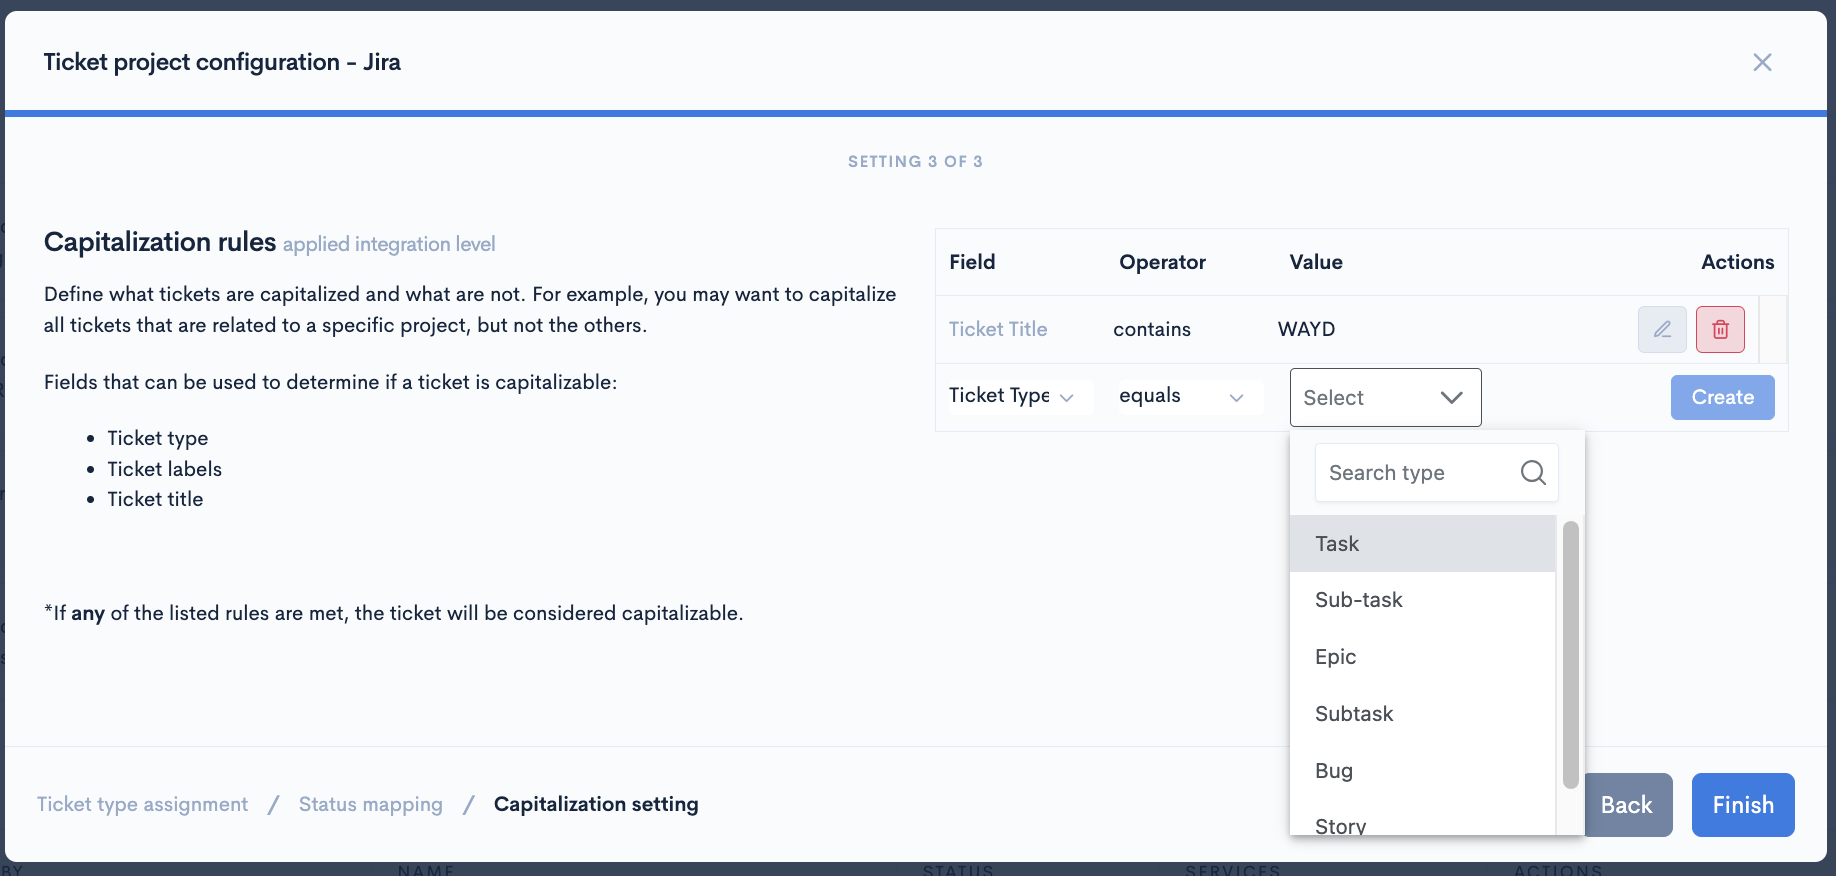
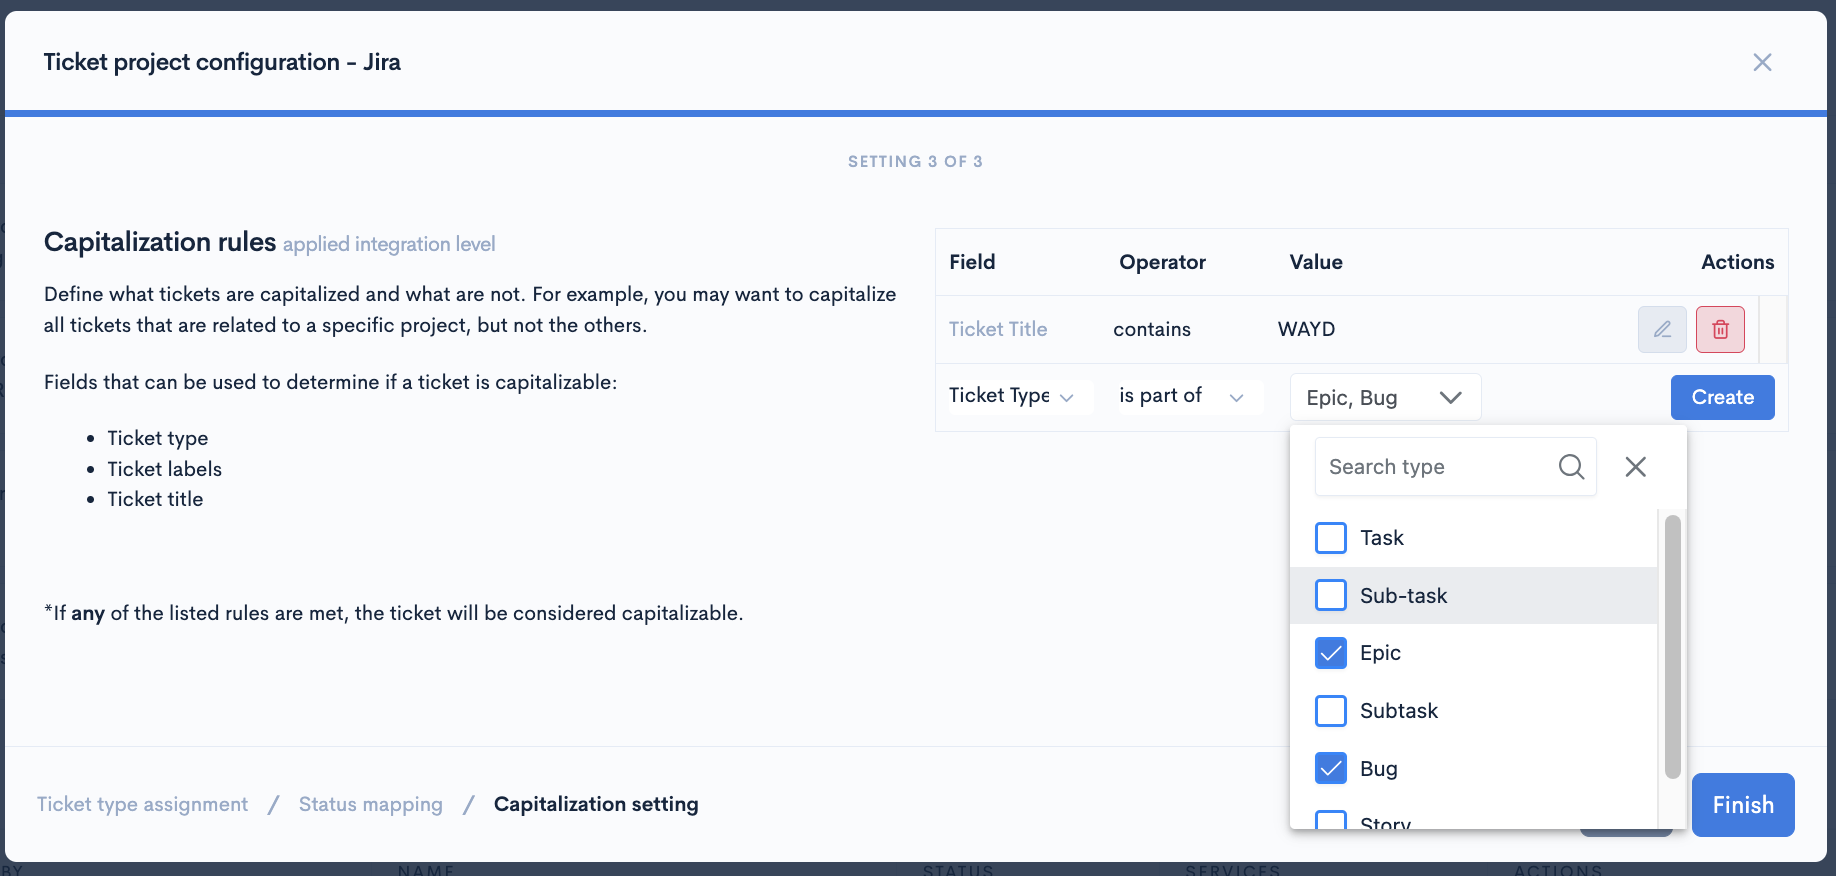
Step 4.2: For the Ticket Type you can change the Operator to be either equals or is part of.
The "equals" option allows you to select only one ticket type, while "is part of" allows you to select multiple options from the drop-down menu.
After you're done, make sure to click on Create.
Operator is "equals"
Operator is "is part of"
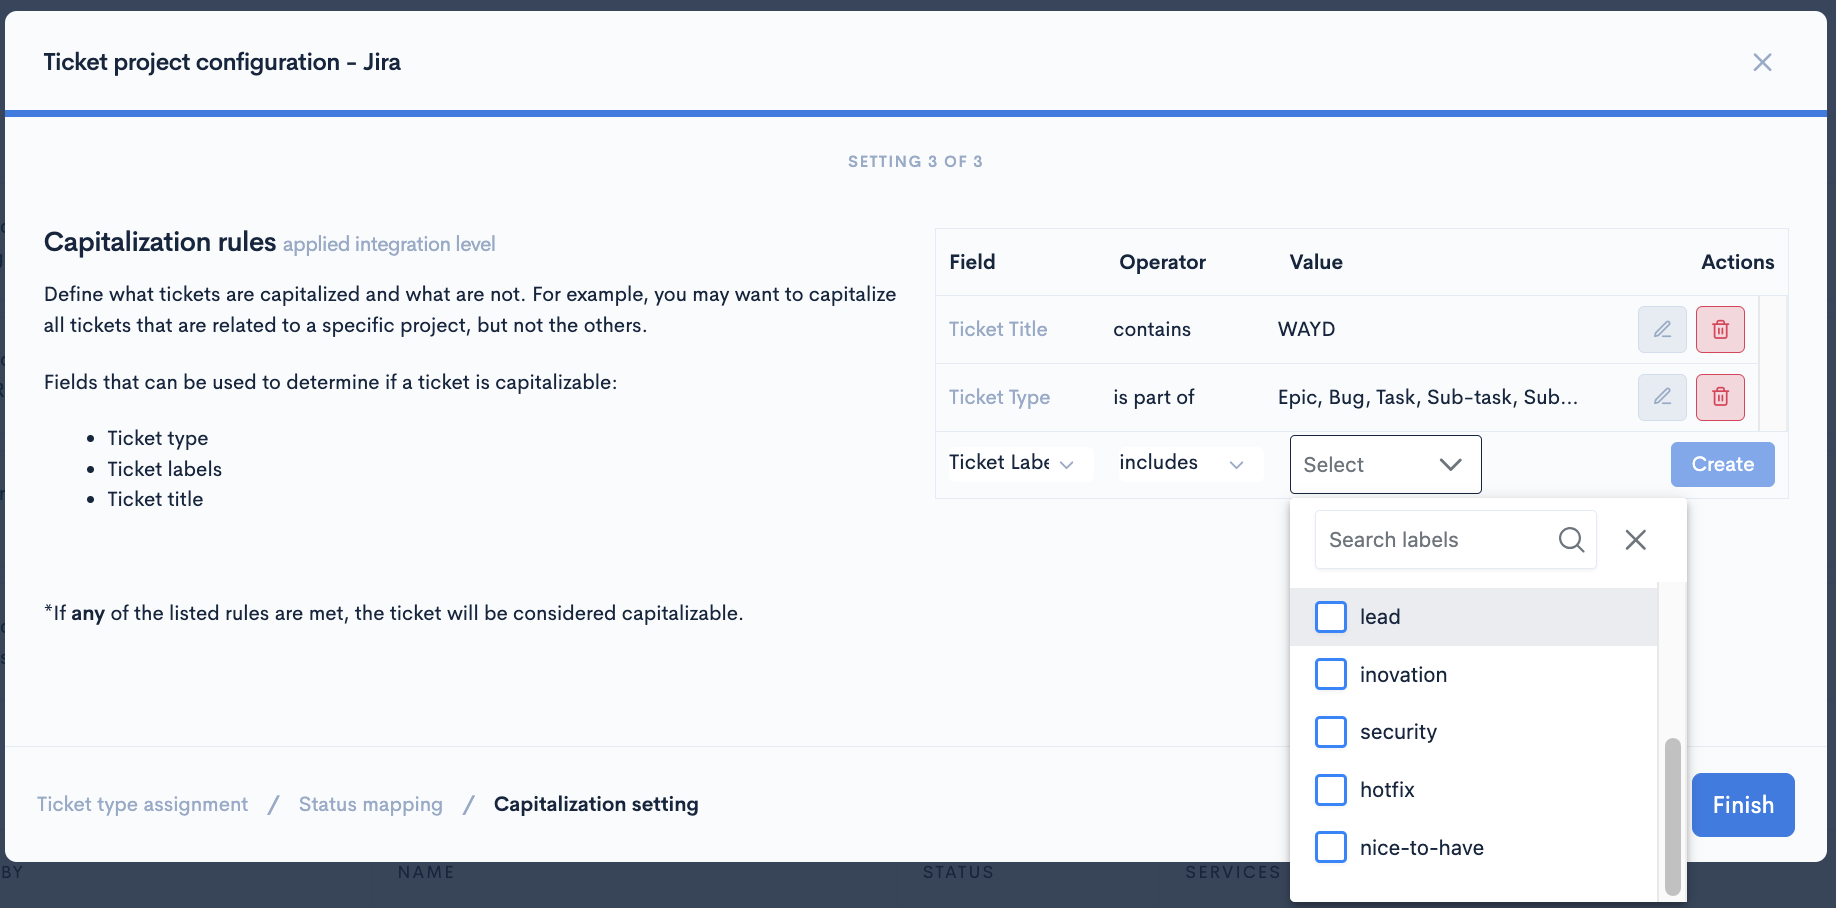
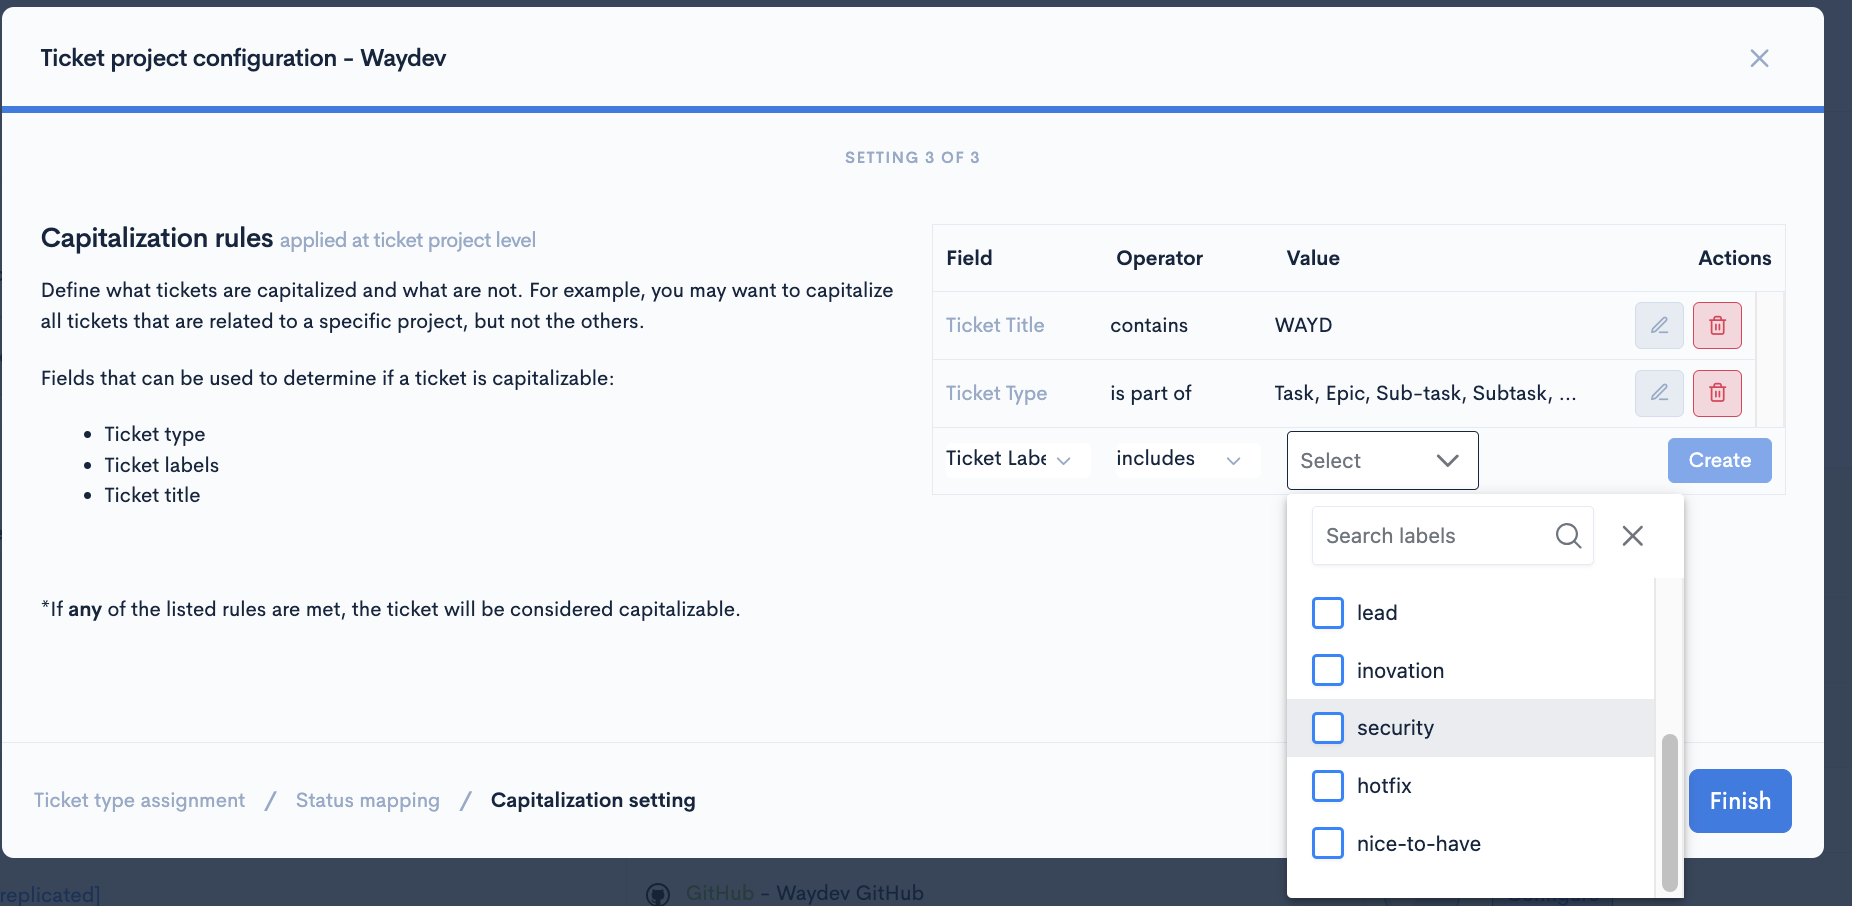
Step 4.3: Select the Ticket Labels you want from the drop-down list and click on Create.
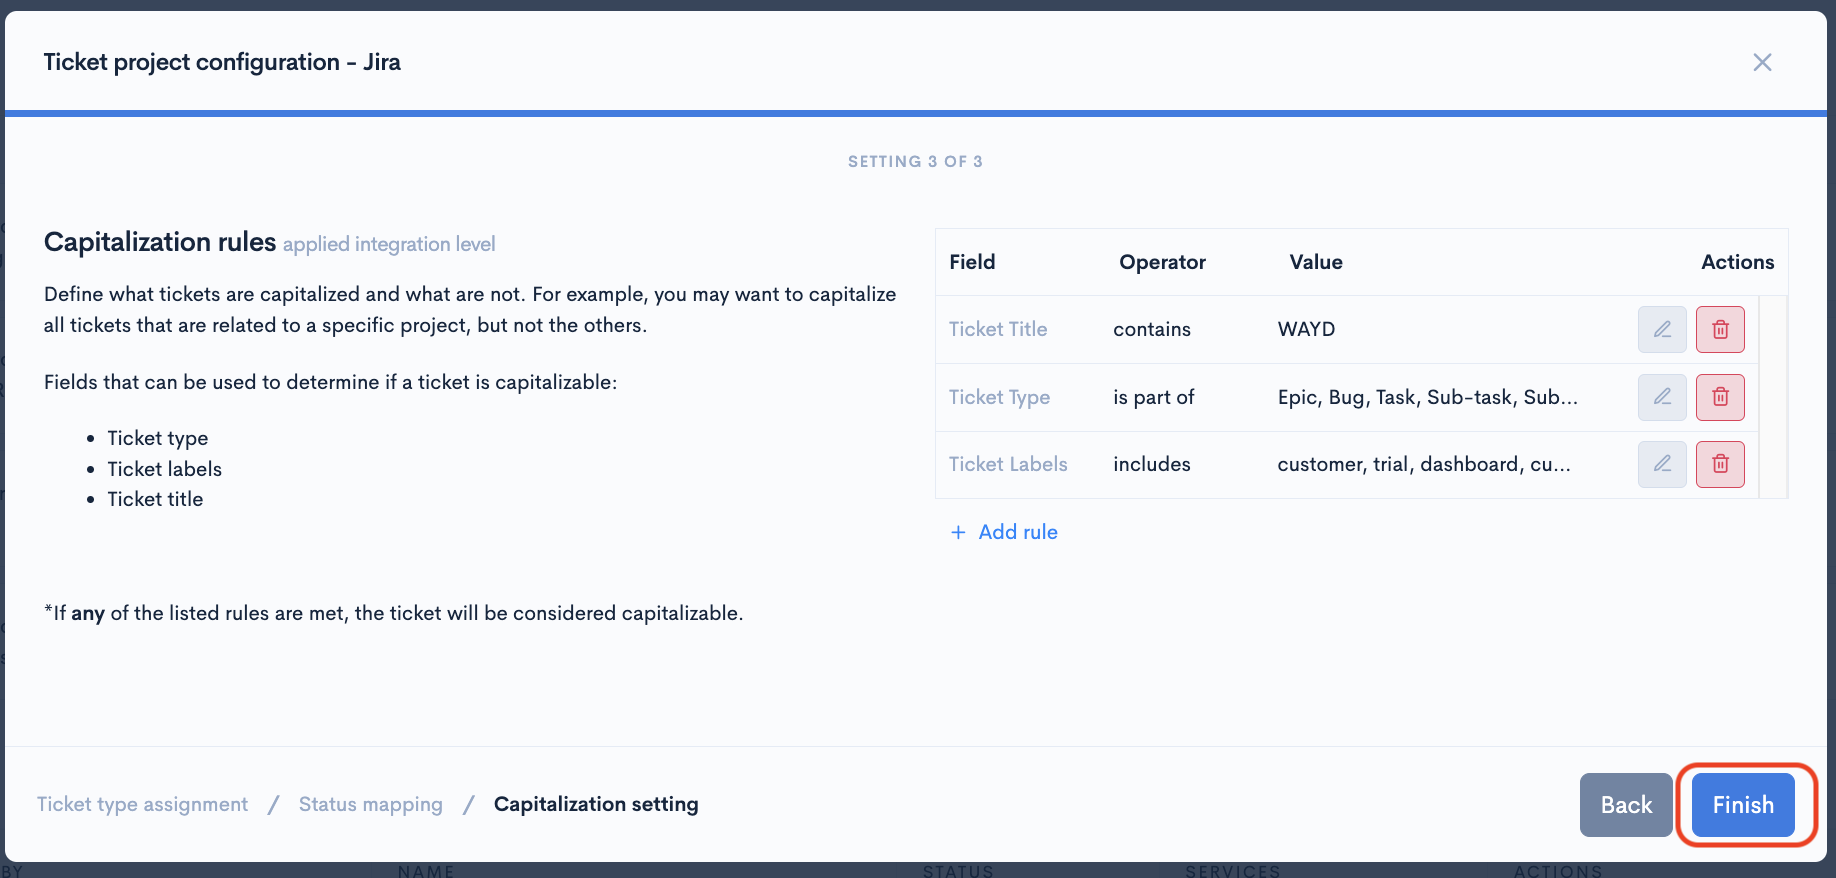
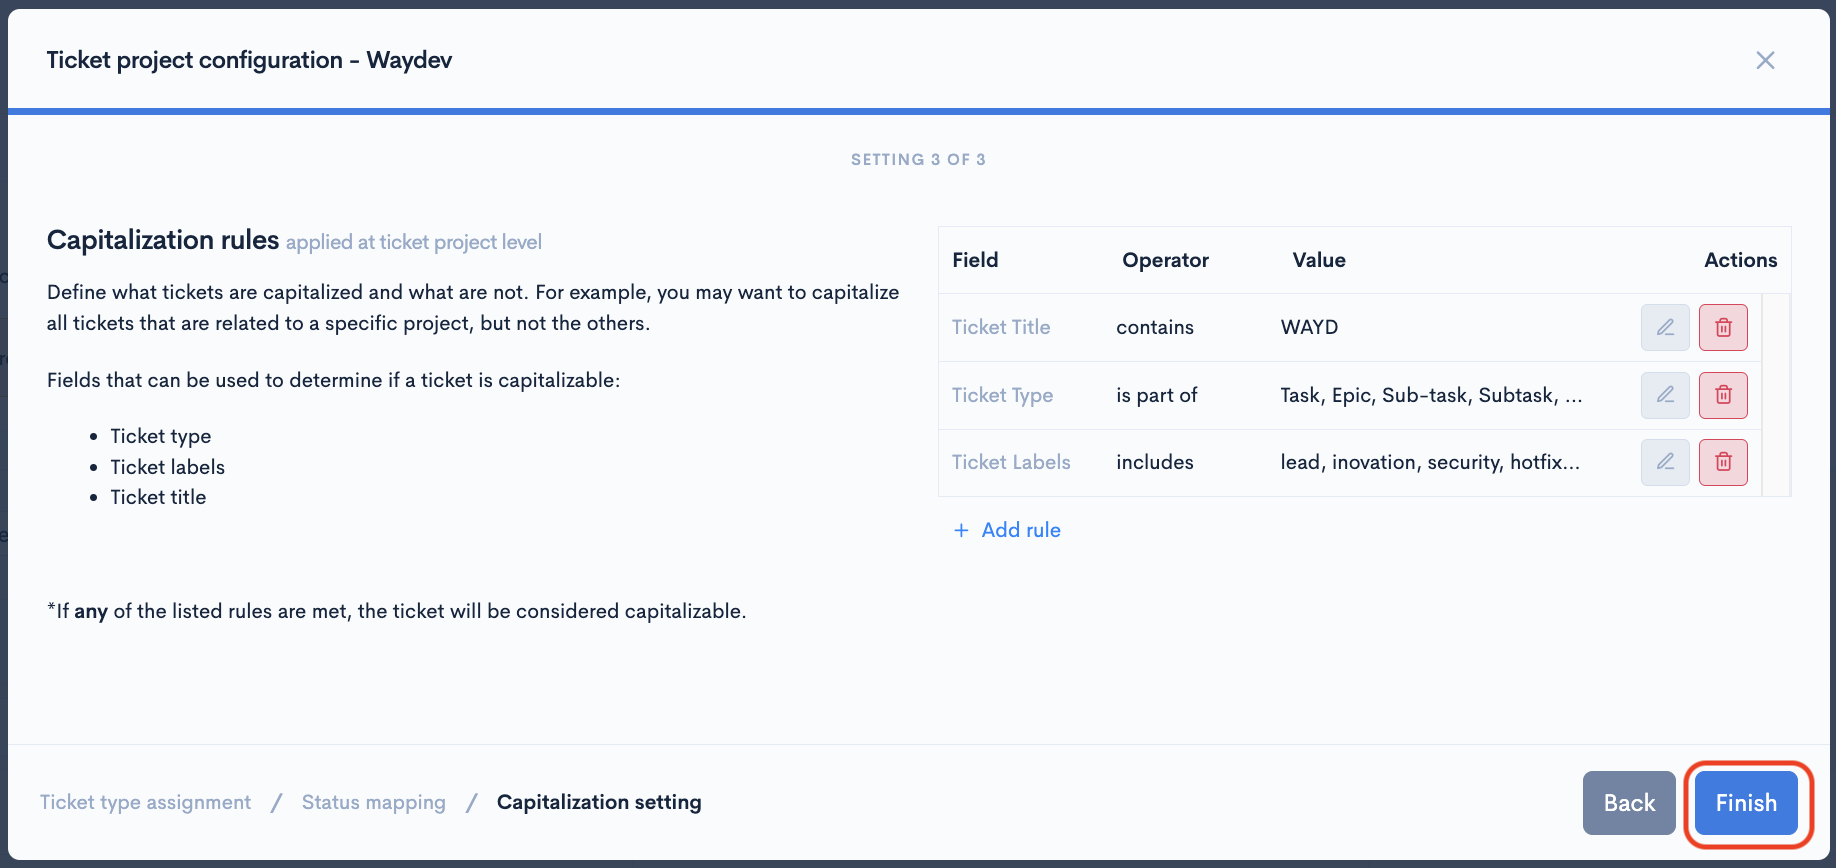
Step 5: When done, click Finish.
Configure ticket projects individually
Step 1 Go to Ticket Projects from the Setup section and click Configure on the ticket project you want to configure.

Step 2: On the bottom of the modal click Capitalization setting.
Step 3: Click the Add rule button.

Step 4: From the Field drop-down, choose what tickets should be capitalizable based on the following:
- Ticket Title
- Ticket Type
- Ticket Labels
Step 4.1: For the Ticket Title complete the Value field and click on Create.
Step 4.2: For the Ticket Type you can change the Operator to be either equals or is part of.
The "equals" option will allow you to select only one ticket type, while "is part of" will let you select multiple options from the drop-down.
After you're done, make sure to click Create.
Operator is "equals"

Operator is "is part of"
Step 9.3: Select the Ticket Labels you want from the drop-down list and click Create.
Step 10: After setting up the rules click Finish.
Updated about 2 months ago