
Notifications
Learn how to configure your Notifications
Create notifications
To create your notifications, navigate to Notifications in the side-bar menu, in the Benchmarking section.
Click on the Create Notification button.
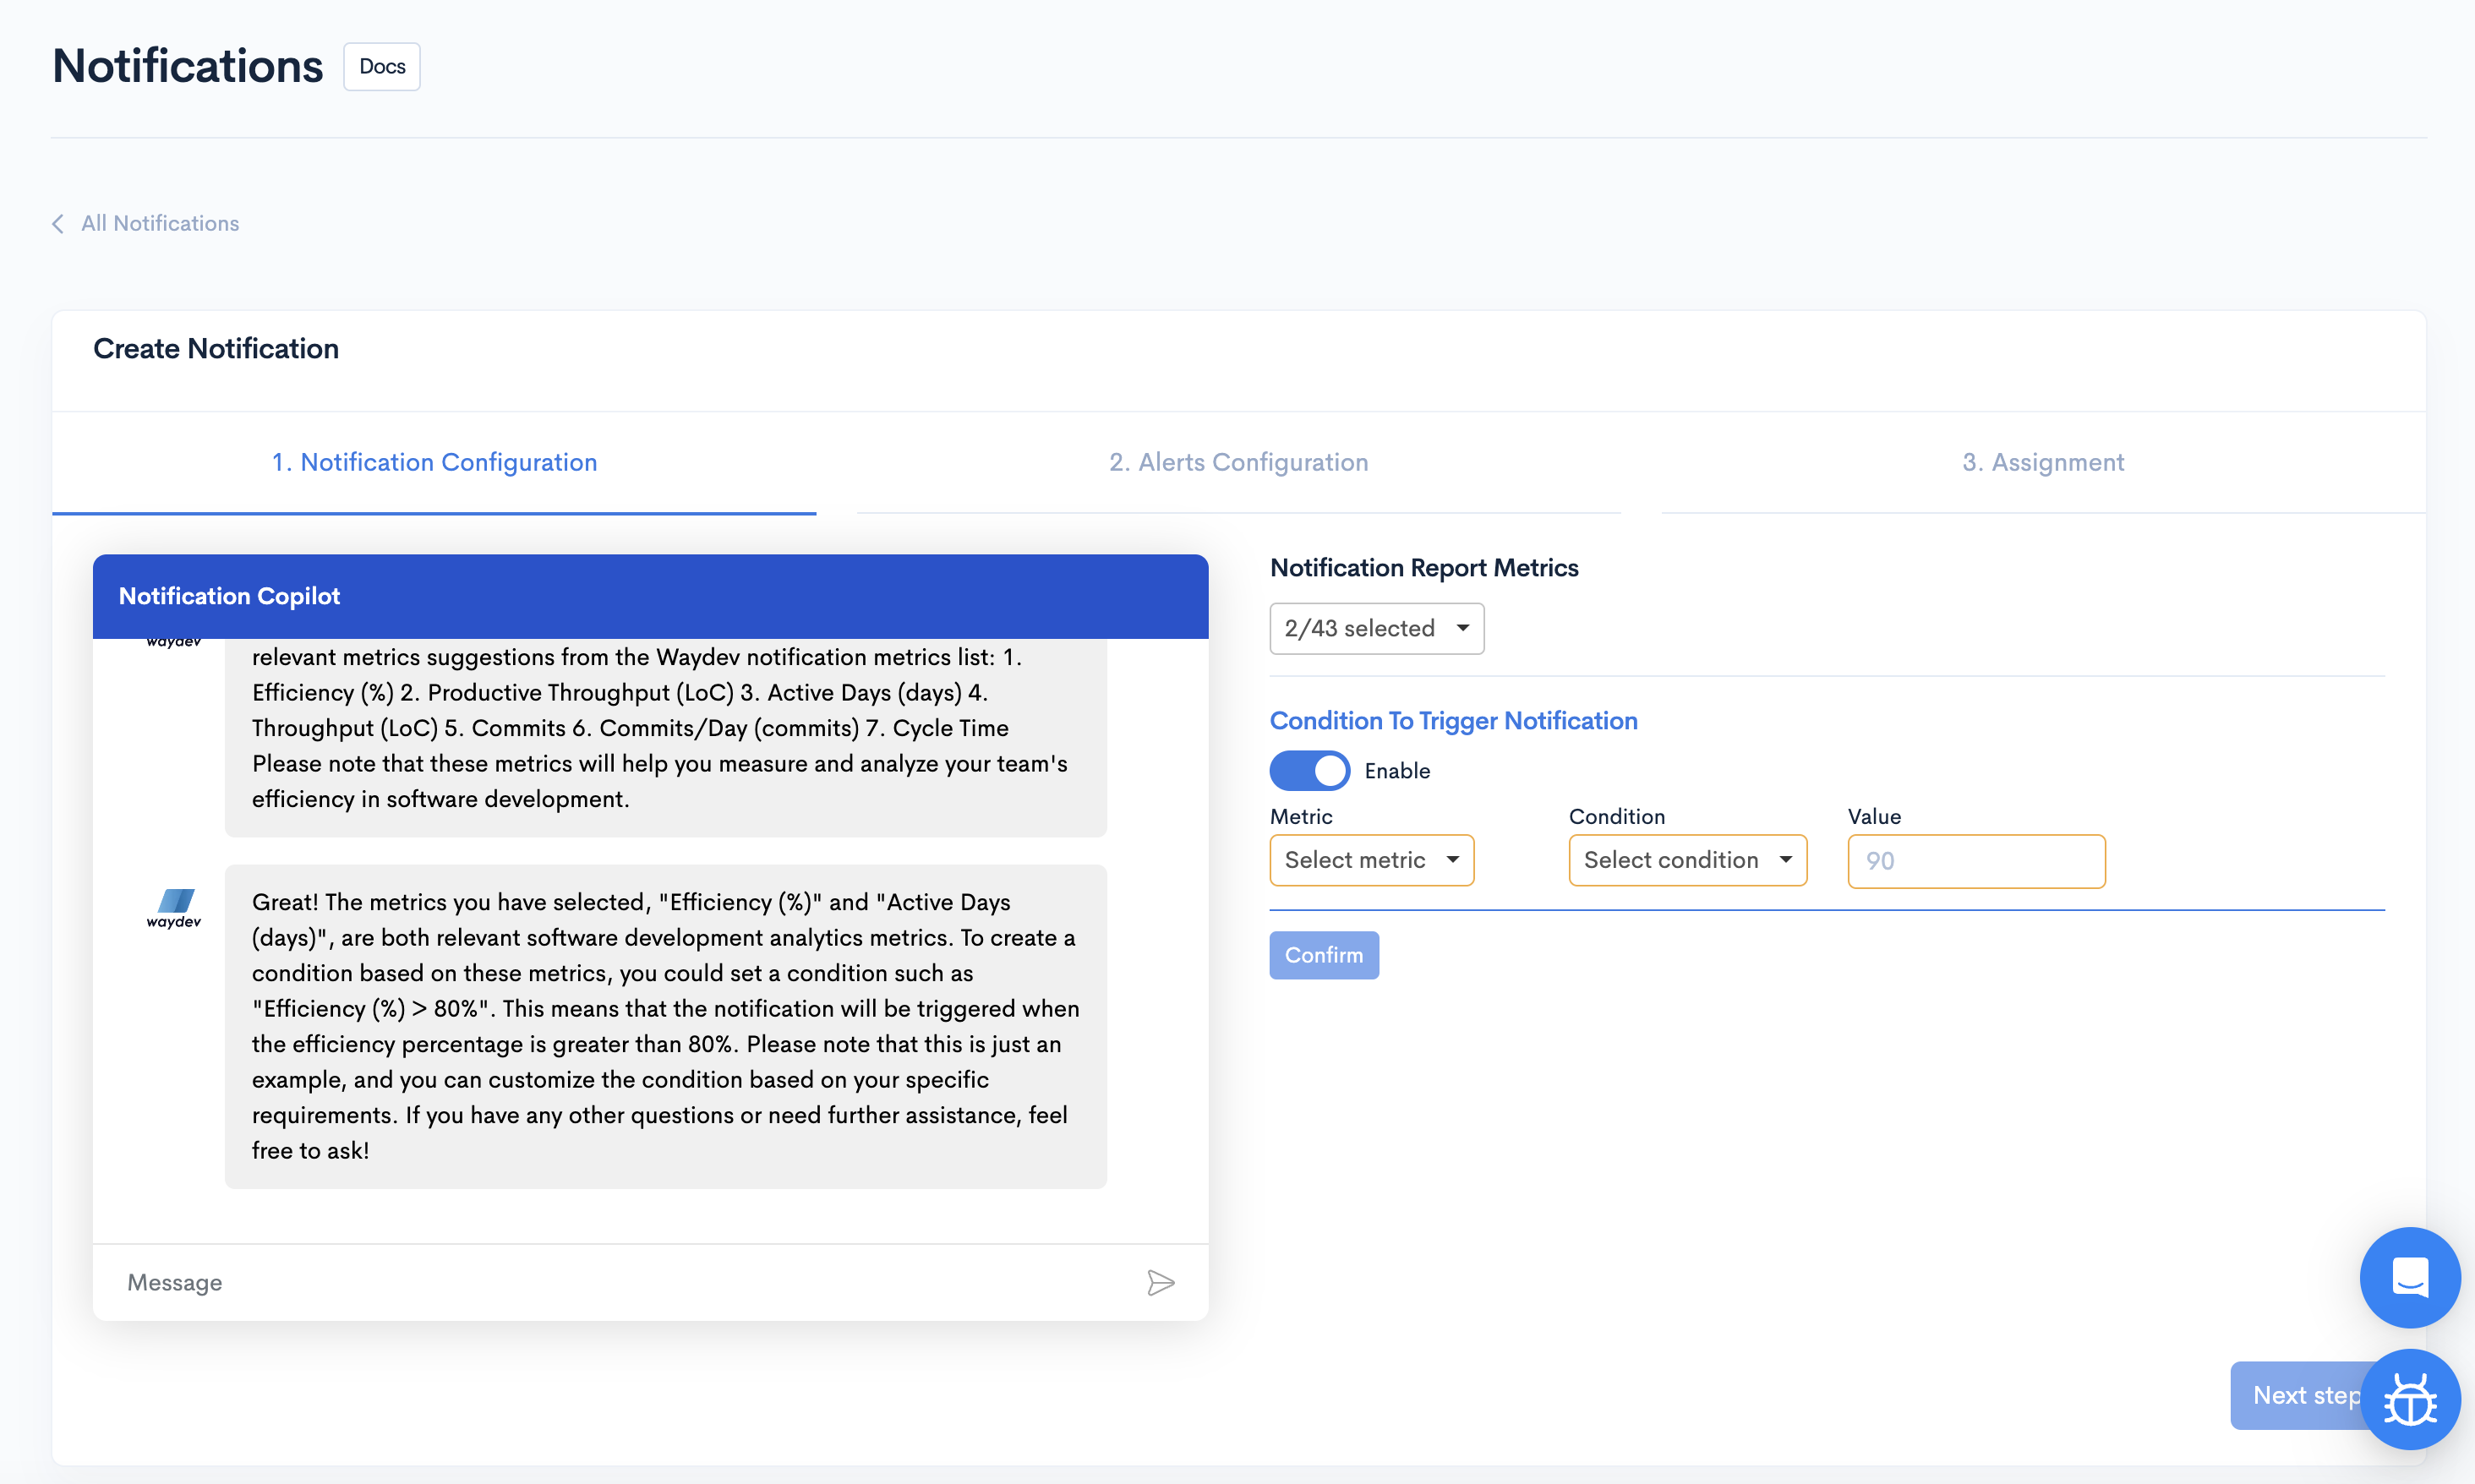
Here, you can create a notification by yourself or with the help of AI.
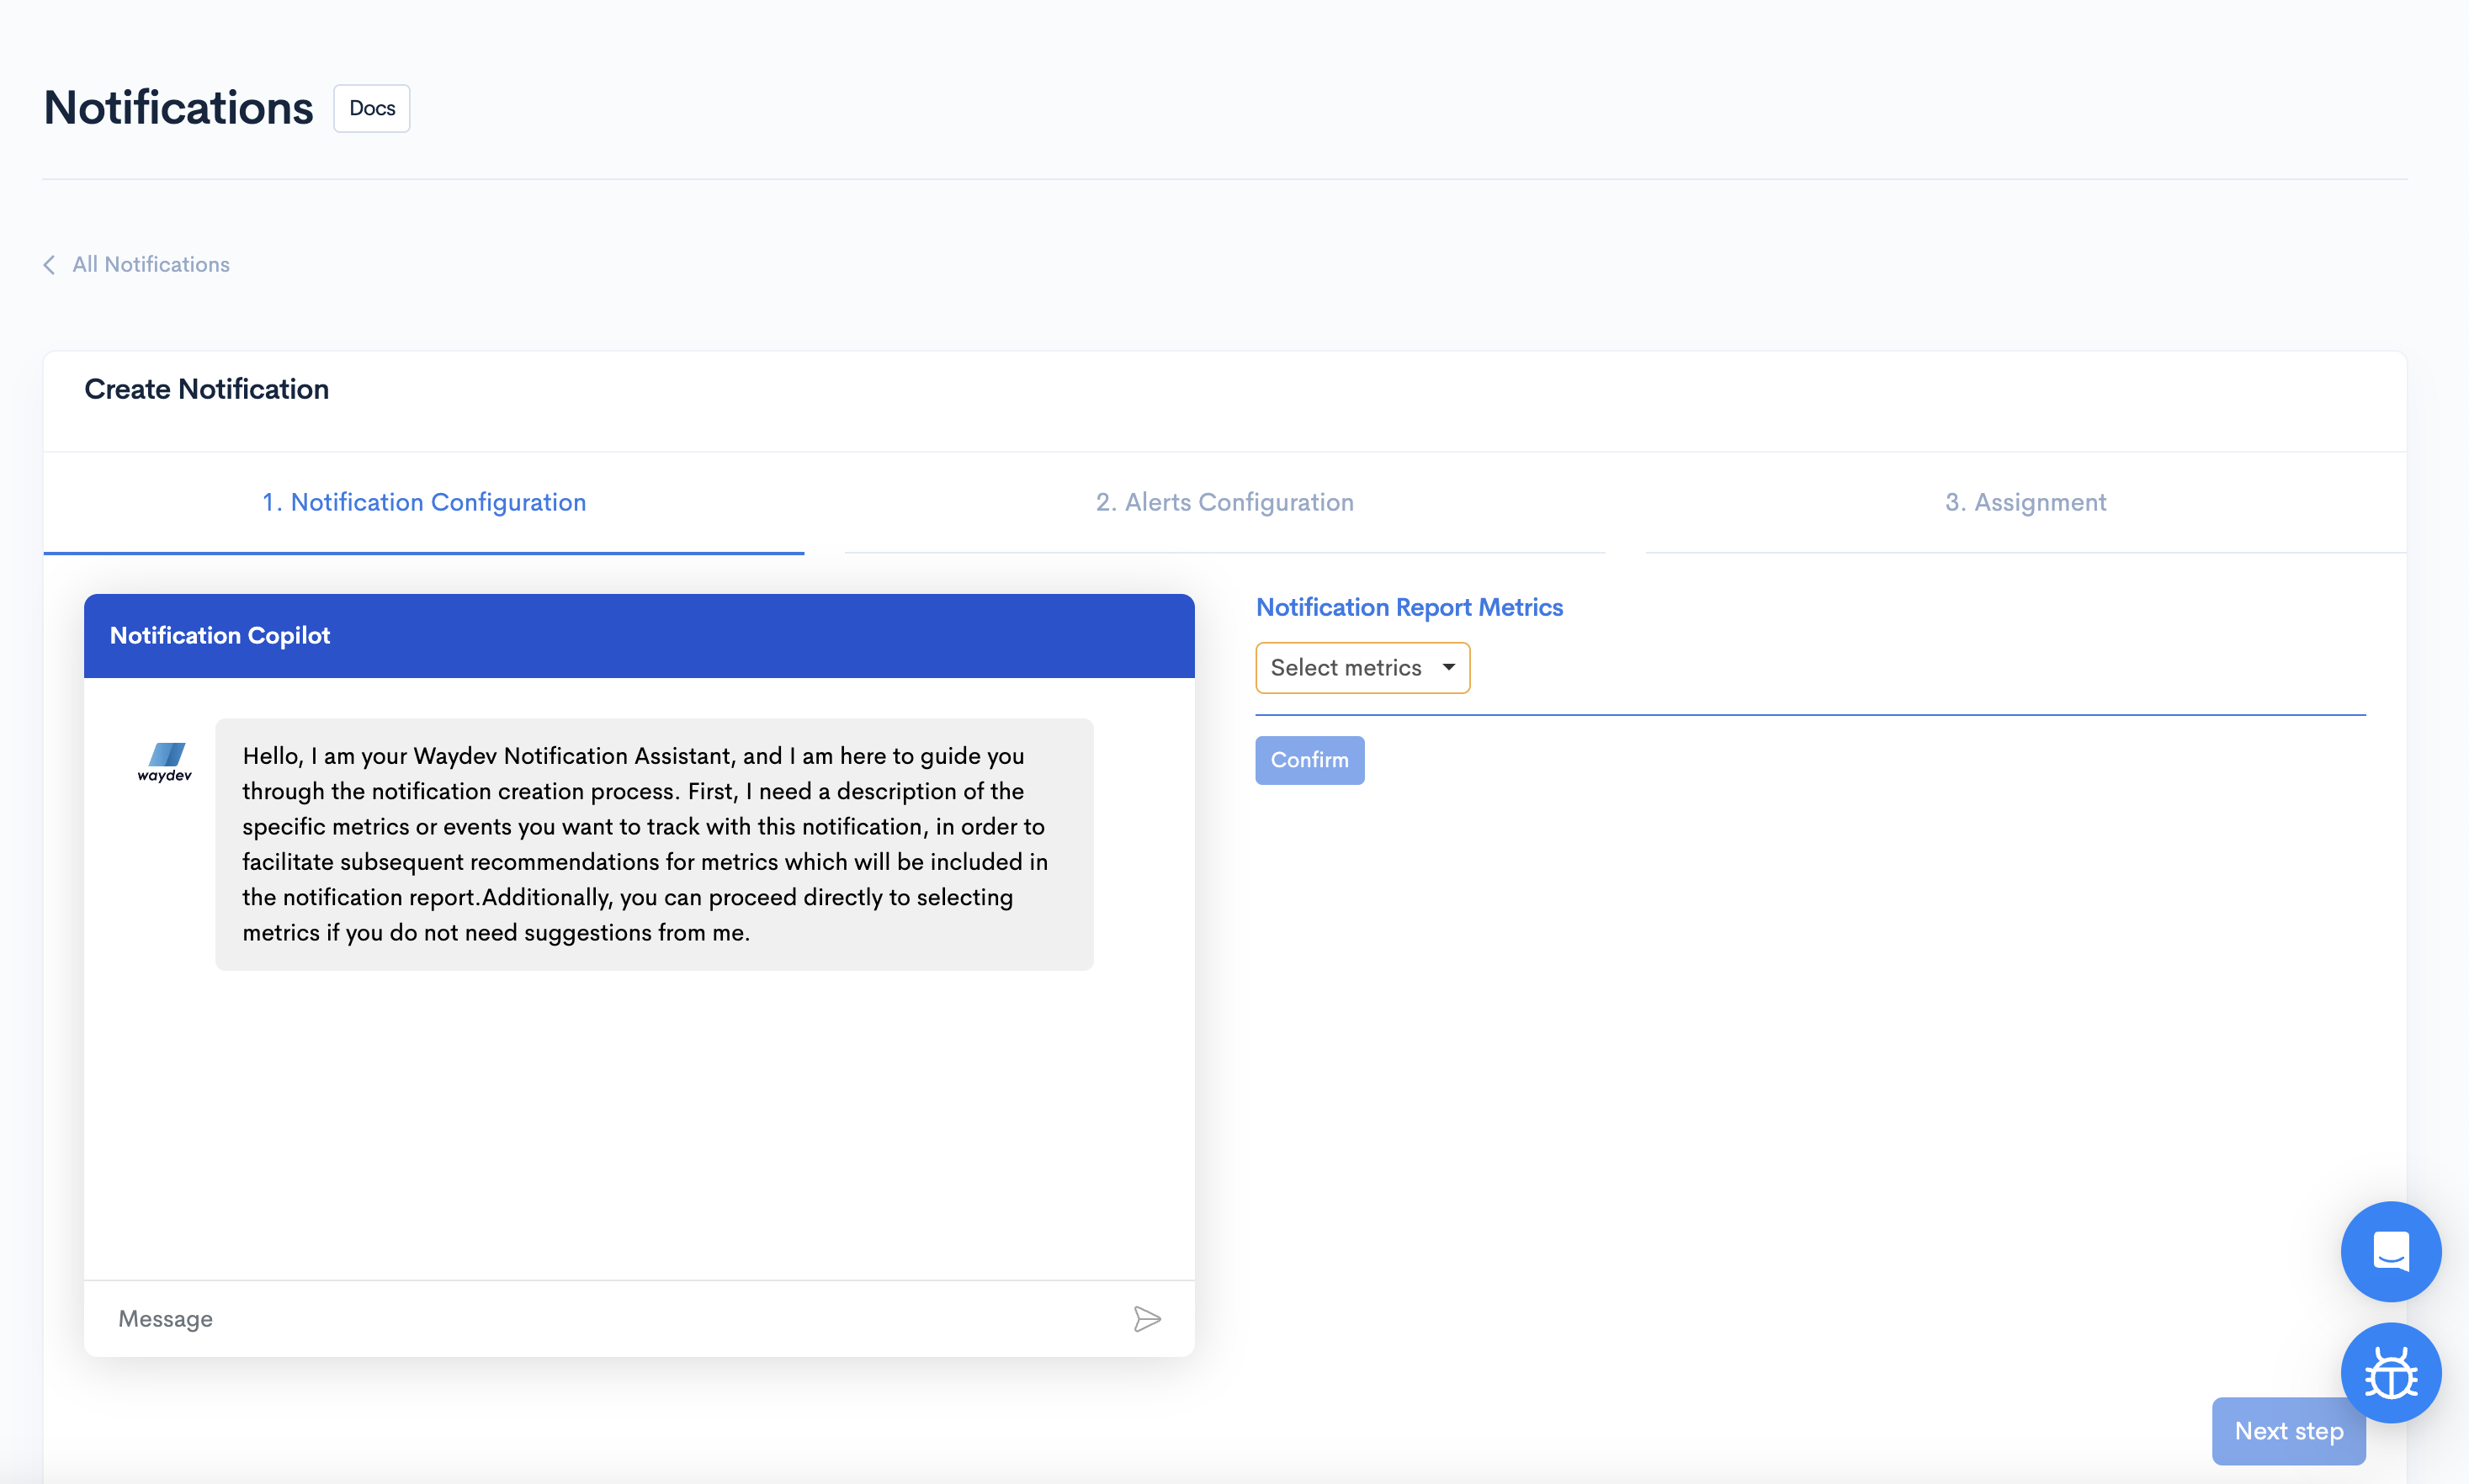
The notification Copilot was created to help you set notifications based on your goals.
If you want the copilot's help, you need to let the copilot know what kind of metrics you would like to track within your team (e.g., "I want to track my team's efficiency"; "I want to track my team's velocity").
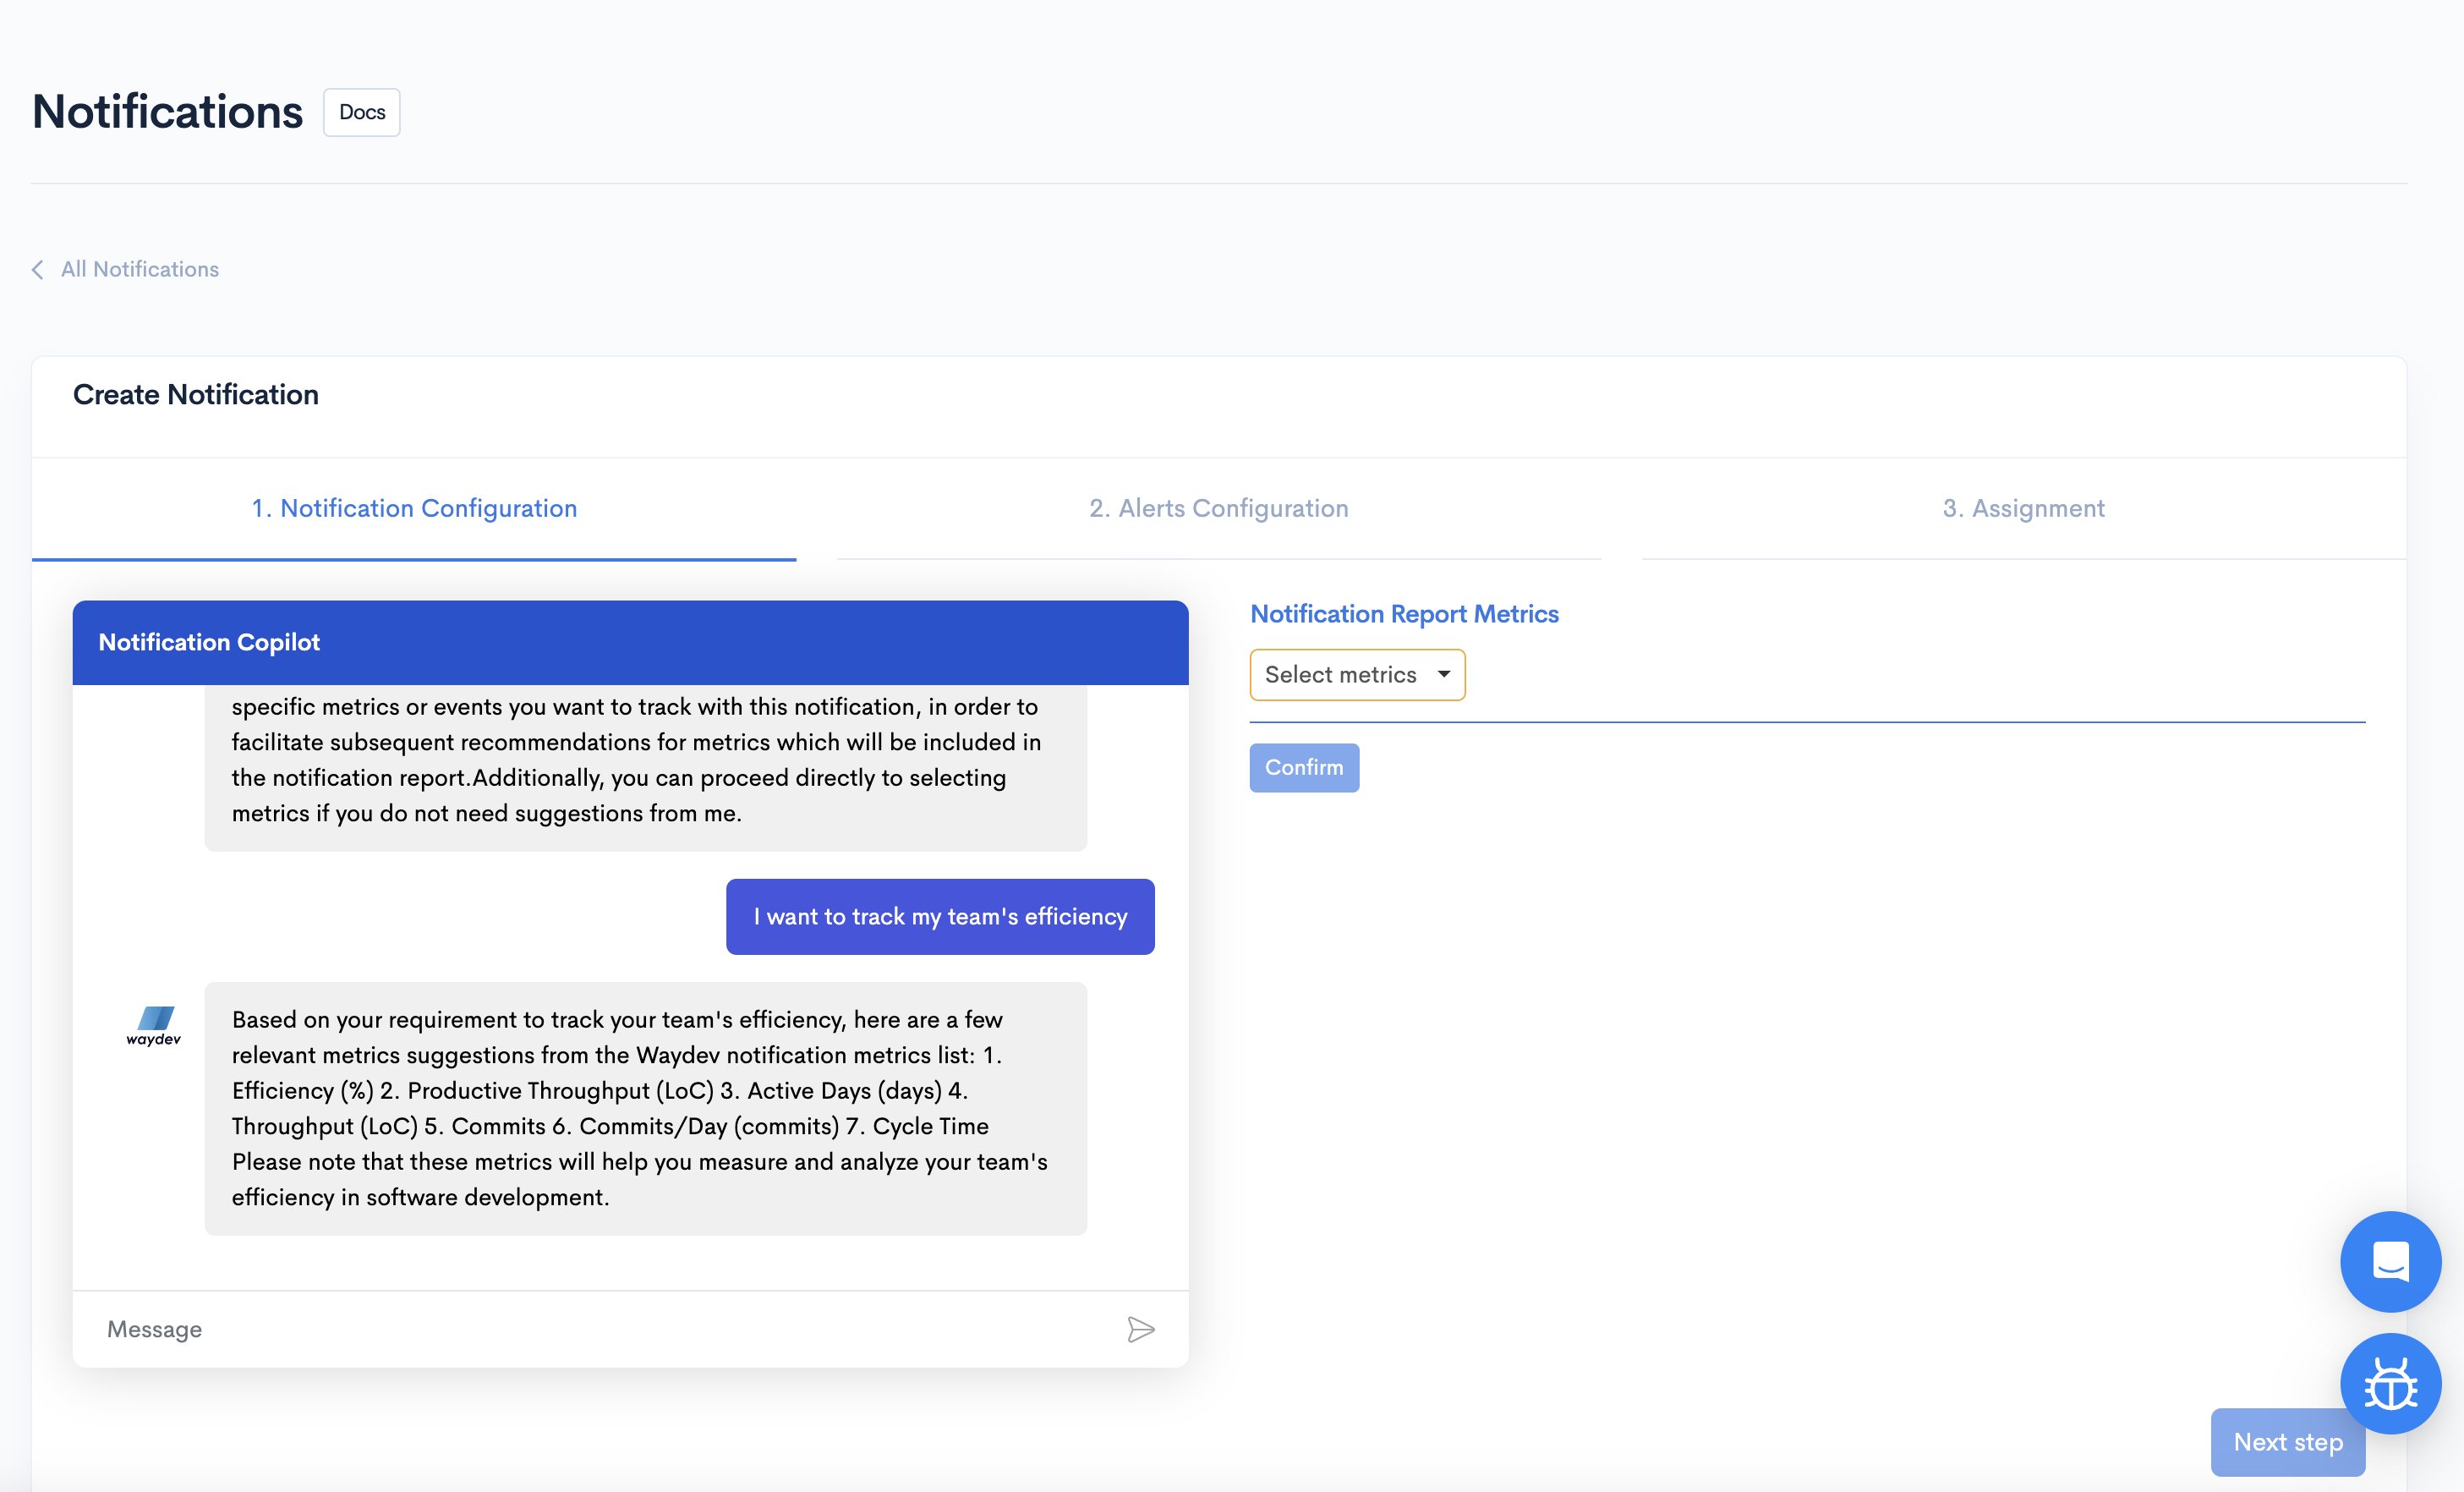
Based on the copilot's suggestions, you can choose your metrics in the "Notification Report Metrics" dropdown. These will be the metrics that will show up in the report with your notification.
Please note that the copilot does not prioritize or arrange the suggested metrics in any specific order.
You can select your metrics without the copilot's help. Using it is not necessary.
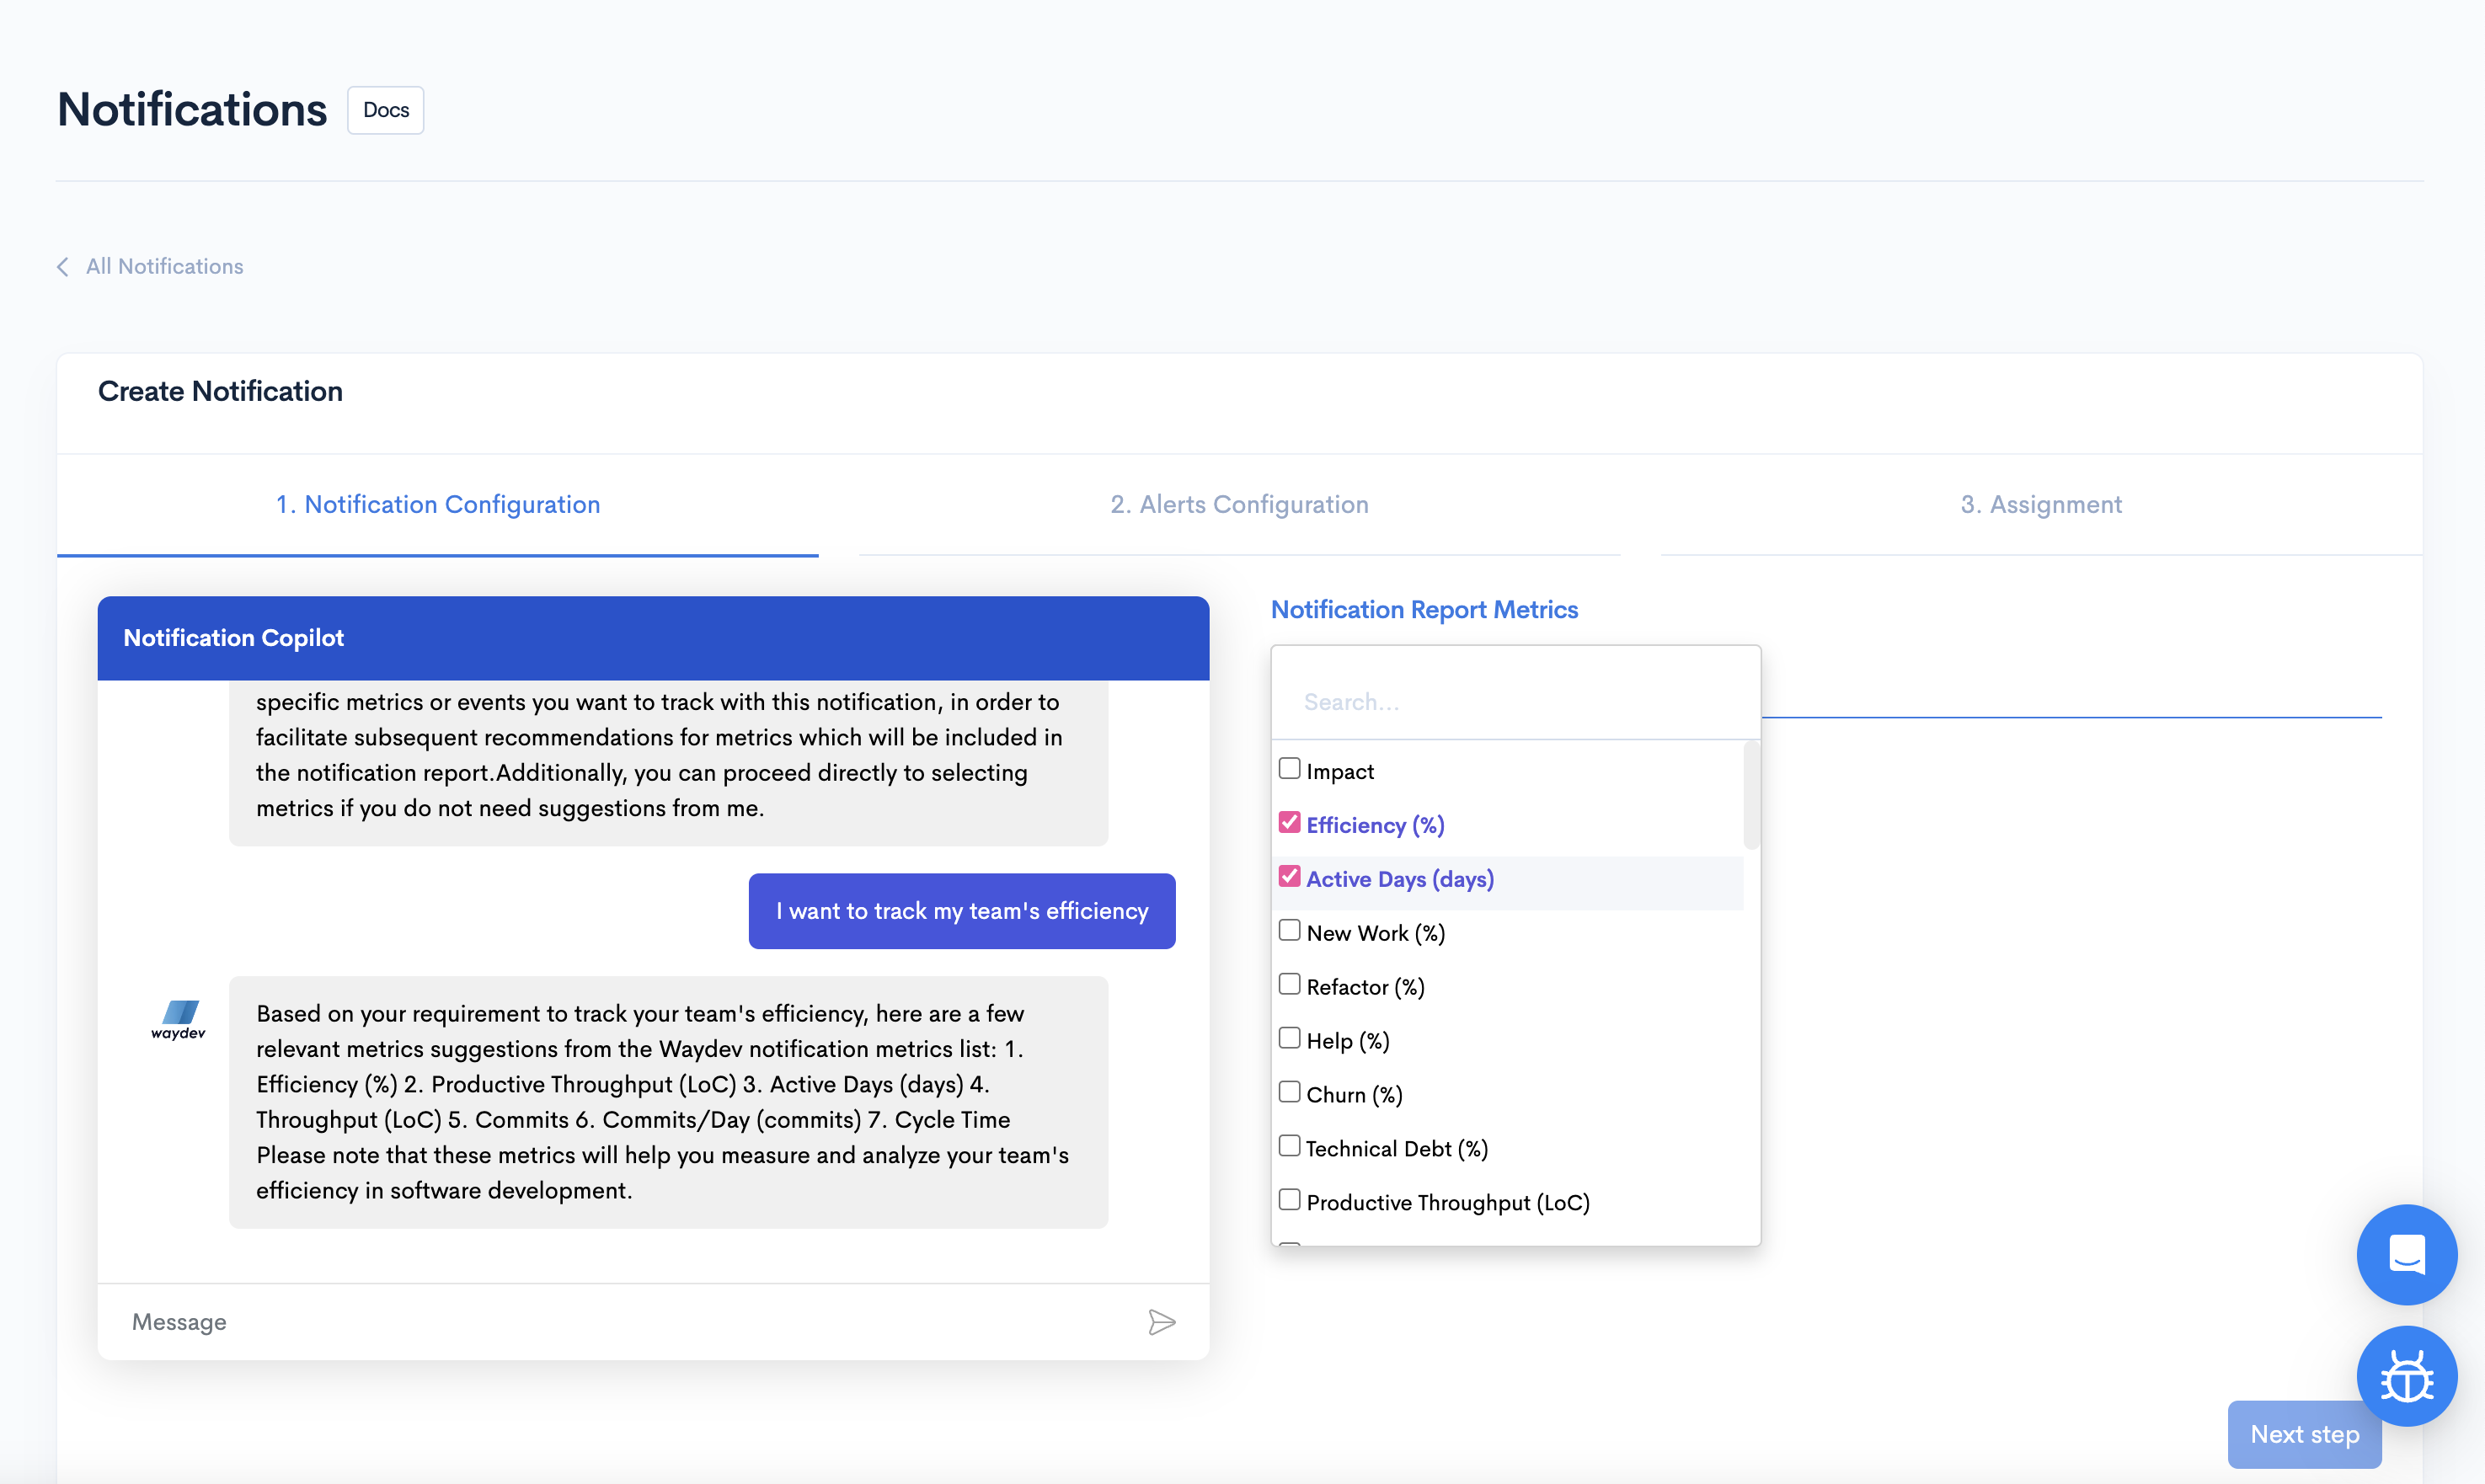
After you select, click "Confirm". After clicking, the copilot will move on to setting the condition to trigger your notification. It will give you an example of how to set your condition. If you have other questions you can ask the copilot.
Select the metric from the Metric dropdown, select the condition, and select a value. This means that the notification will be triggered when the condition is met.
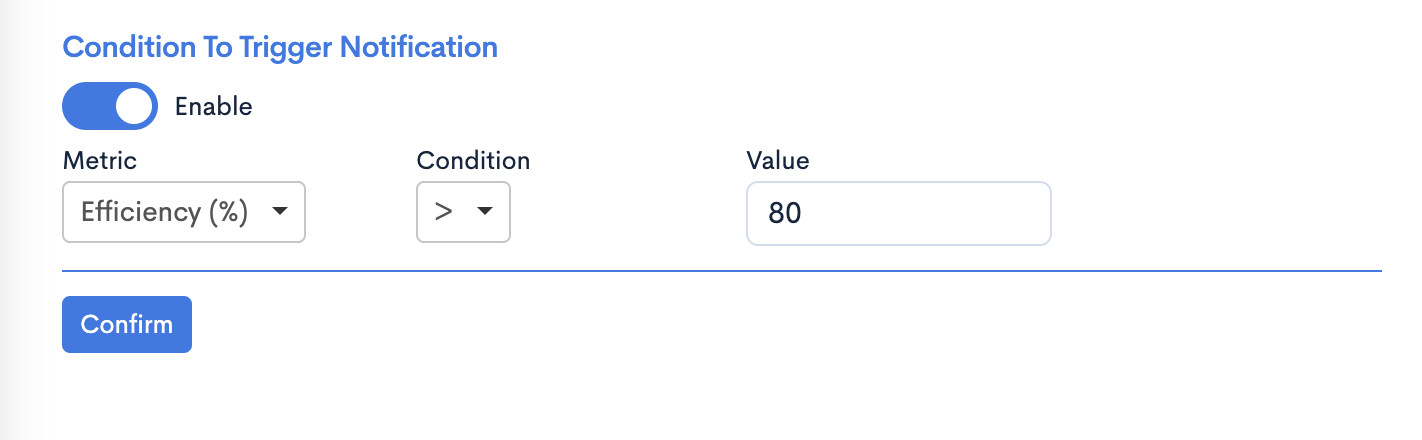
You can disable the notification trigger and you will get your notification based on the trigger period you select on the next step.
After you set the condition, click Confirm
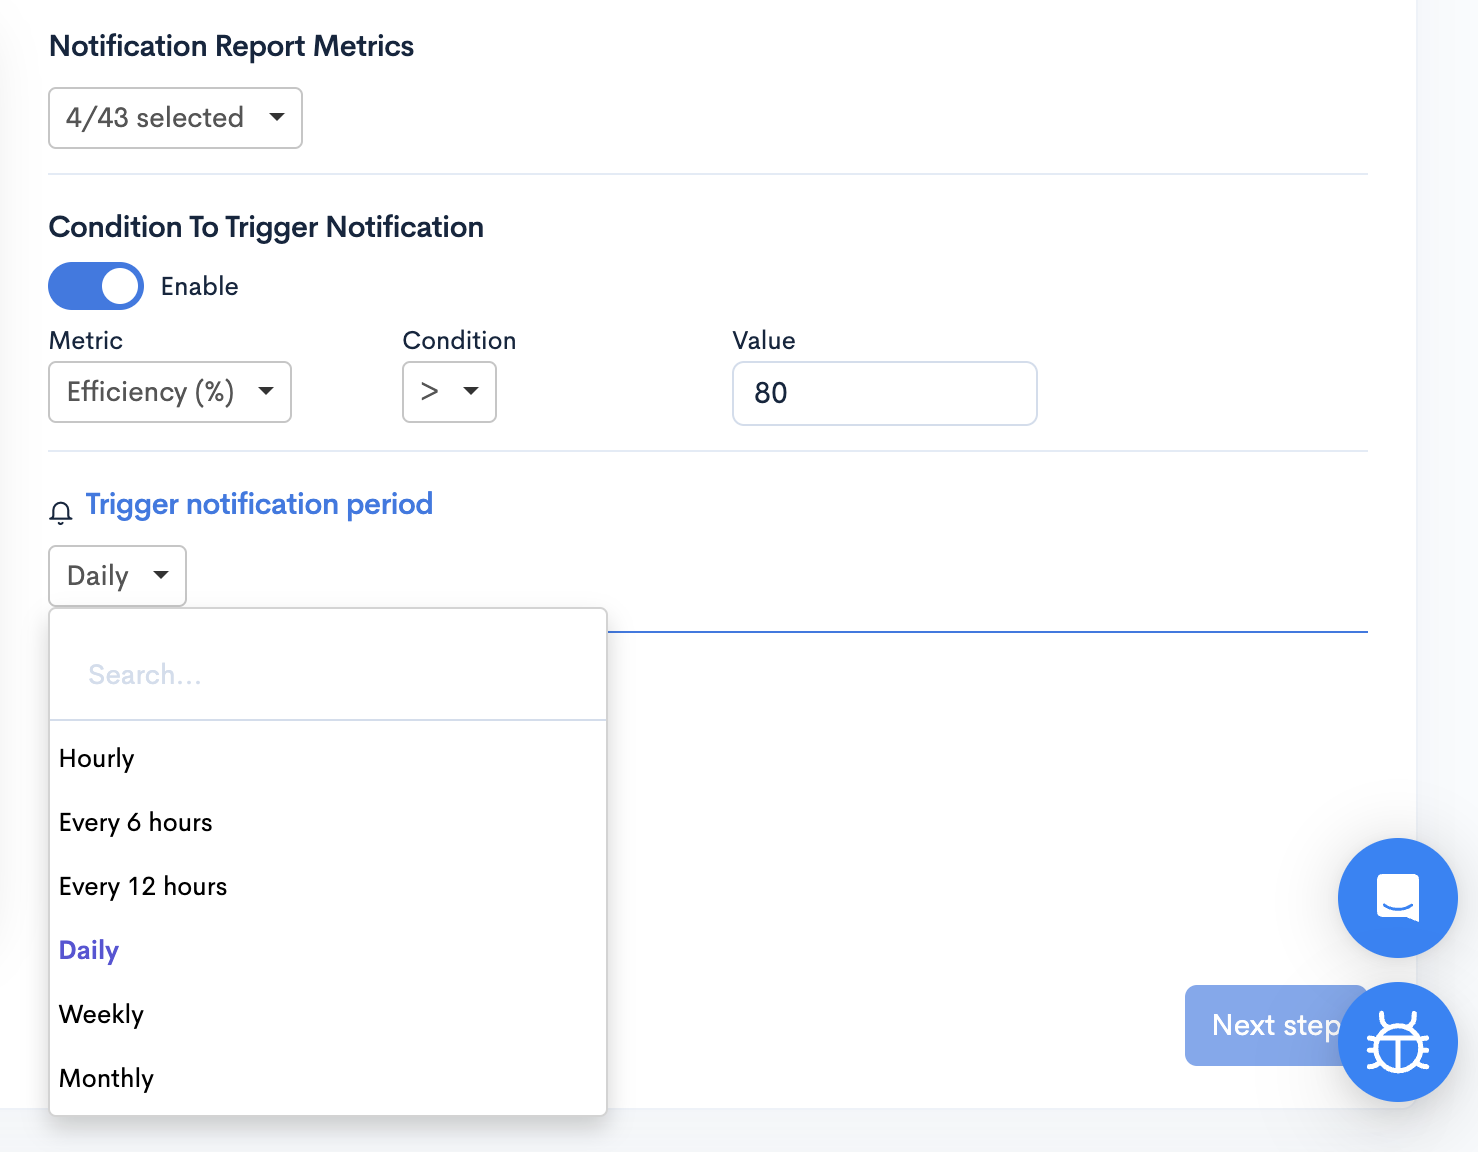
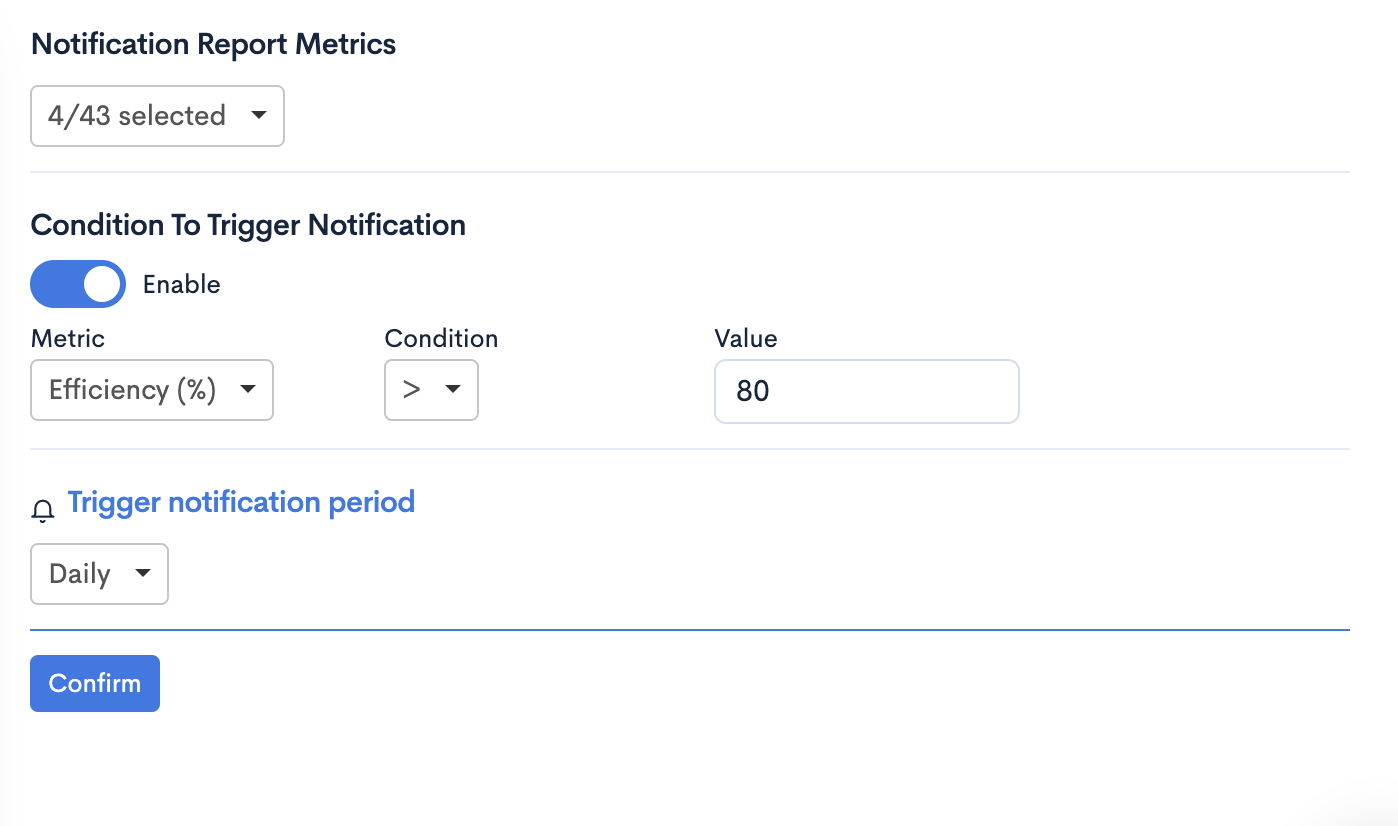
Select the recurring time period for sending the notification. You can choose from options such as hourly, every 6 hours, every 12 hours, daily, weekly, or monthly. After you select the preferred option from the dropdown menu, click Confirm.
Once you click confirm, you will need to name your notification. The copilot will suggest an appropriate name for your notification, or you can choose one for yourself.

Once named, click "Next Step", as you completed the Configuration step.
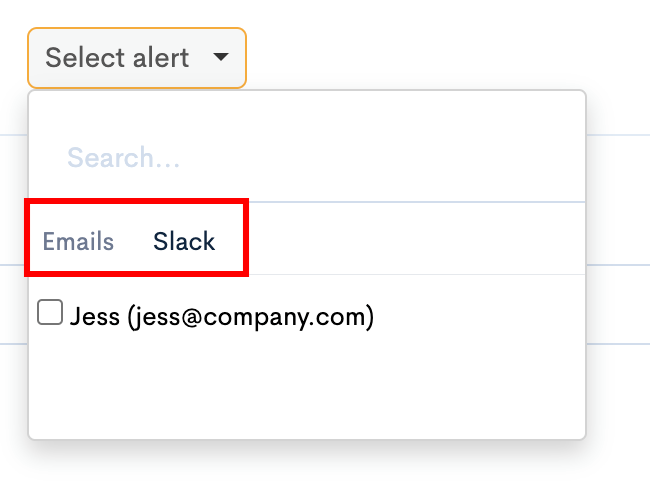
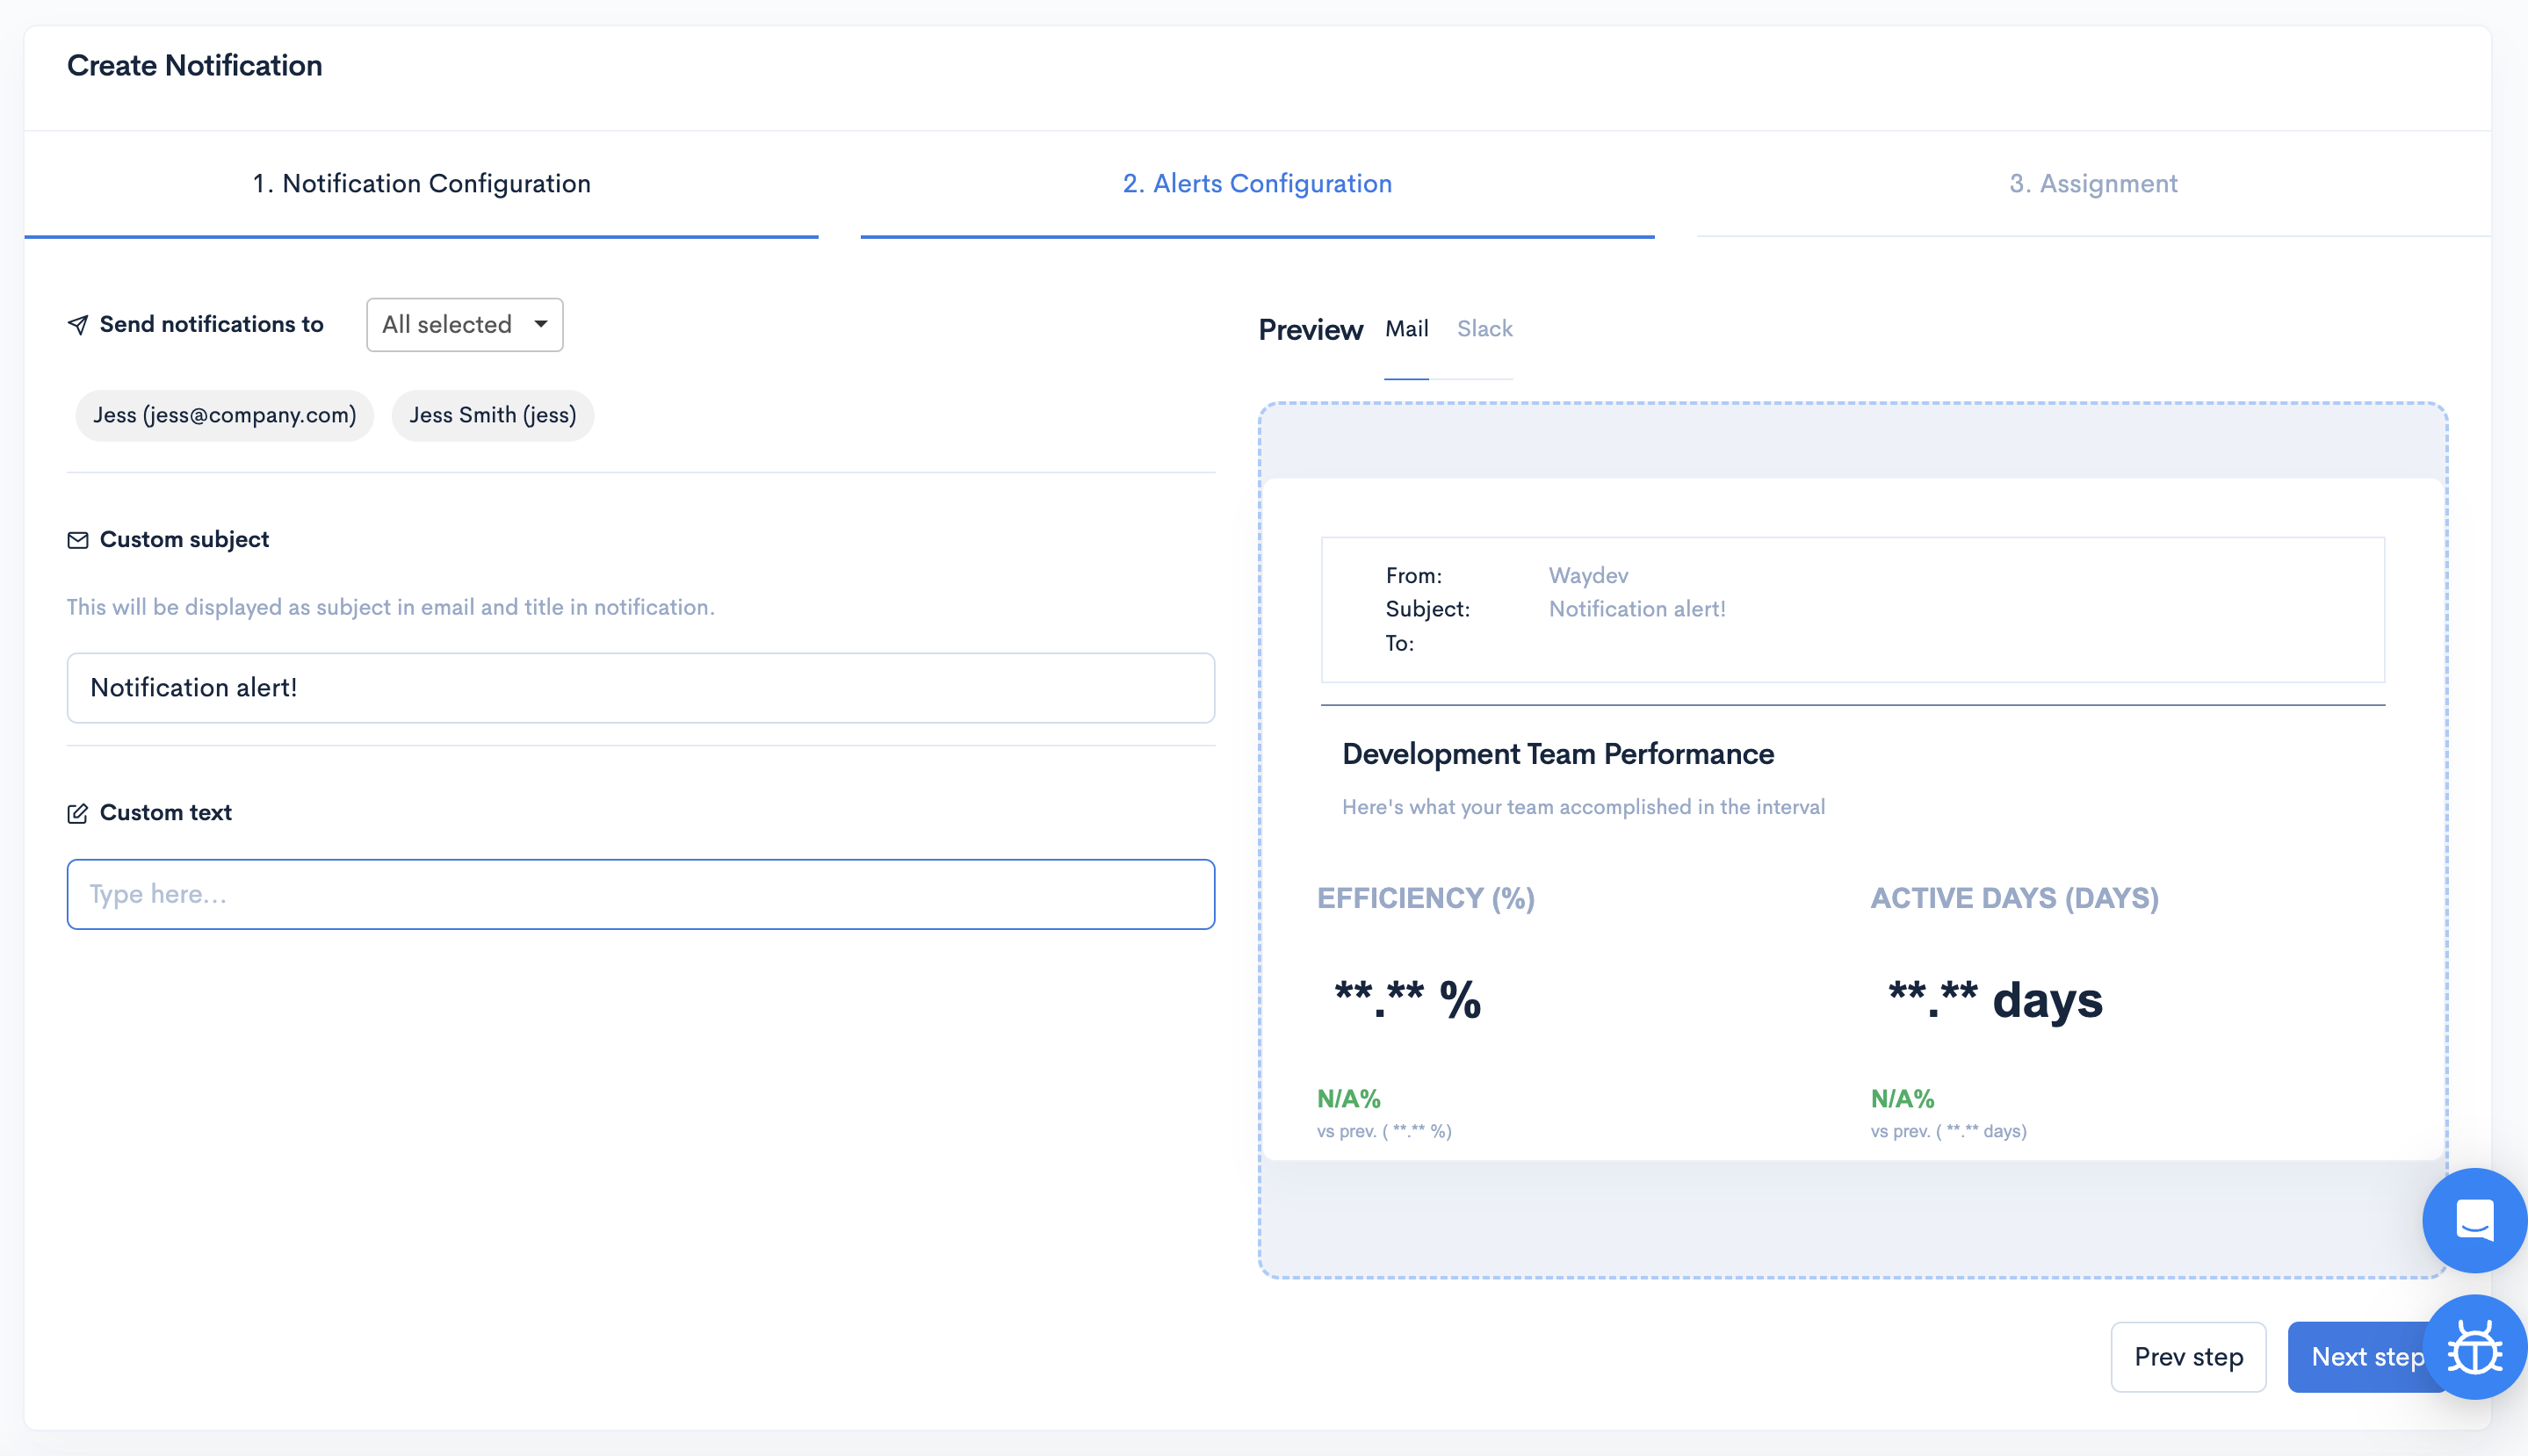
In the next step, decide where the notification will be sent.
First, decide whether you want to get this via email or your live chat system, then decide who will receive this notification.
Once that is decided, you can configure the subject and text of the notification, and you'll get a preview.
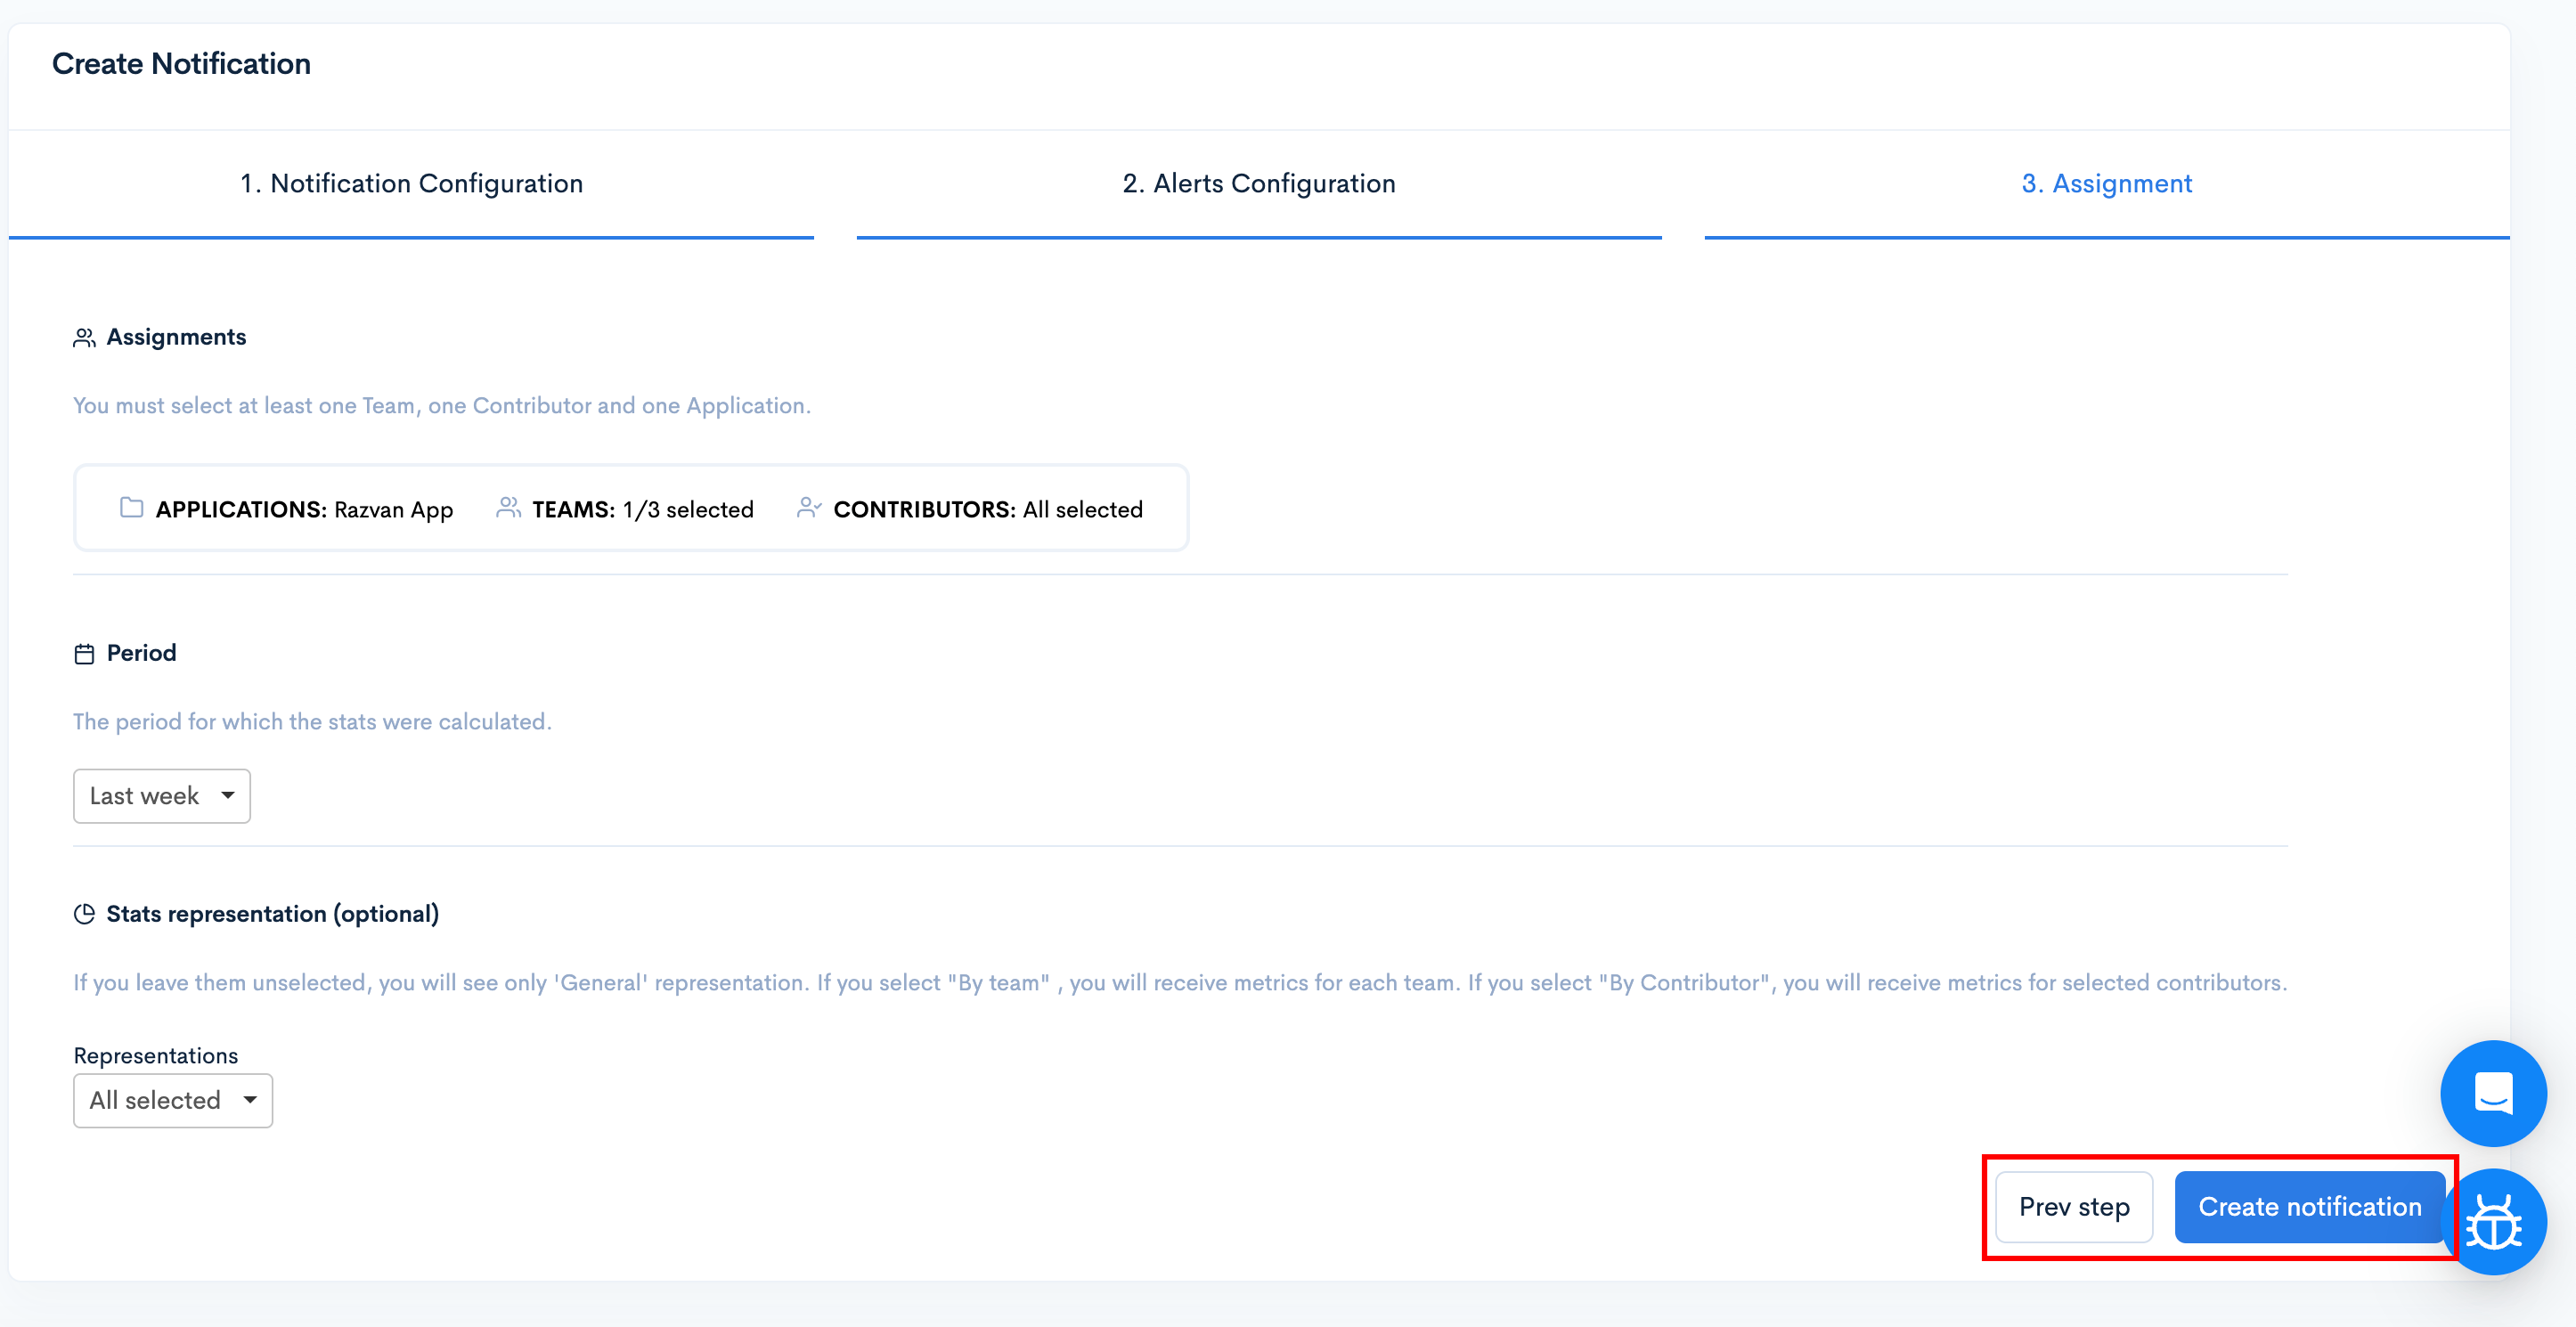
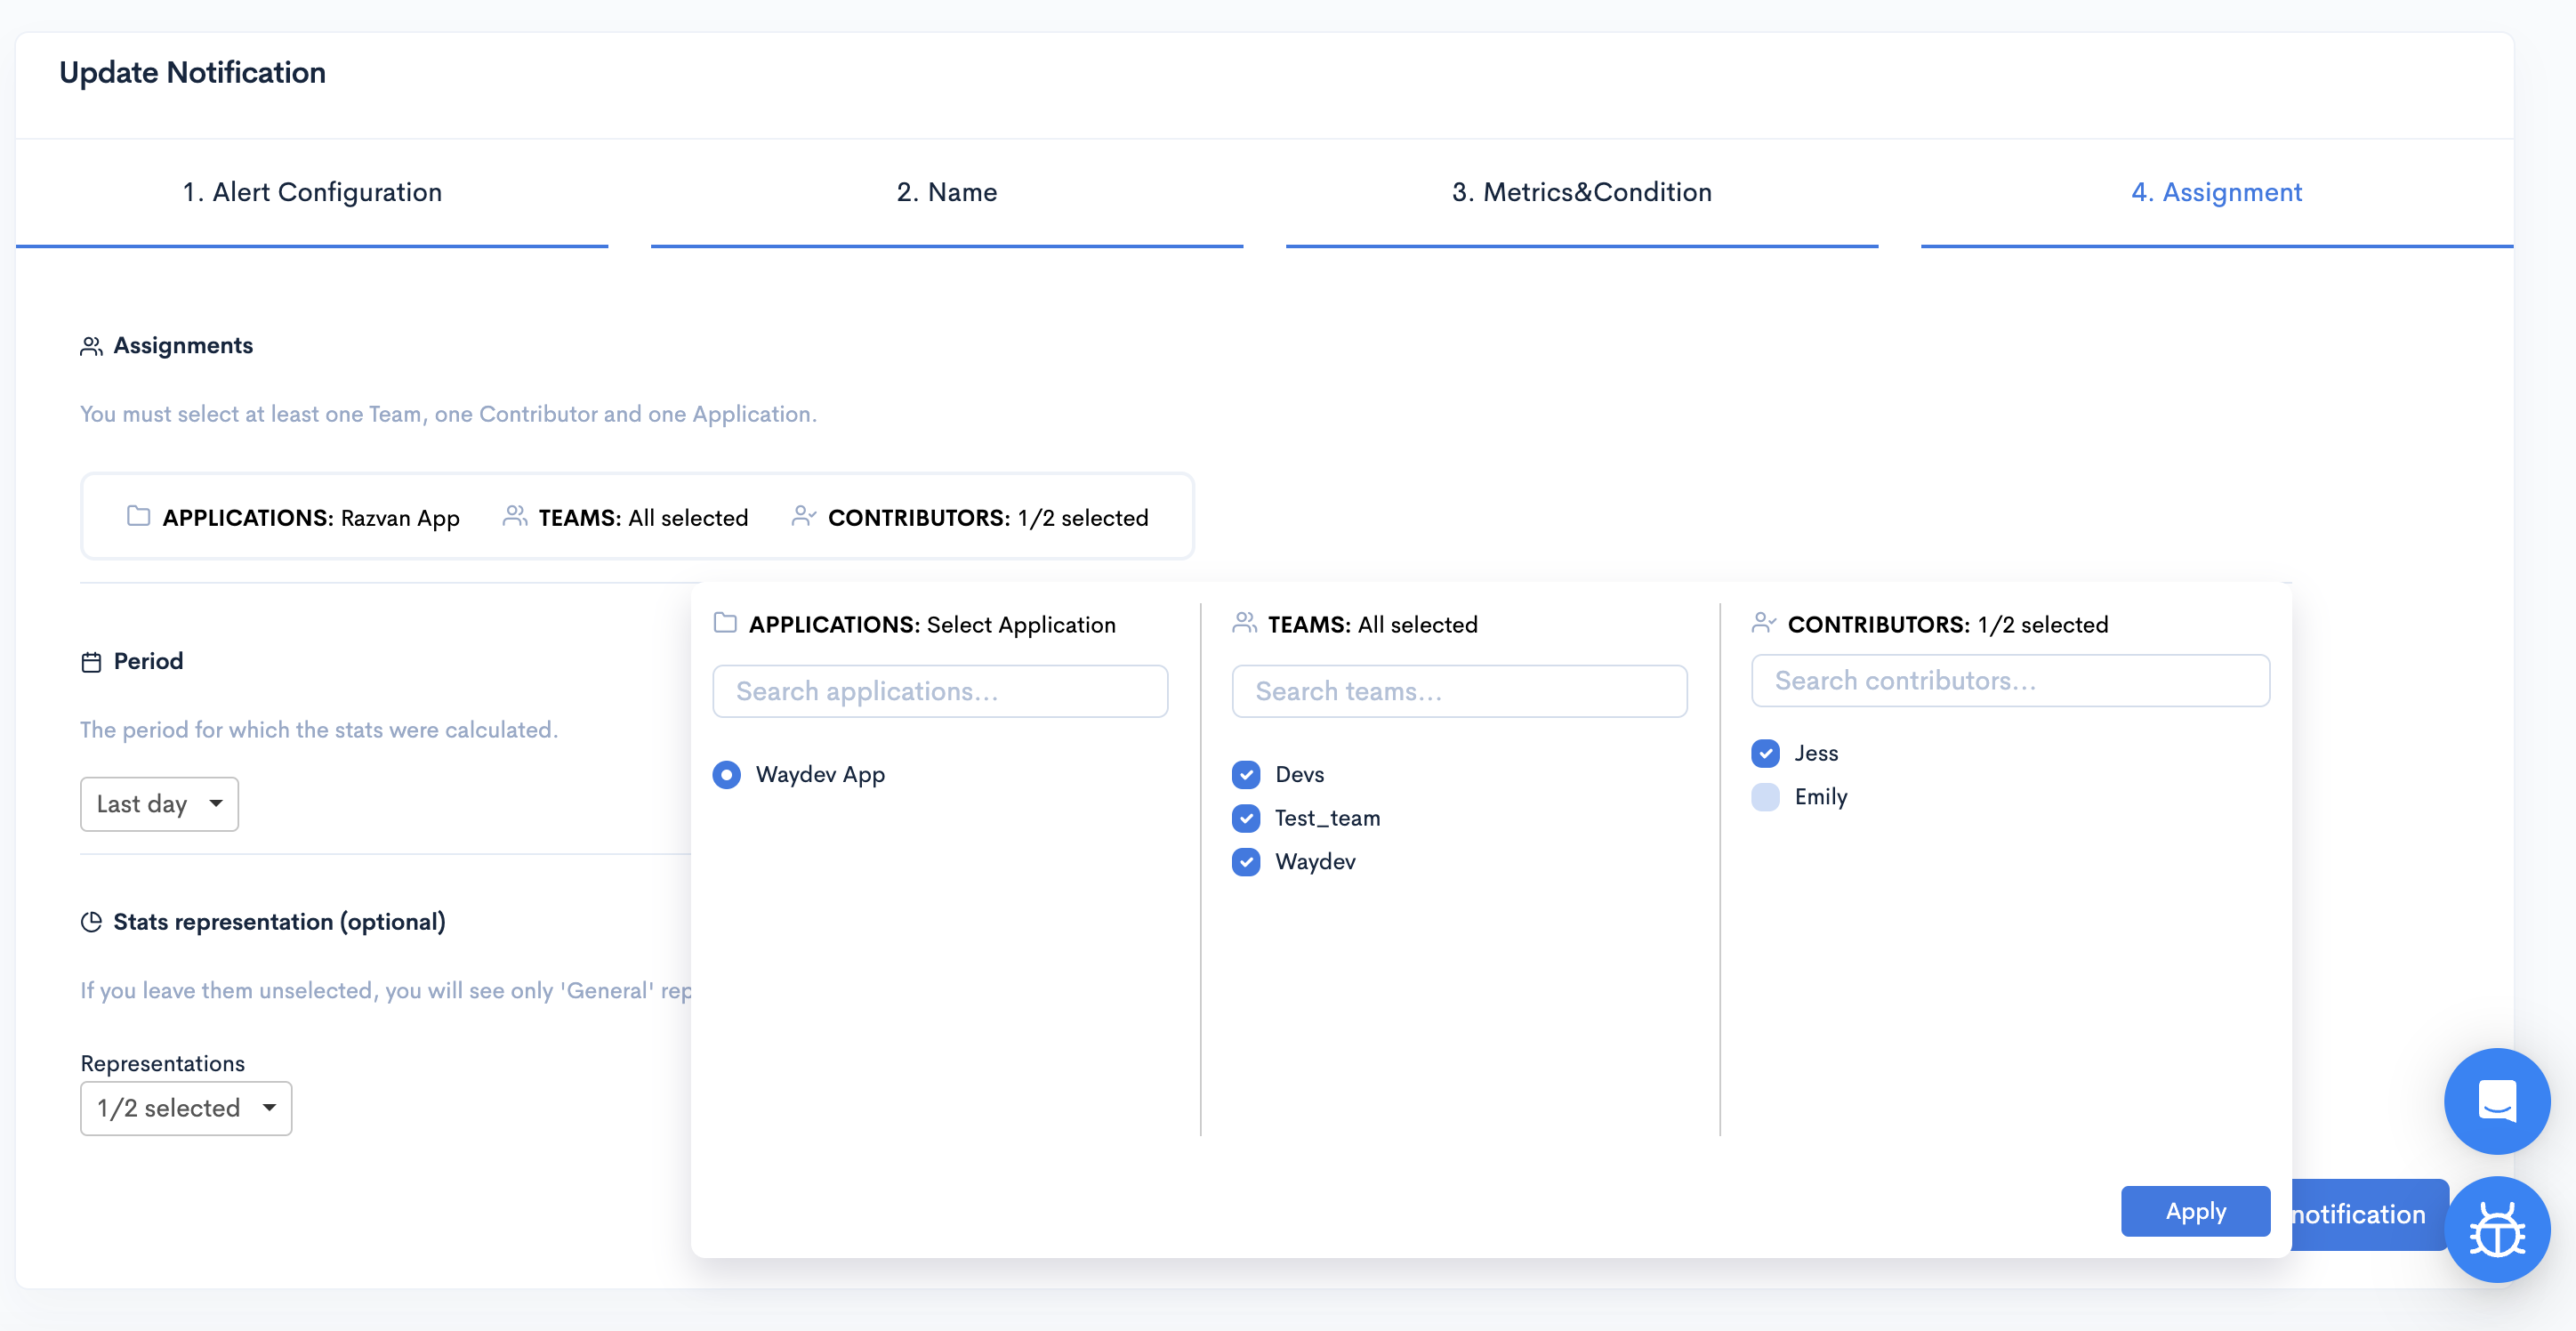
After clicking "Next step," you'll have to decide who you'll get the notification for (the applications, teams, and contributors analyzed for these notifications). You have to select at least one Team and Contributor and one Application.
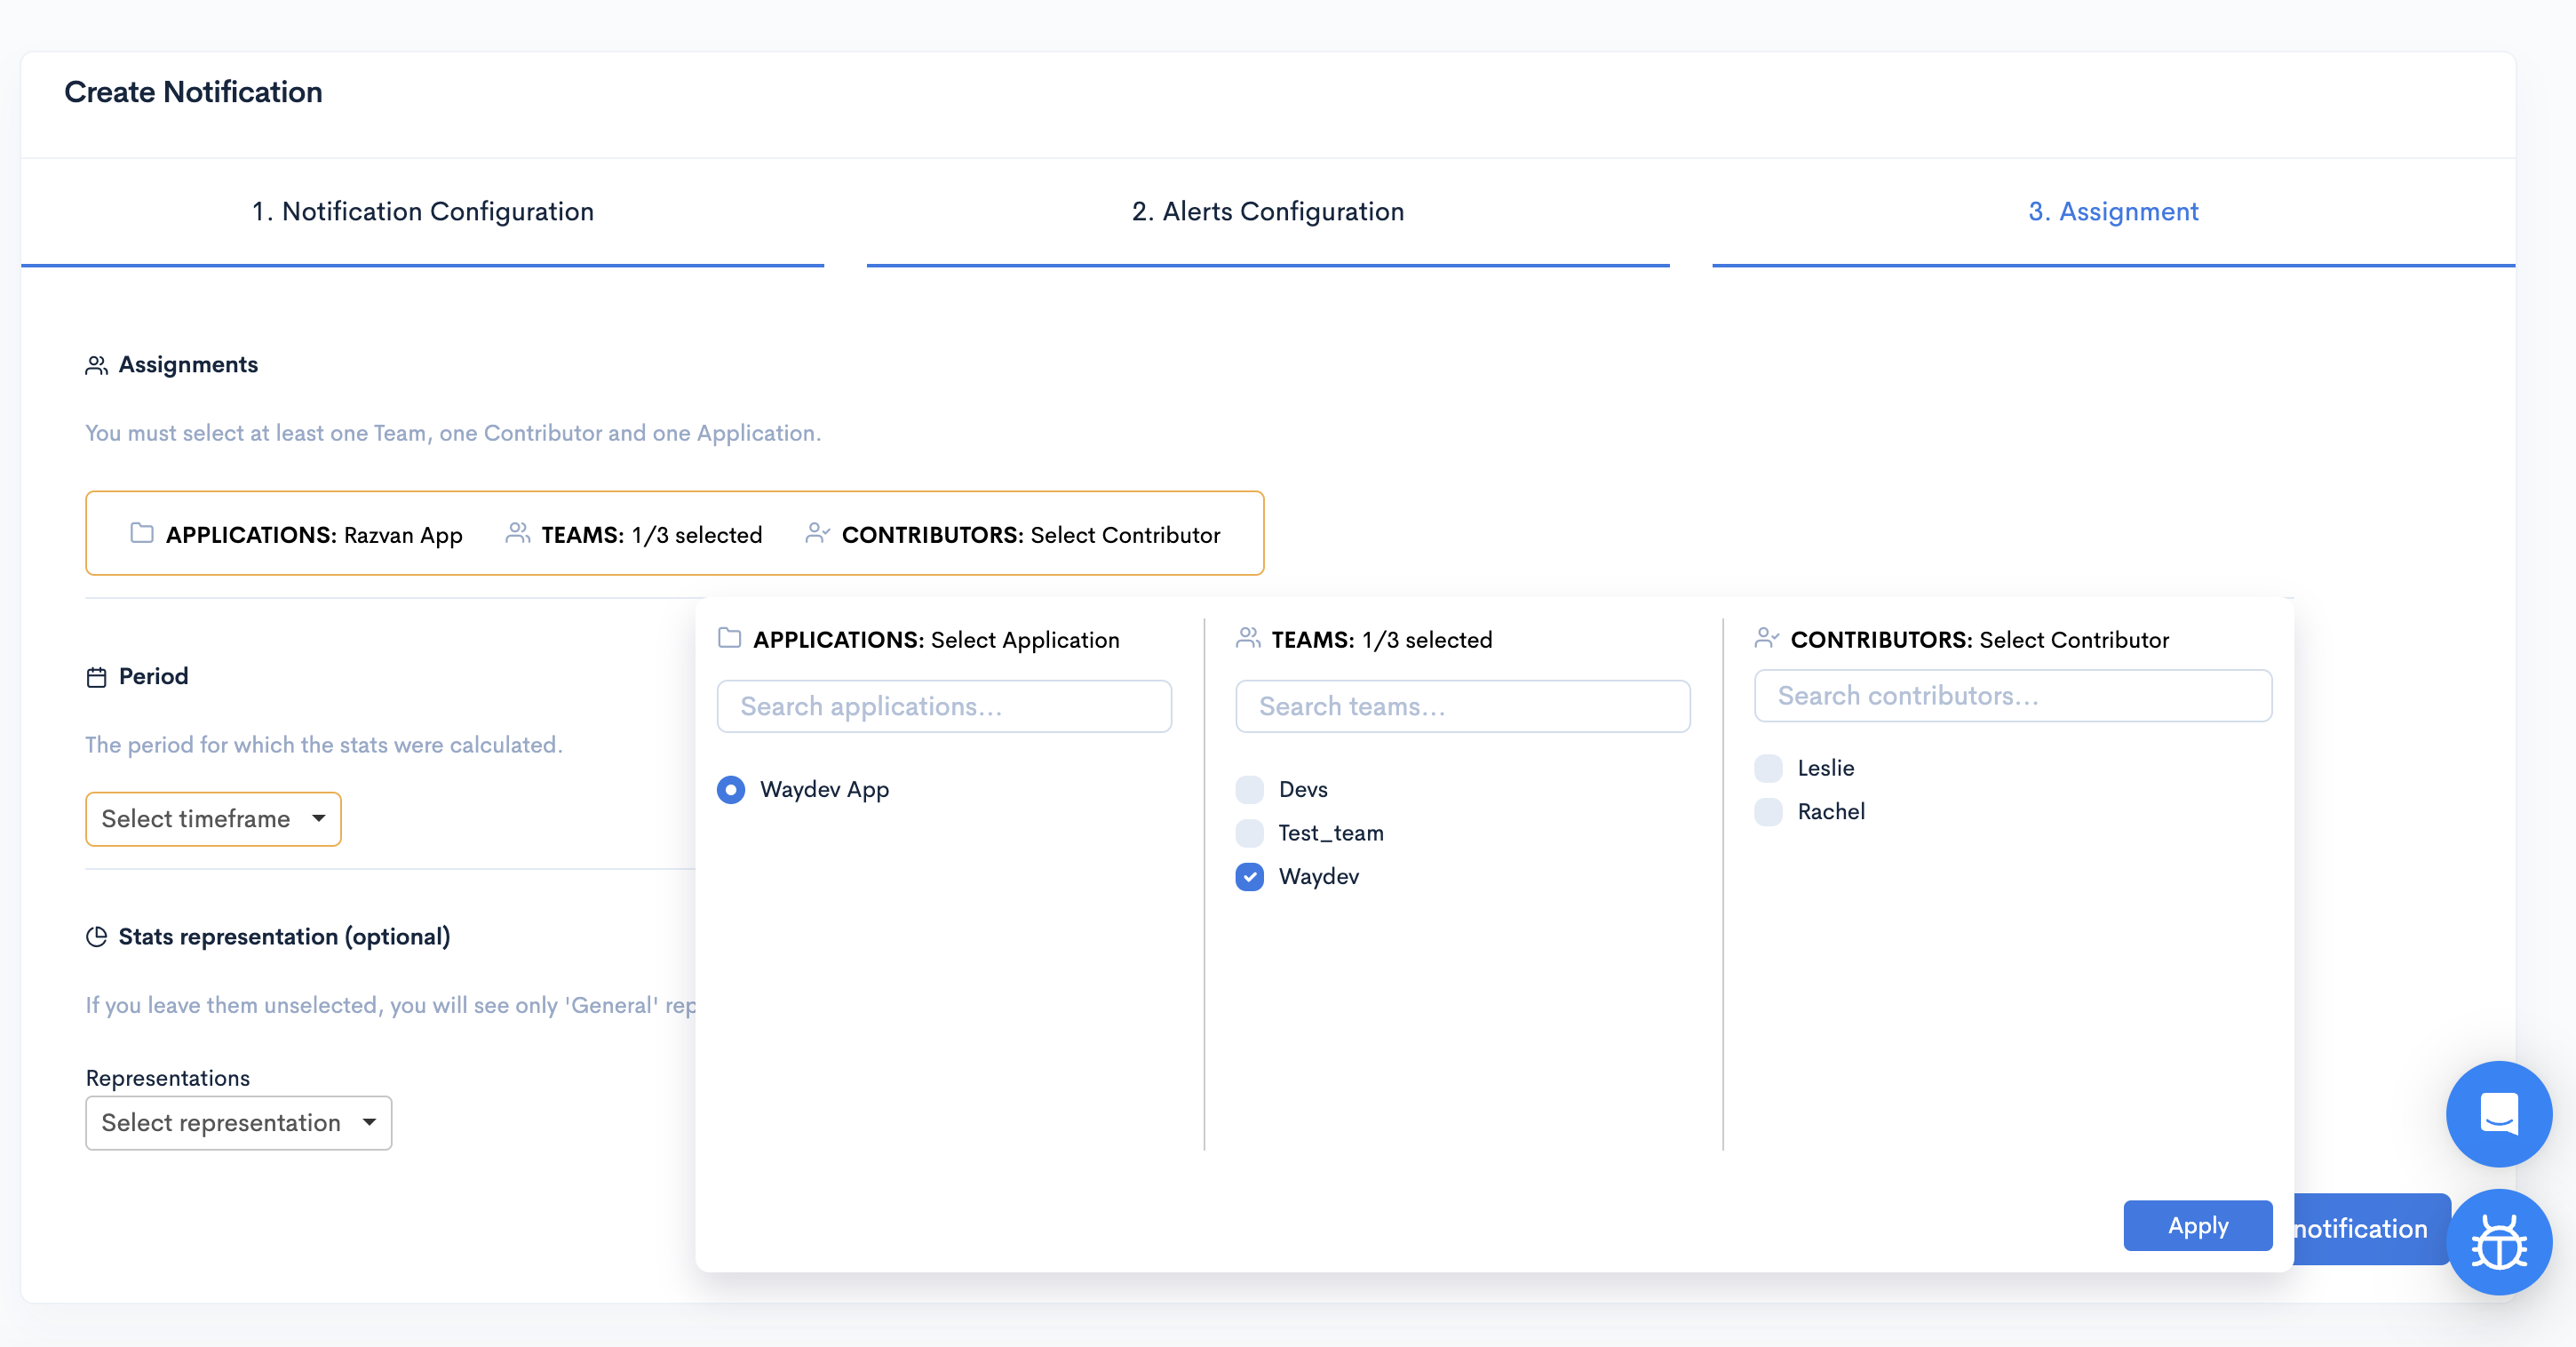
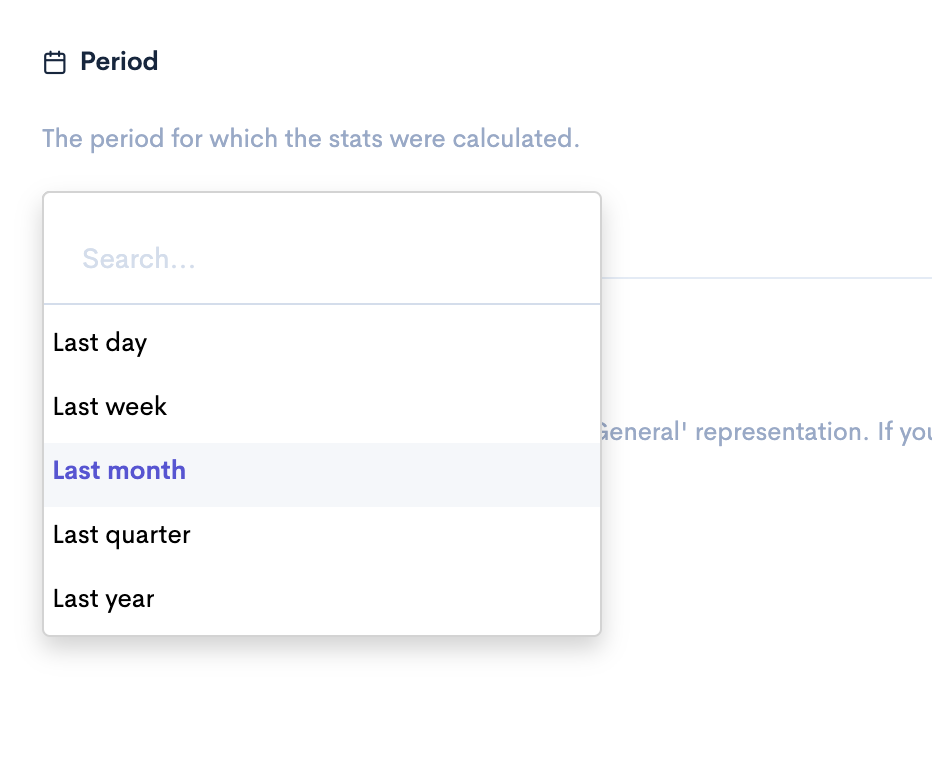
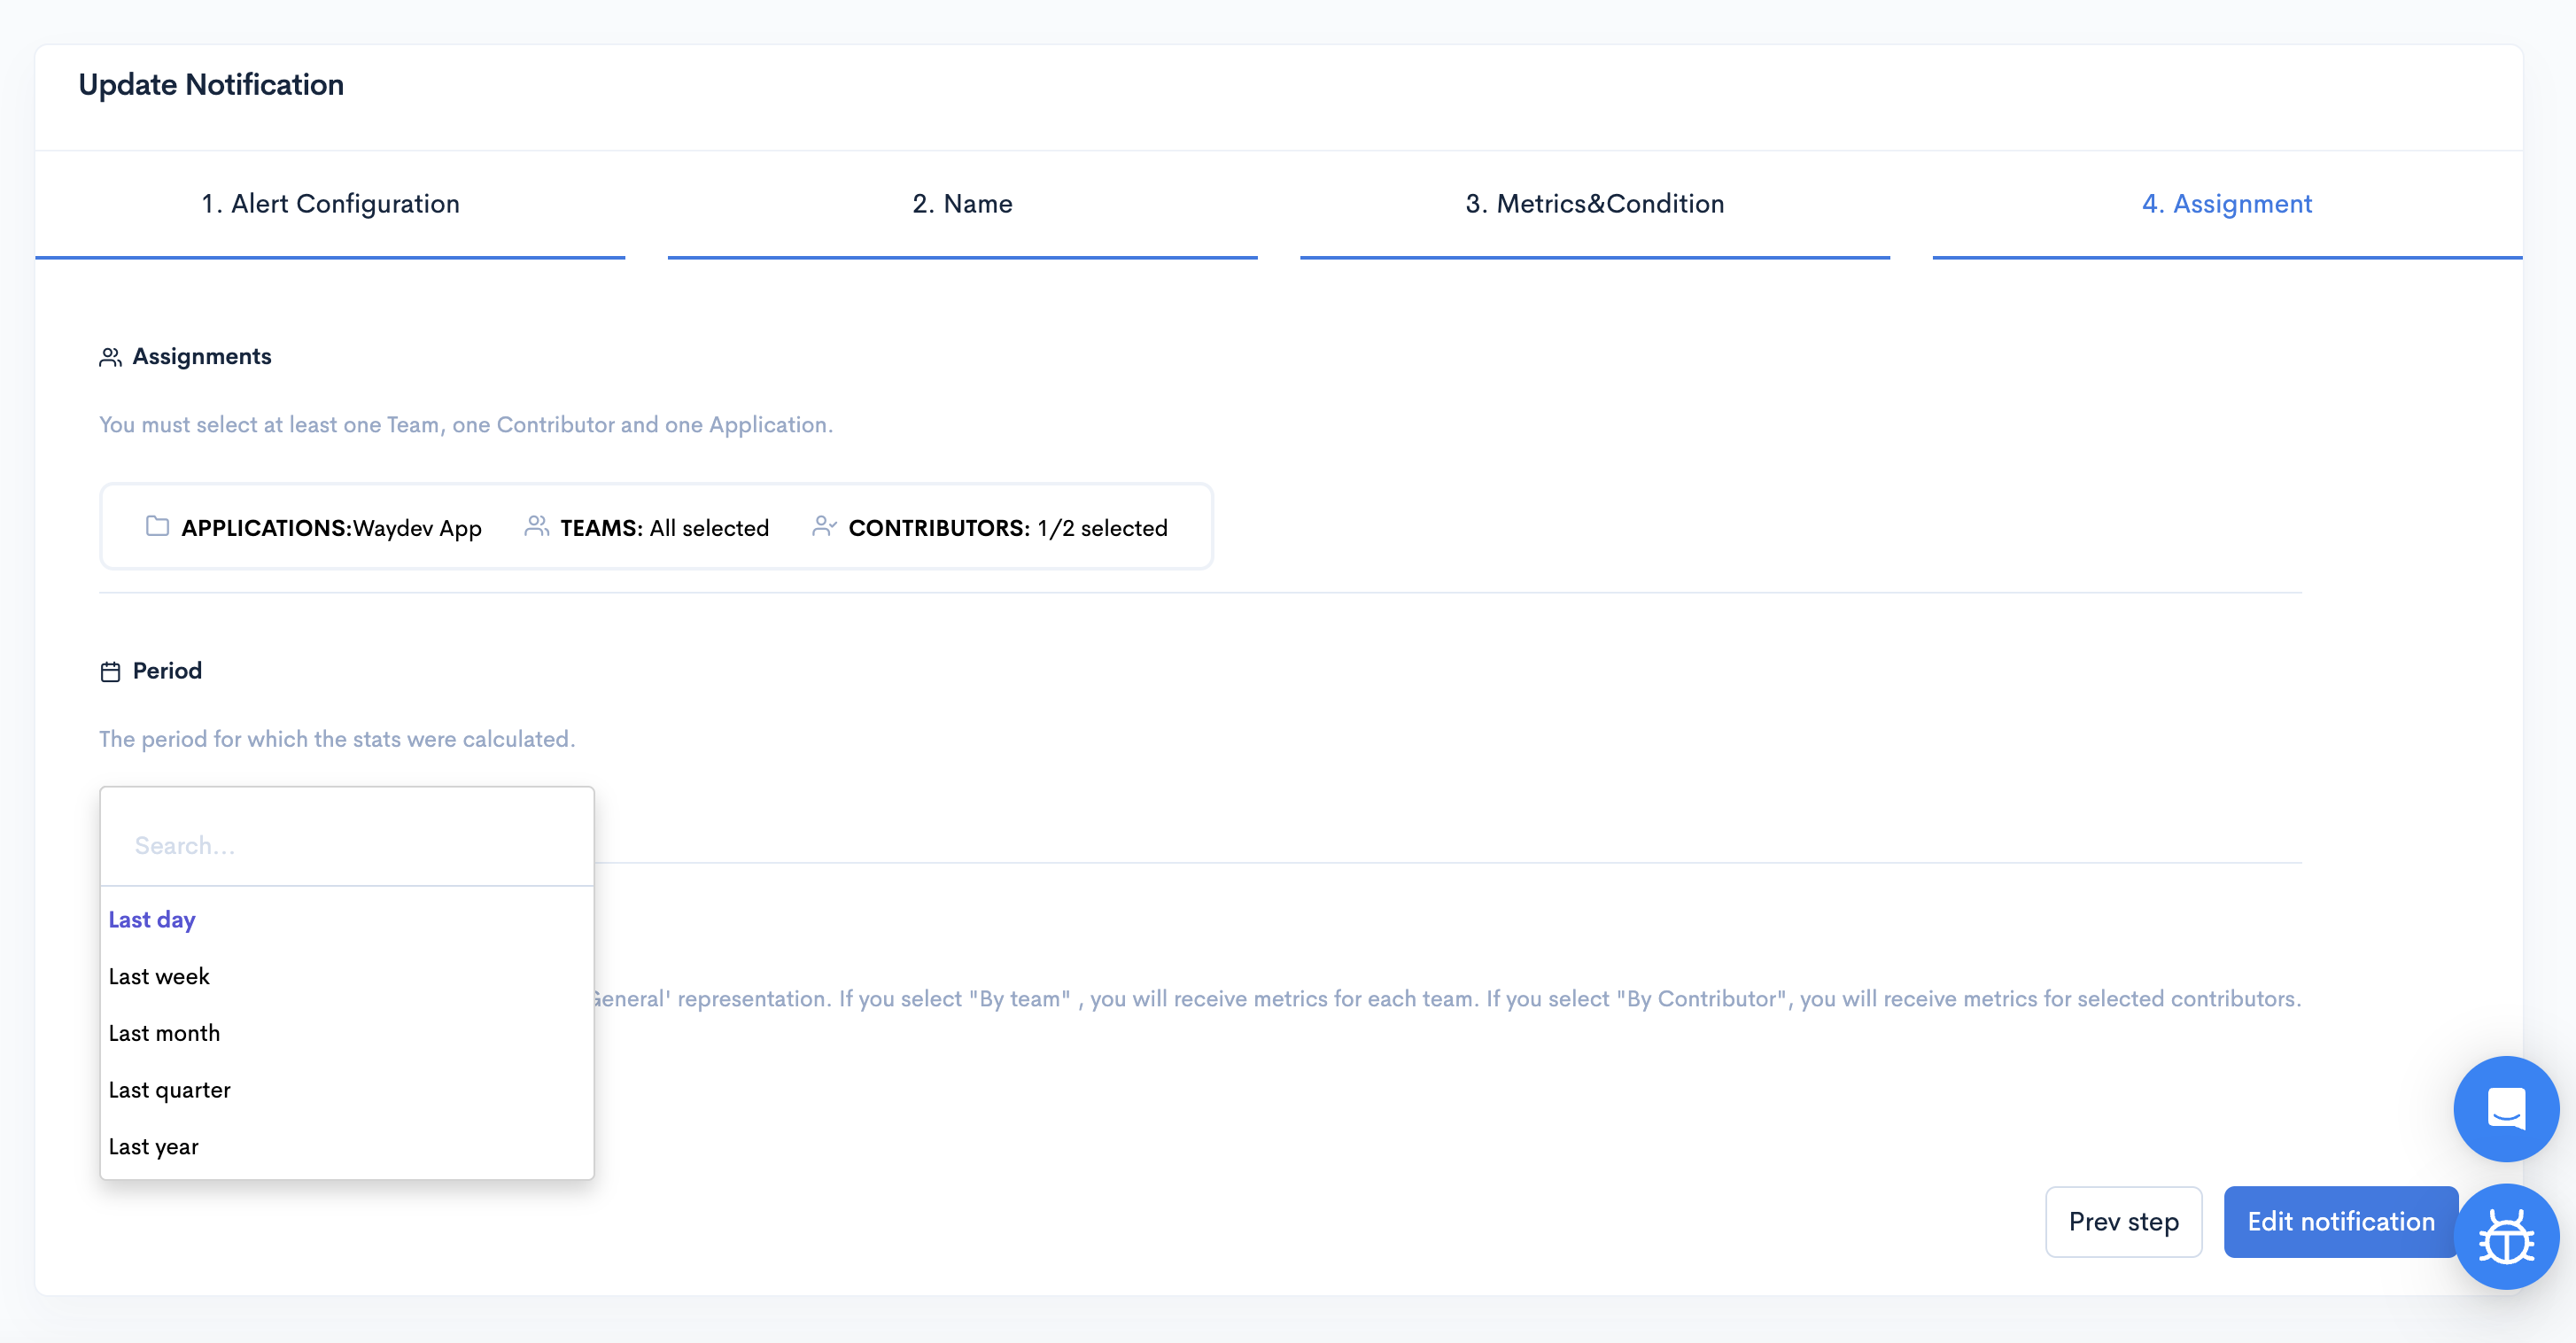
Select the period for which the stats will be calculated.
The final setting is about stats representation by team/contributor. You can modify the stats representation. If you leave them unselected, you will see only a "General" representation. If you select "By team," you will receive metrics for each team. If you select "By Contributor," you will receive metrics for selected contributors.
When done, click Create notification. If you are not ready, you can go back to the previous steps by clicking Prev step.
Edit a notification
To edit your notifications, navigate to Notifications in the side-bar menu in the Benchmarking section.
Scroll right on the notifications list and click the edit button.

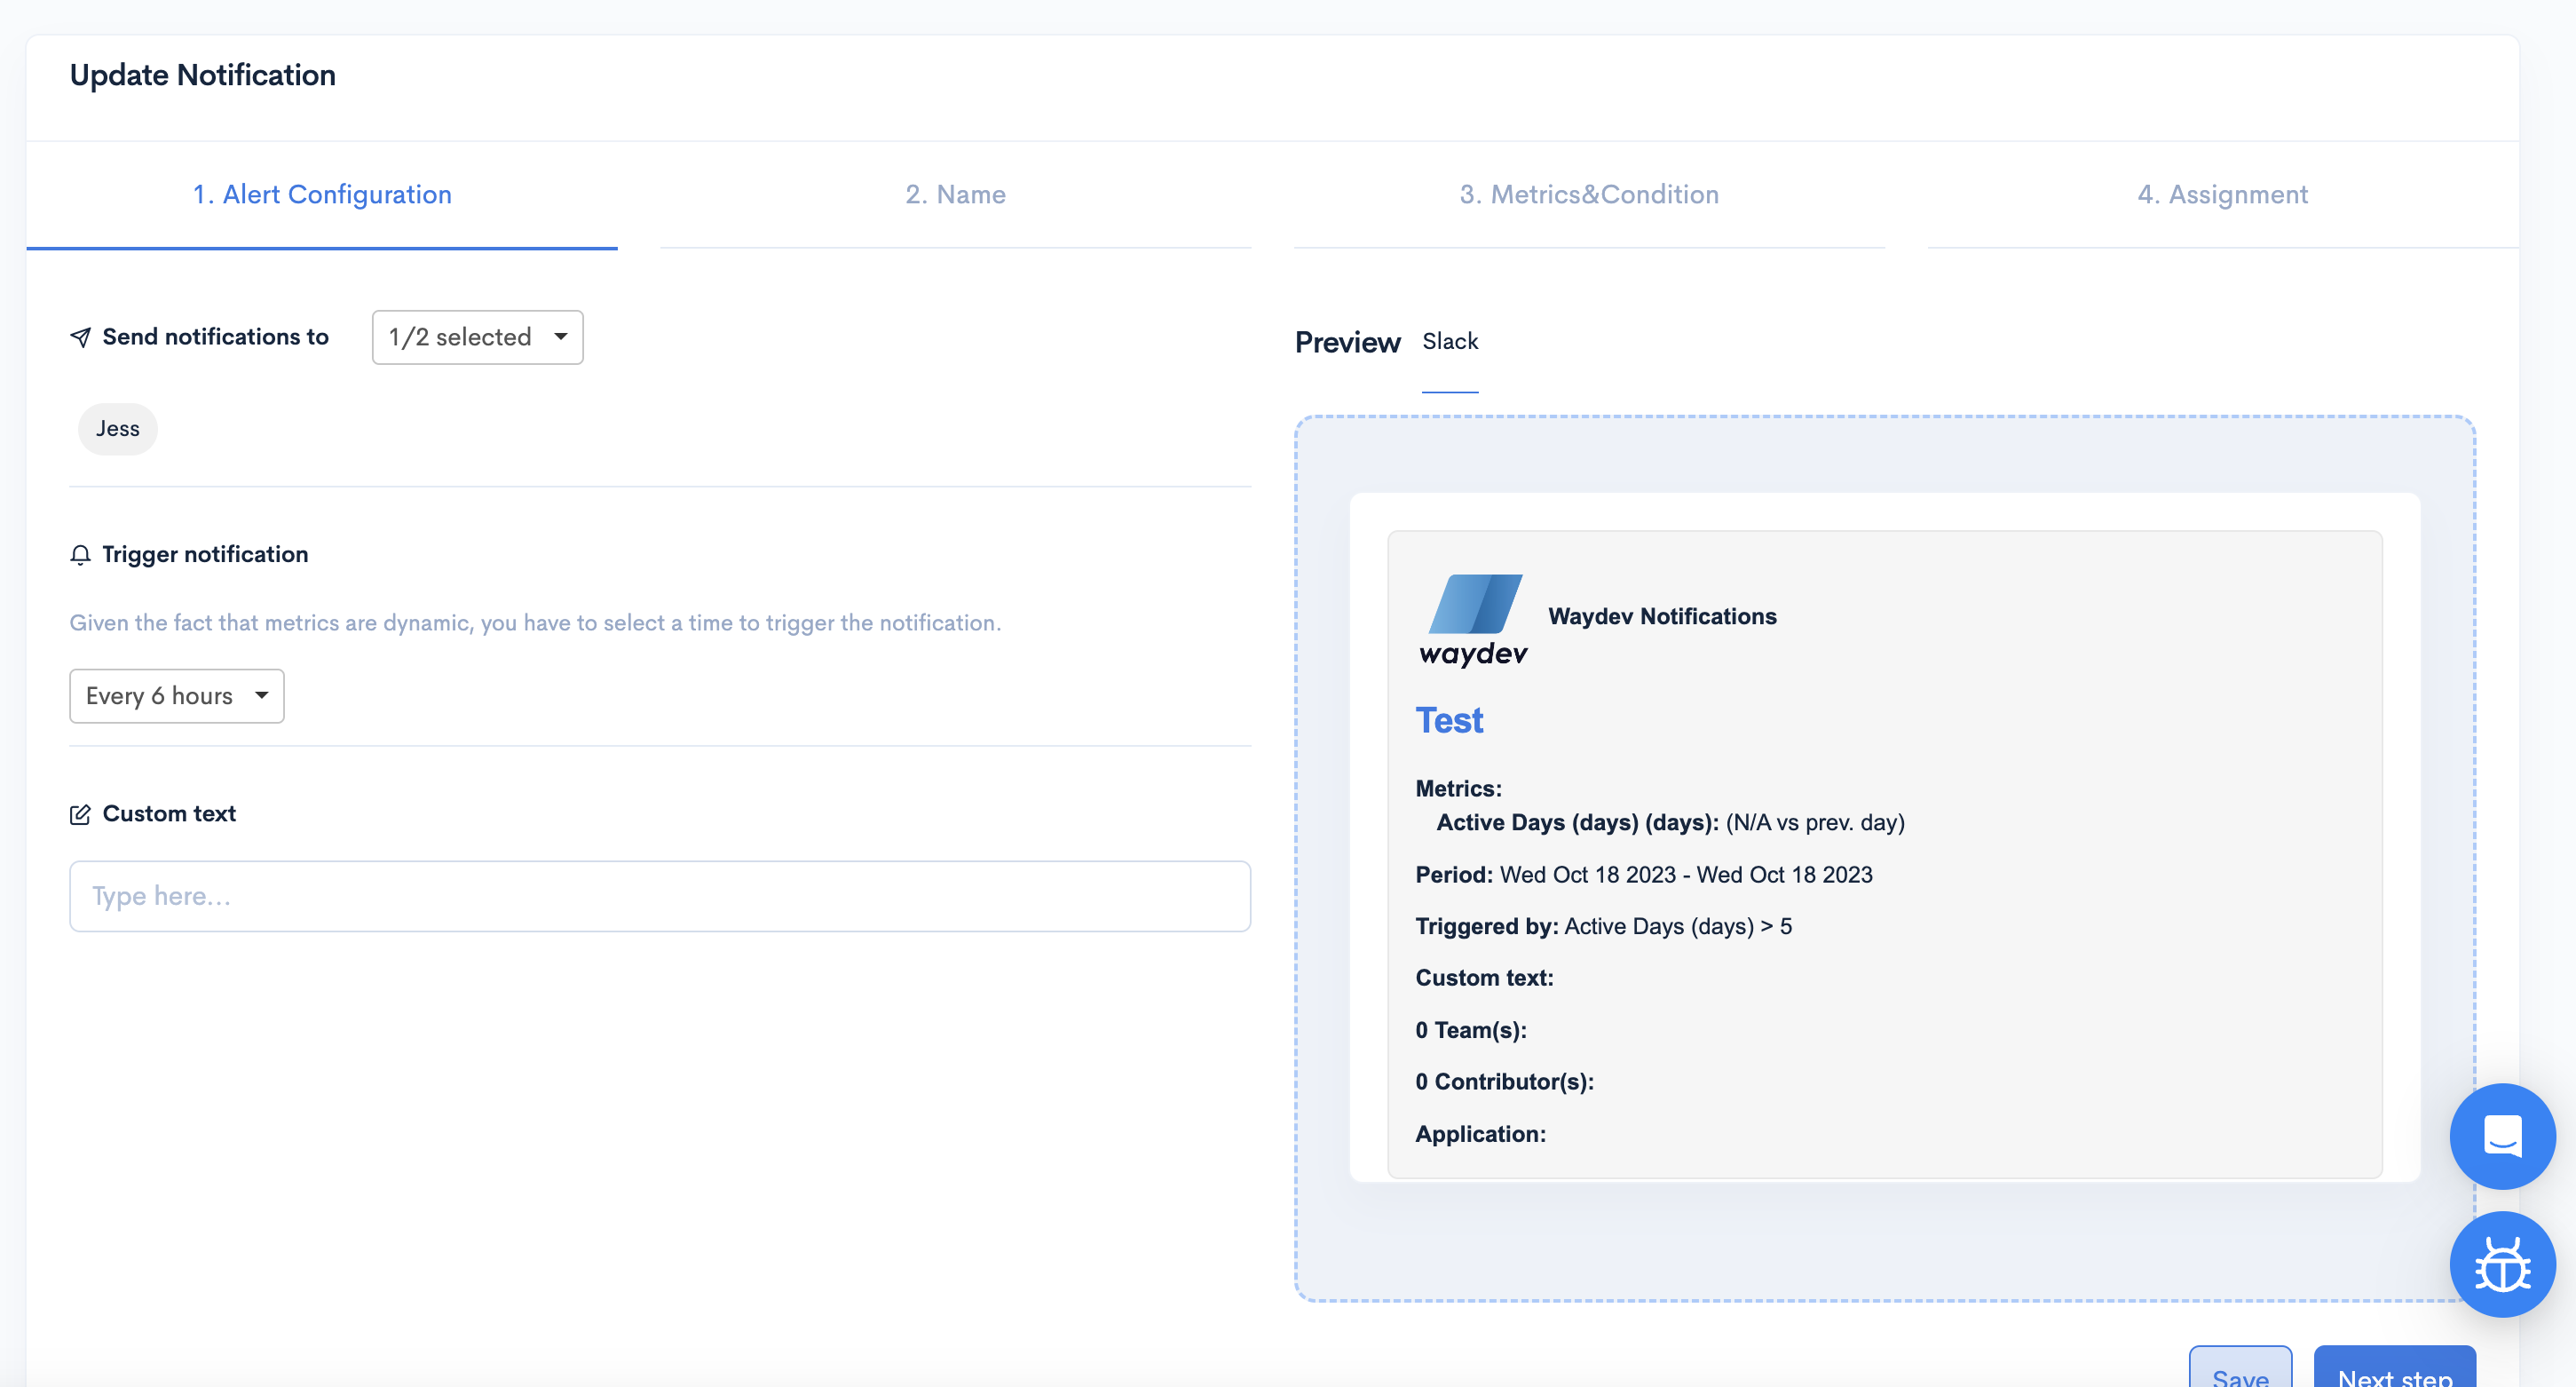
In the first tab, the "Alert Configuration" tab, you can change who the notification will be sent to, the time to trigger the notification, and the custom text.
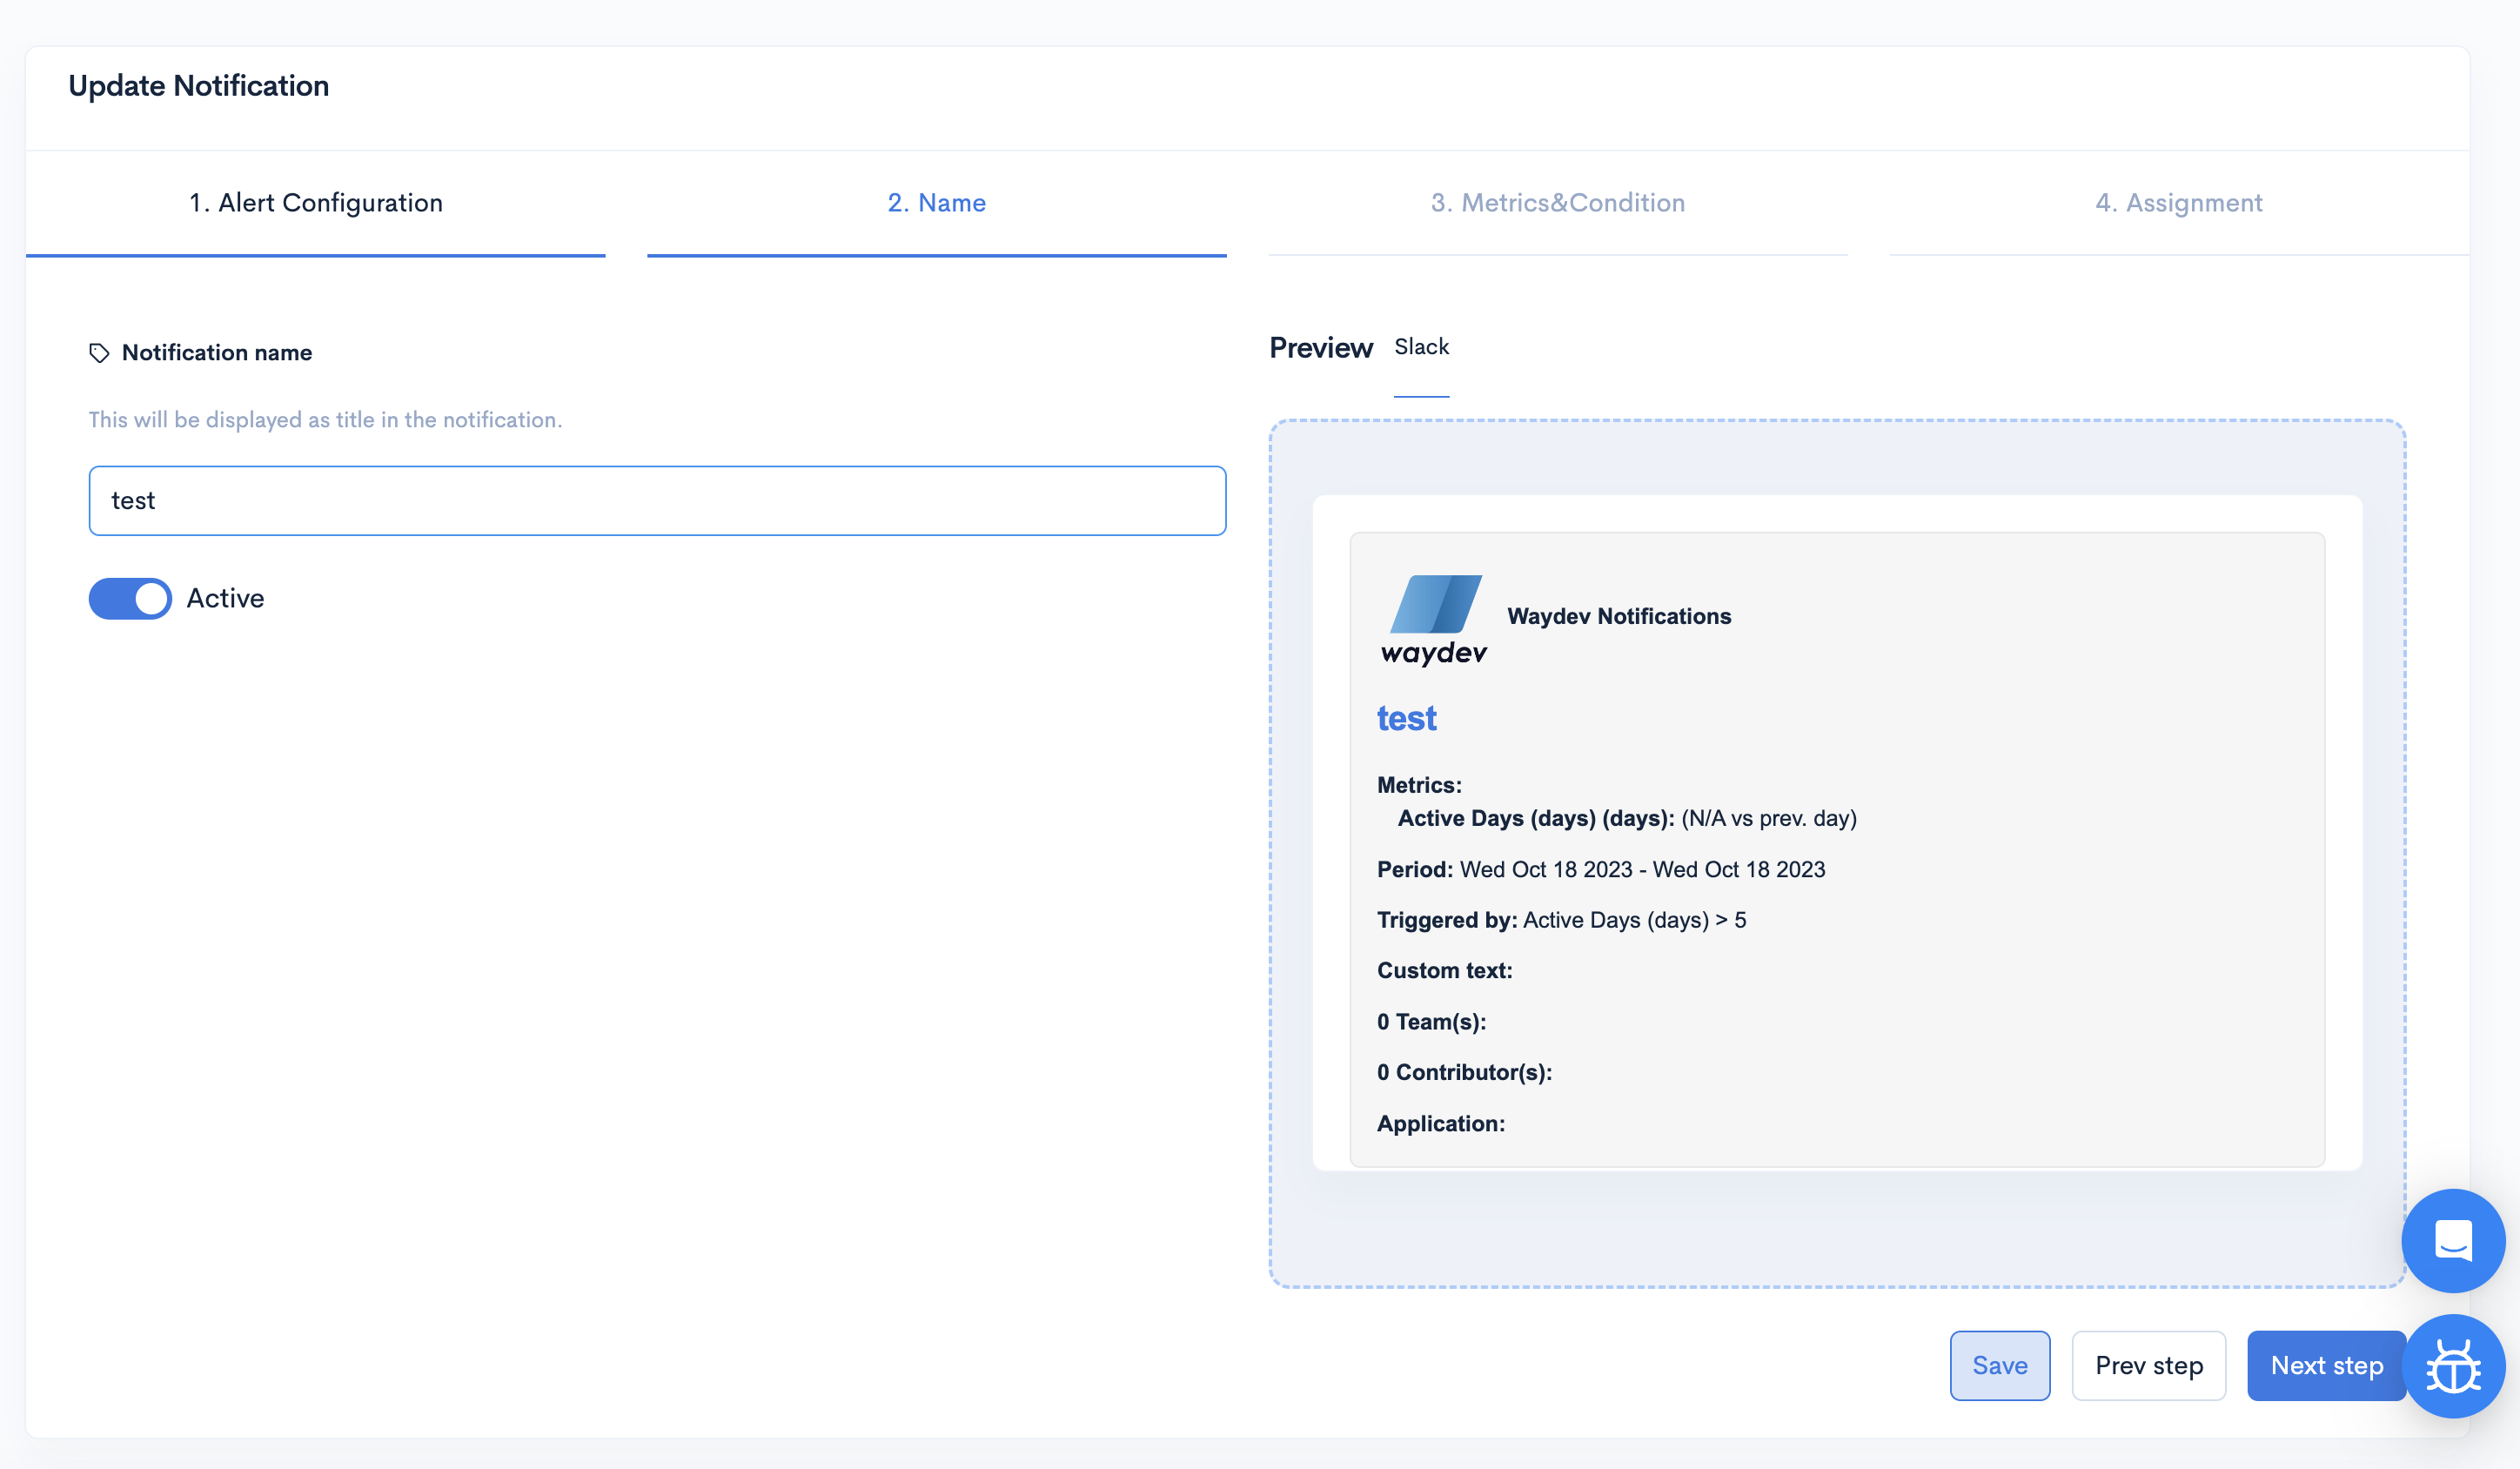
After clicking Next step, in the "Name" tab, you can change the notification's name and activate/deactivate the notification (by toggling on/off the "Active" toggle).
After clicking Next step, you can configure the metrics you originally set up for this.
The AI is helping only when originally creating your notification. The copilot is not present when you modify the notification.
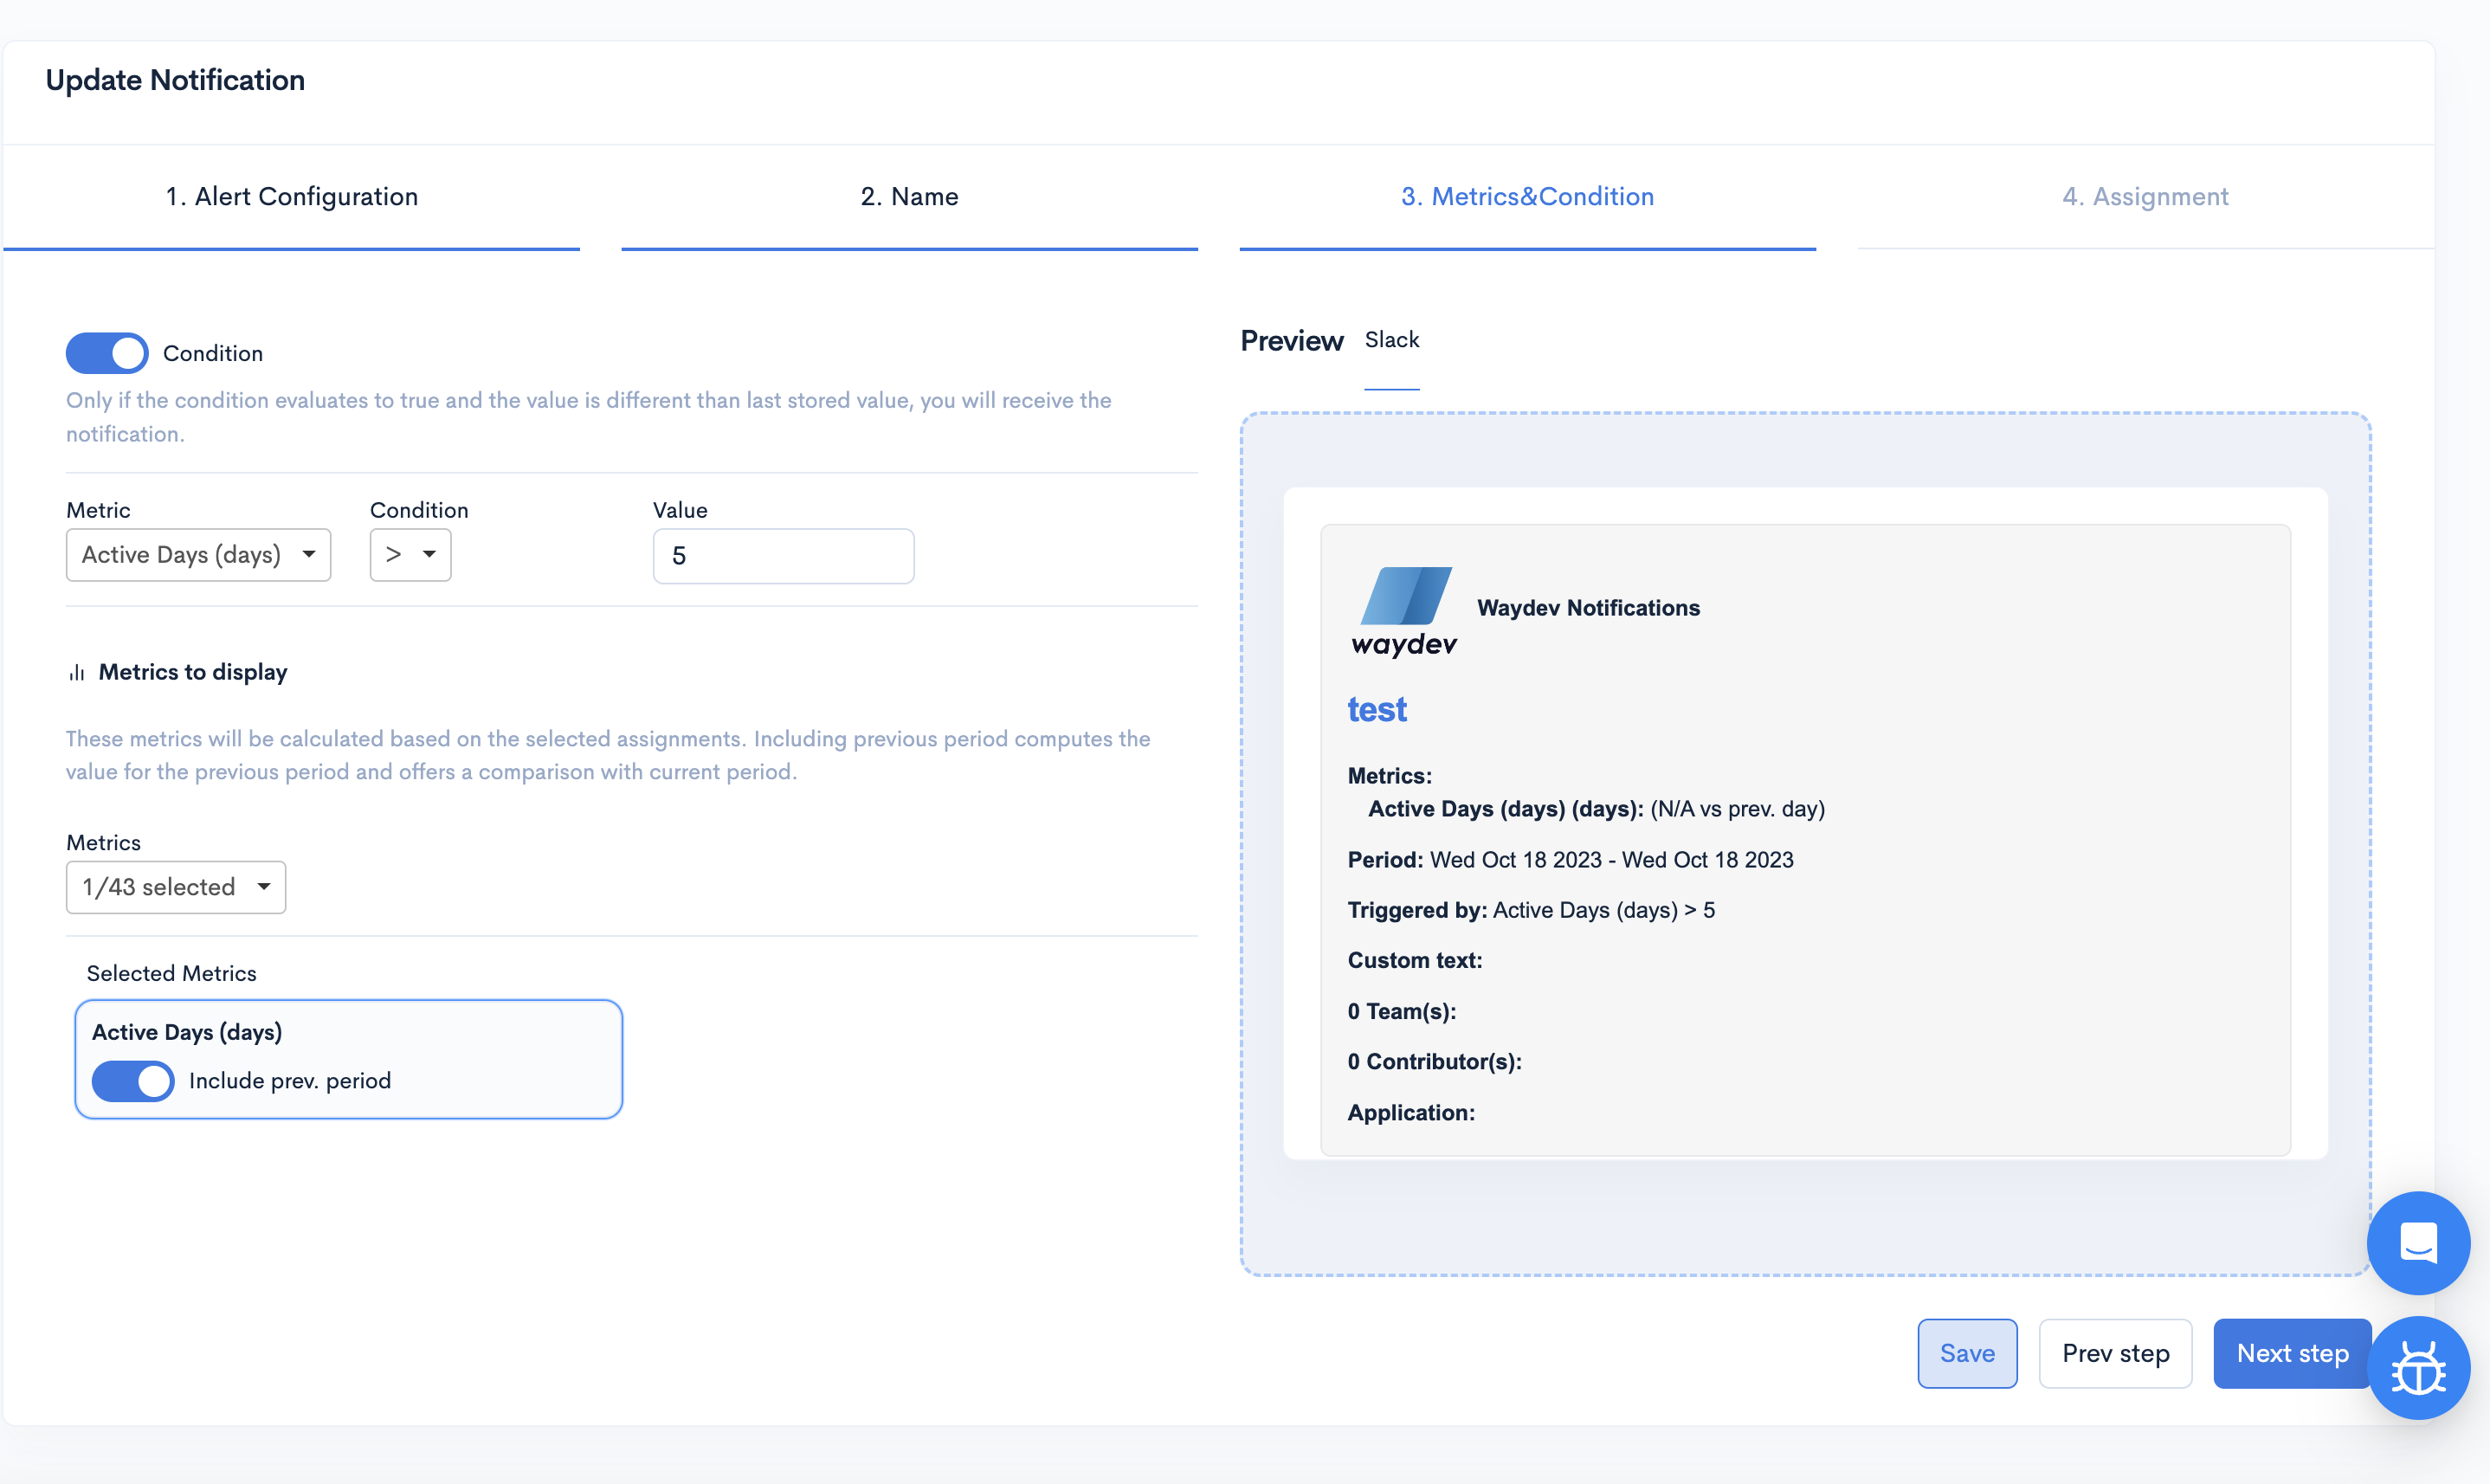
Here, you can:
- Enable/Disable the condition
- Configure the condition you originally set
- Configure the metrics displayed in your notification.
After clicking Next step, you'll get to the Assignment tab, in which you can modify the applications/teams/contributors you get this notification for.
You can modify the period for which the stats will be calculated.
You can modify the stats representation. If you leave them unselected, you will see only a "General" representation. If you select "By team," you will receive metrics for each team. If you select "By Contributor", you will receive metrics for selected contributors.
When done, click "Edit notification."
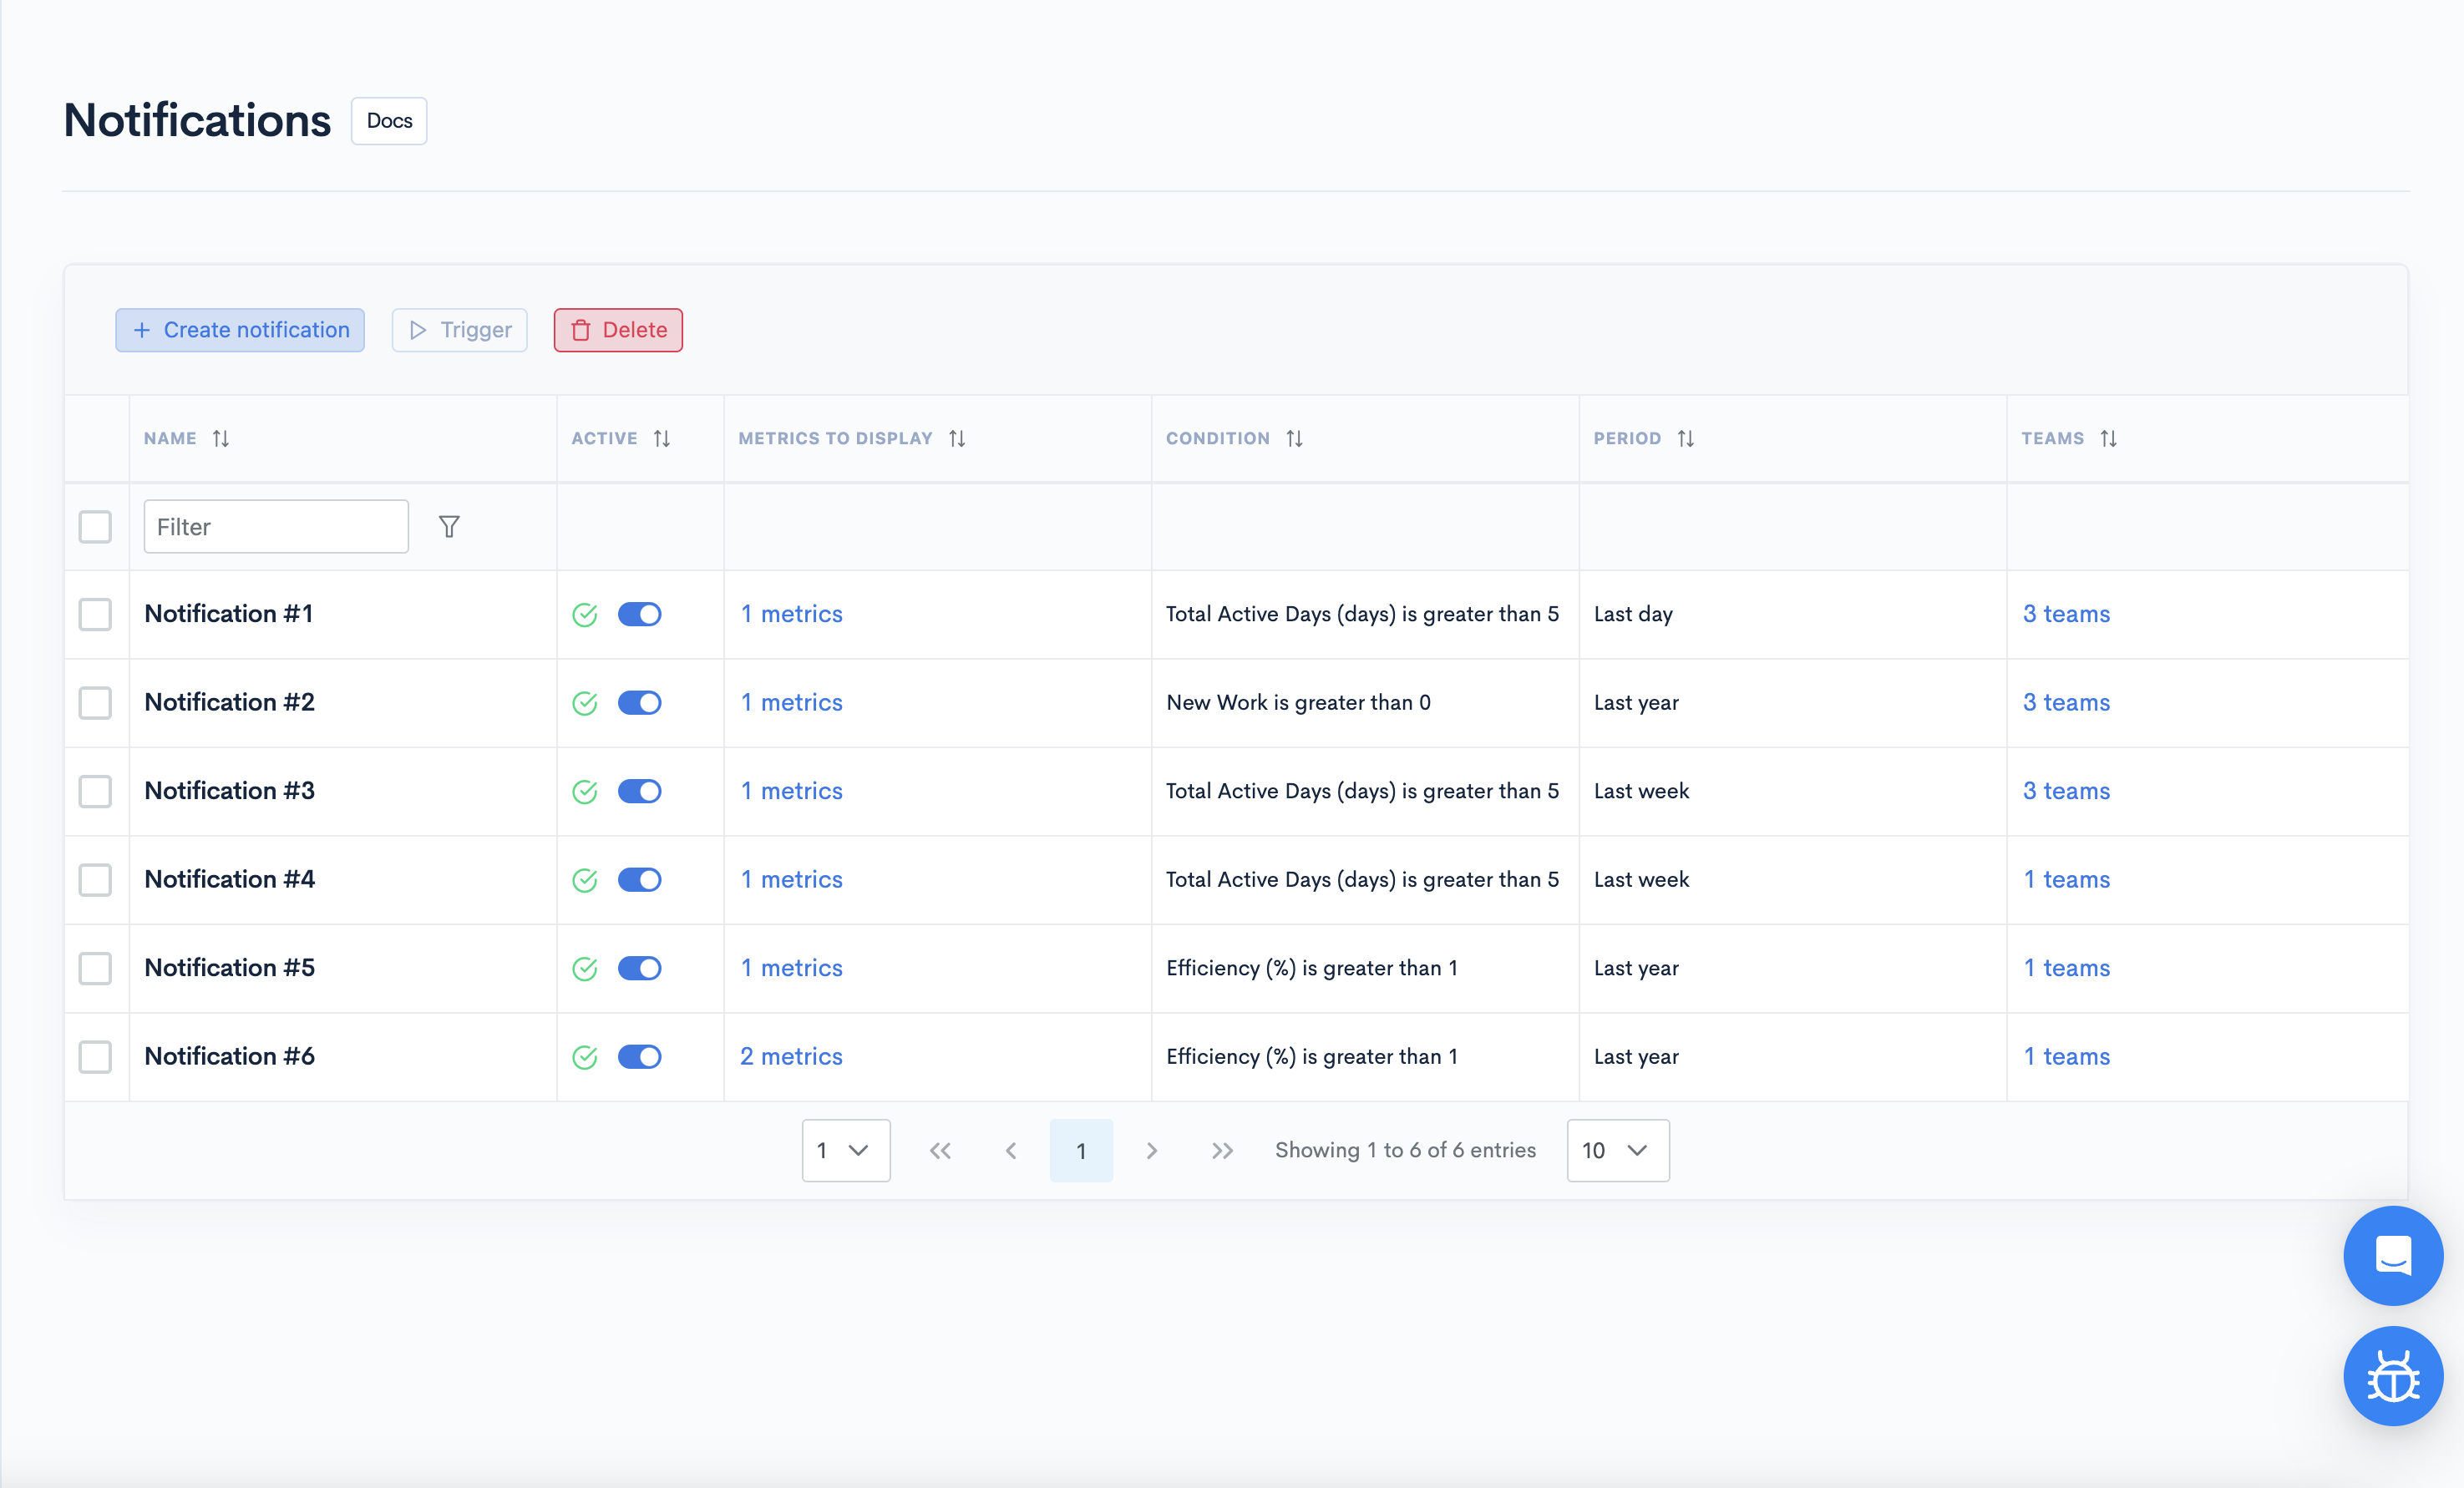
Delete your notification
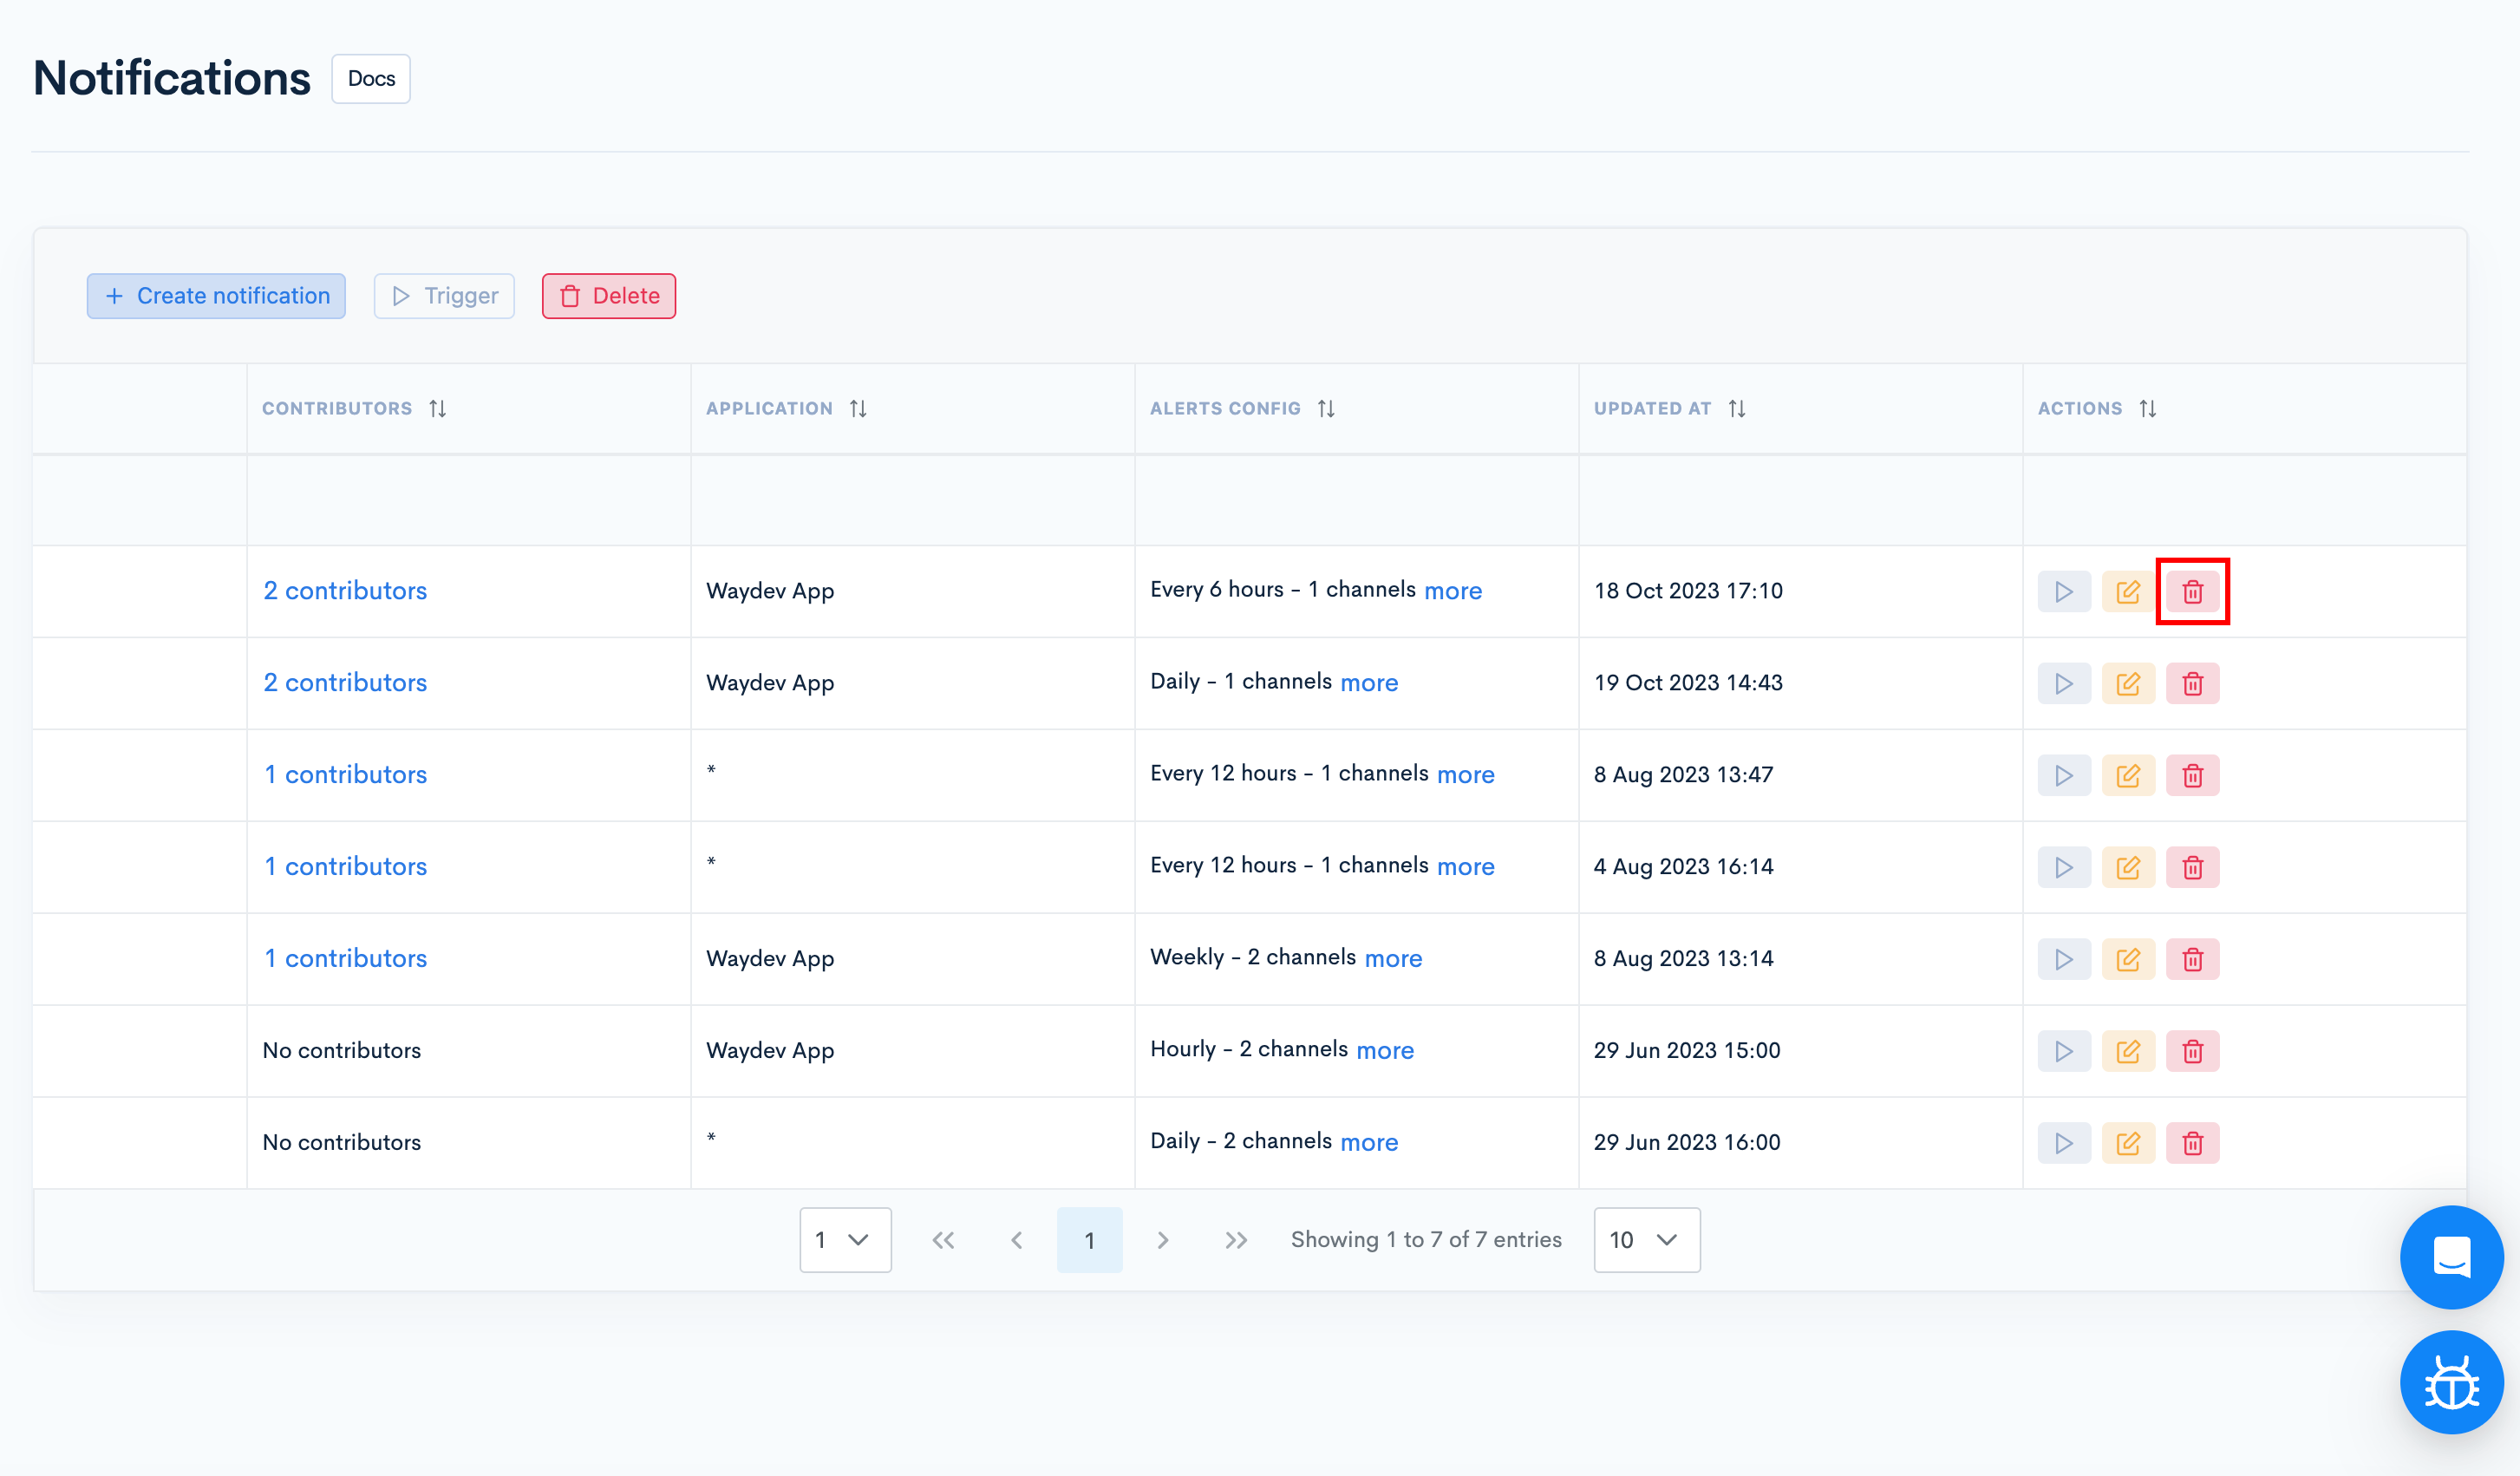
To delete your notifications, navigate to Notifications in the side-bar menu in the Benchmarking section.
Scroll right on the notifications list and click the delete button.
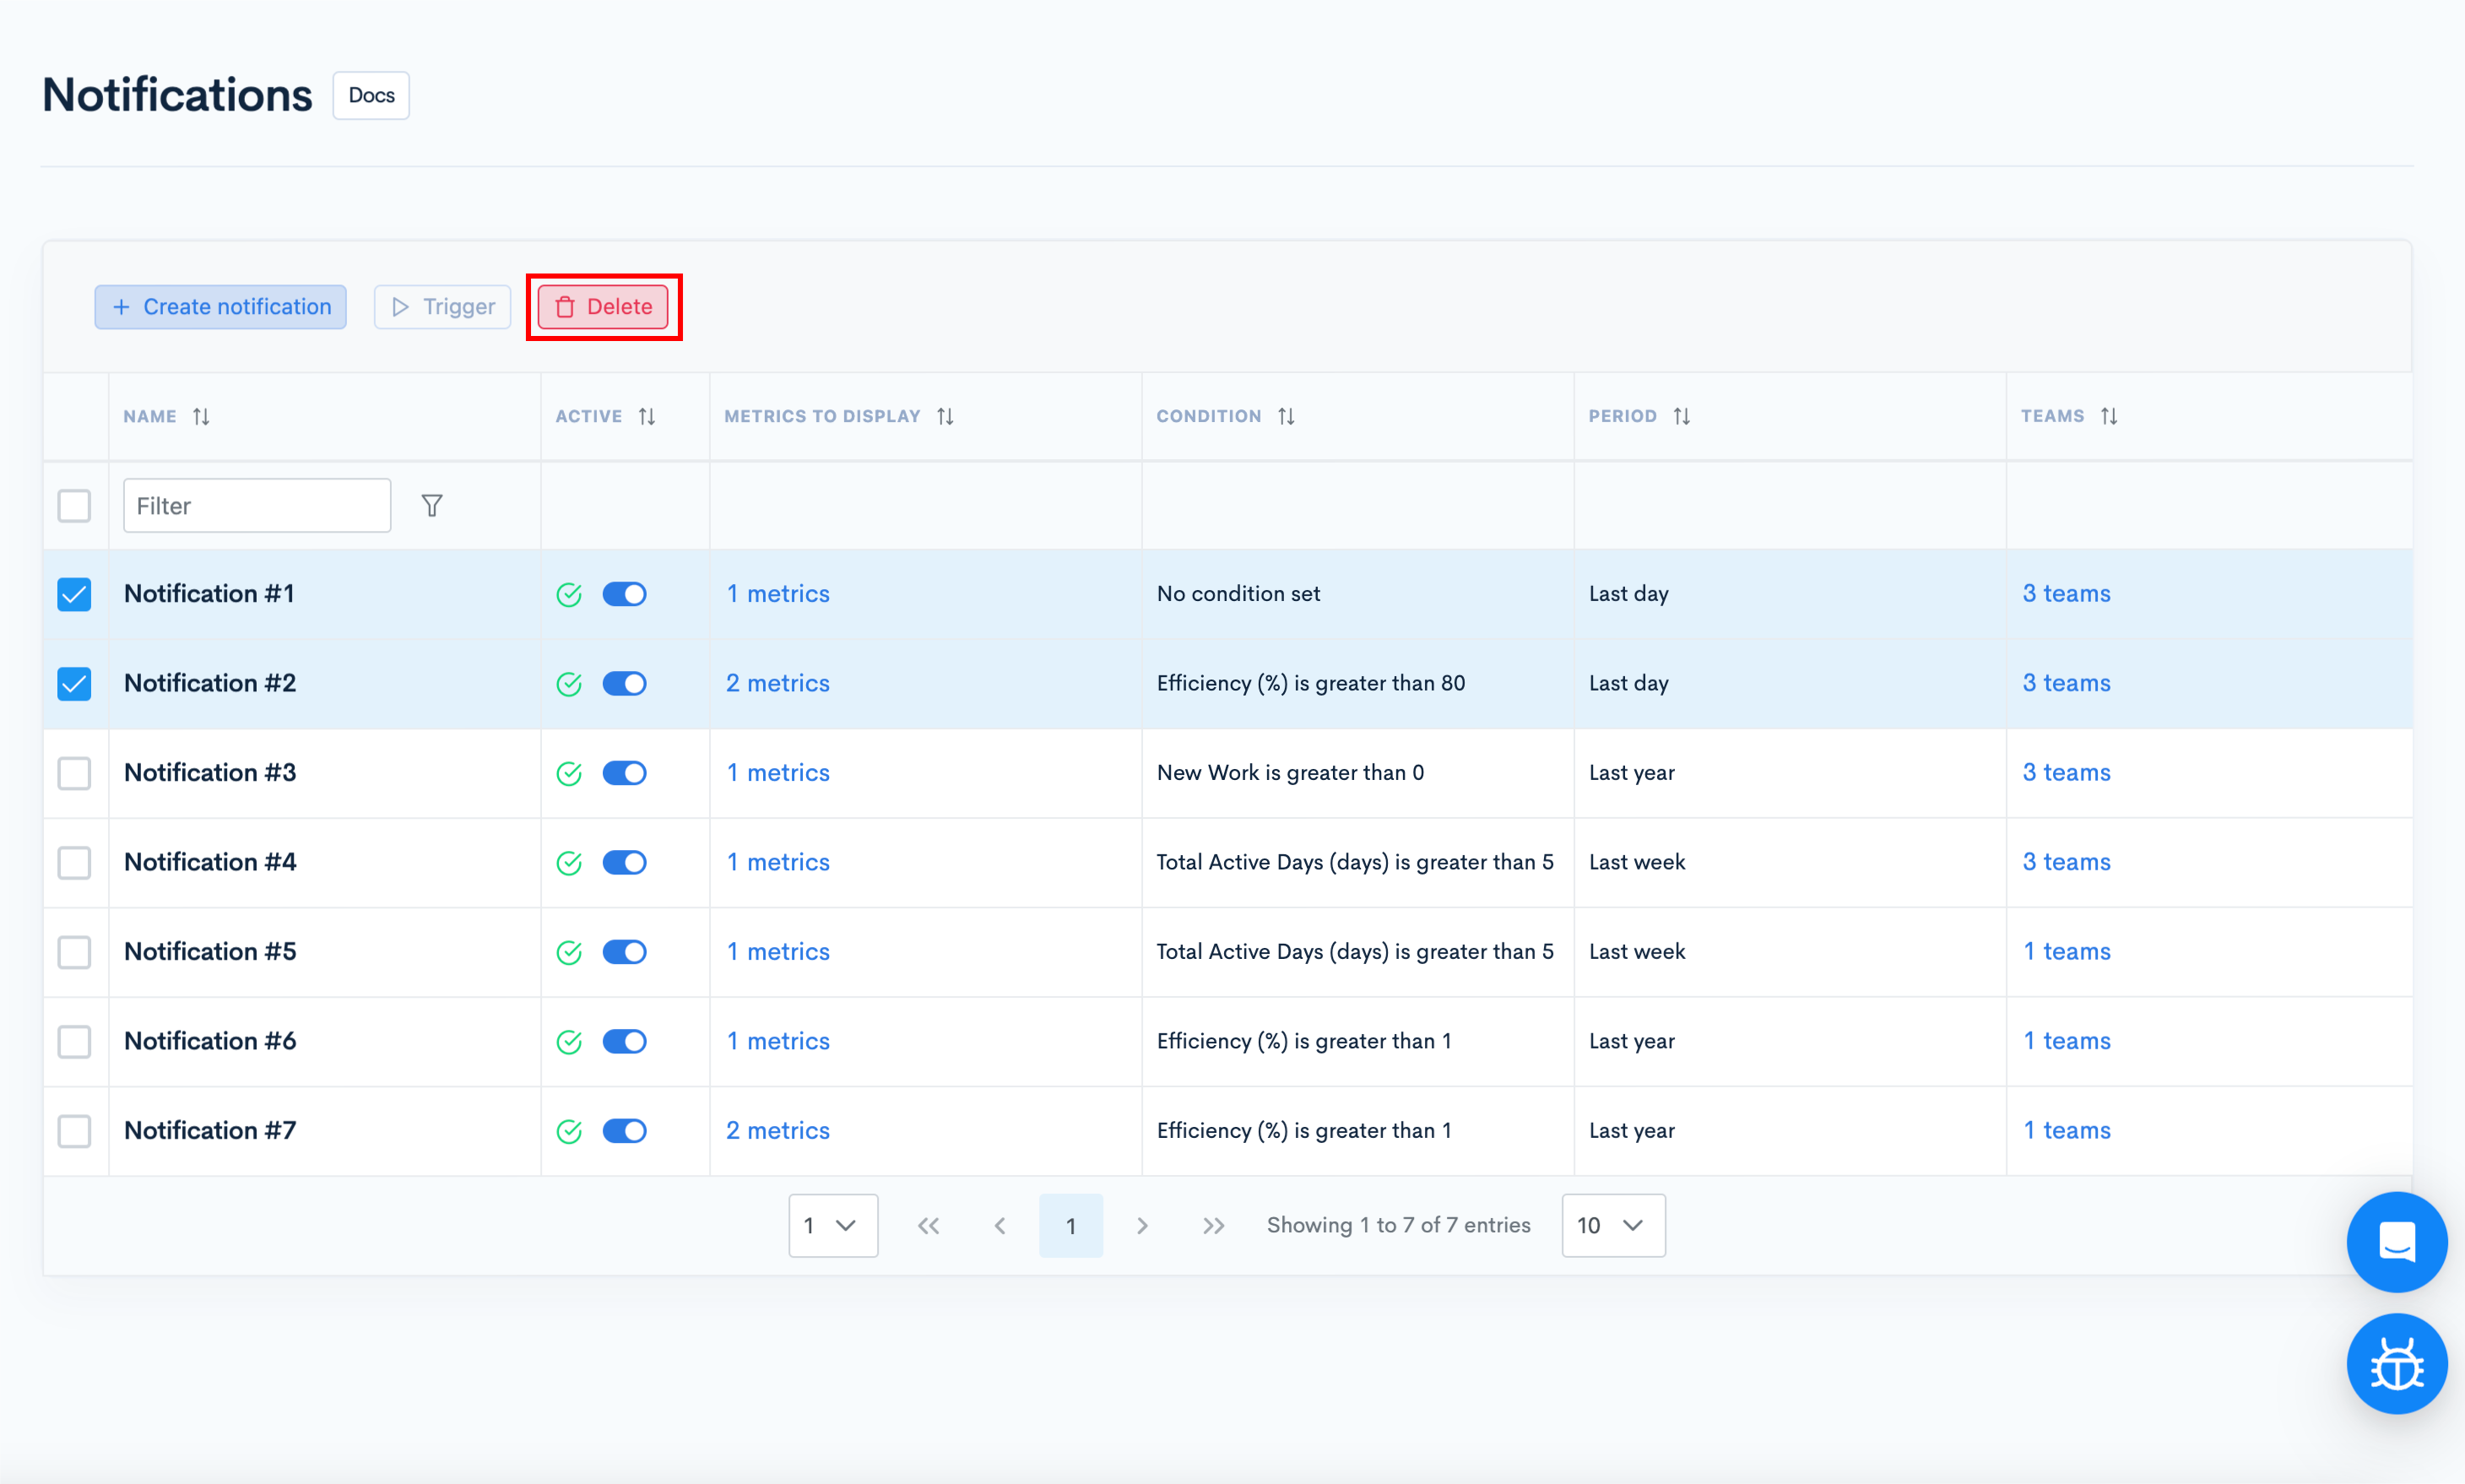
Another way would be to select the notification/s you want to delete and click the "Delete" button.
Trigger your notification
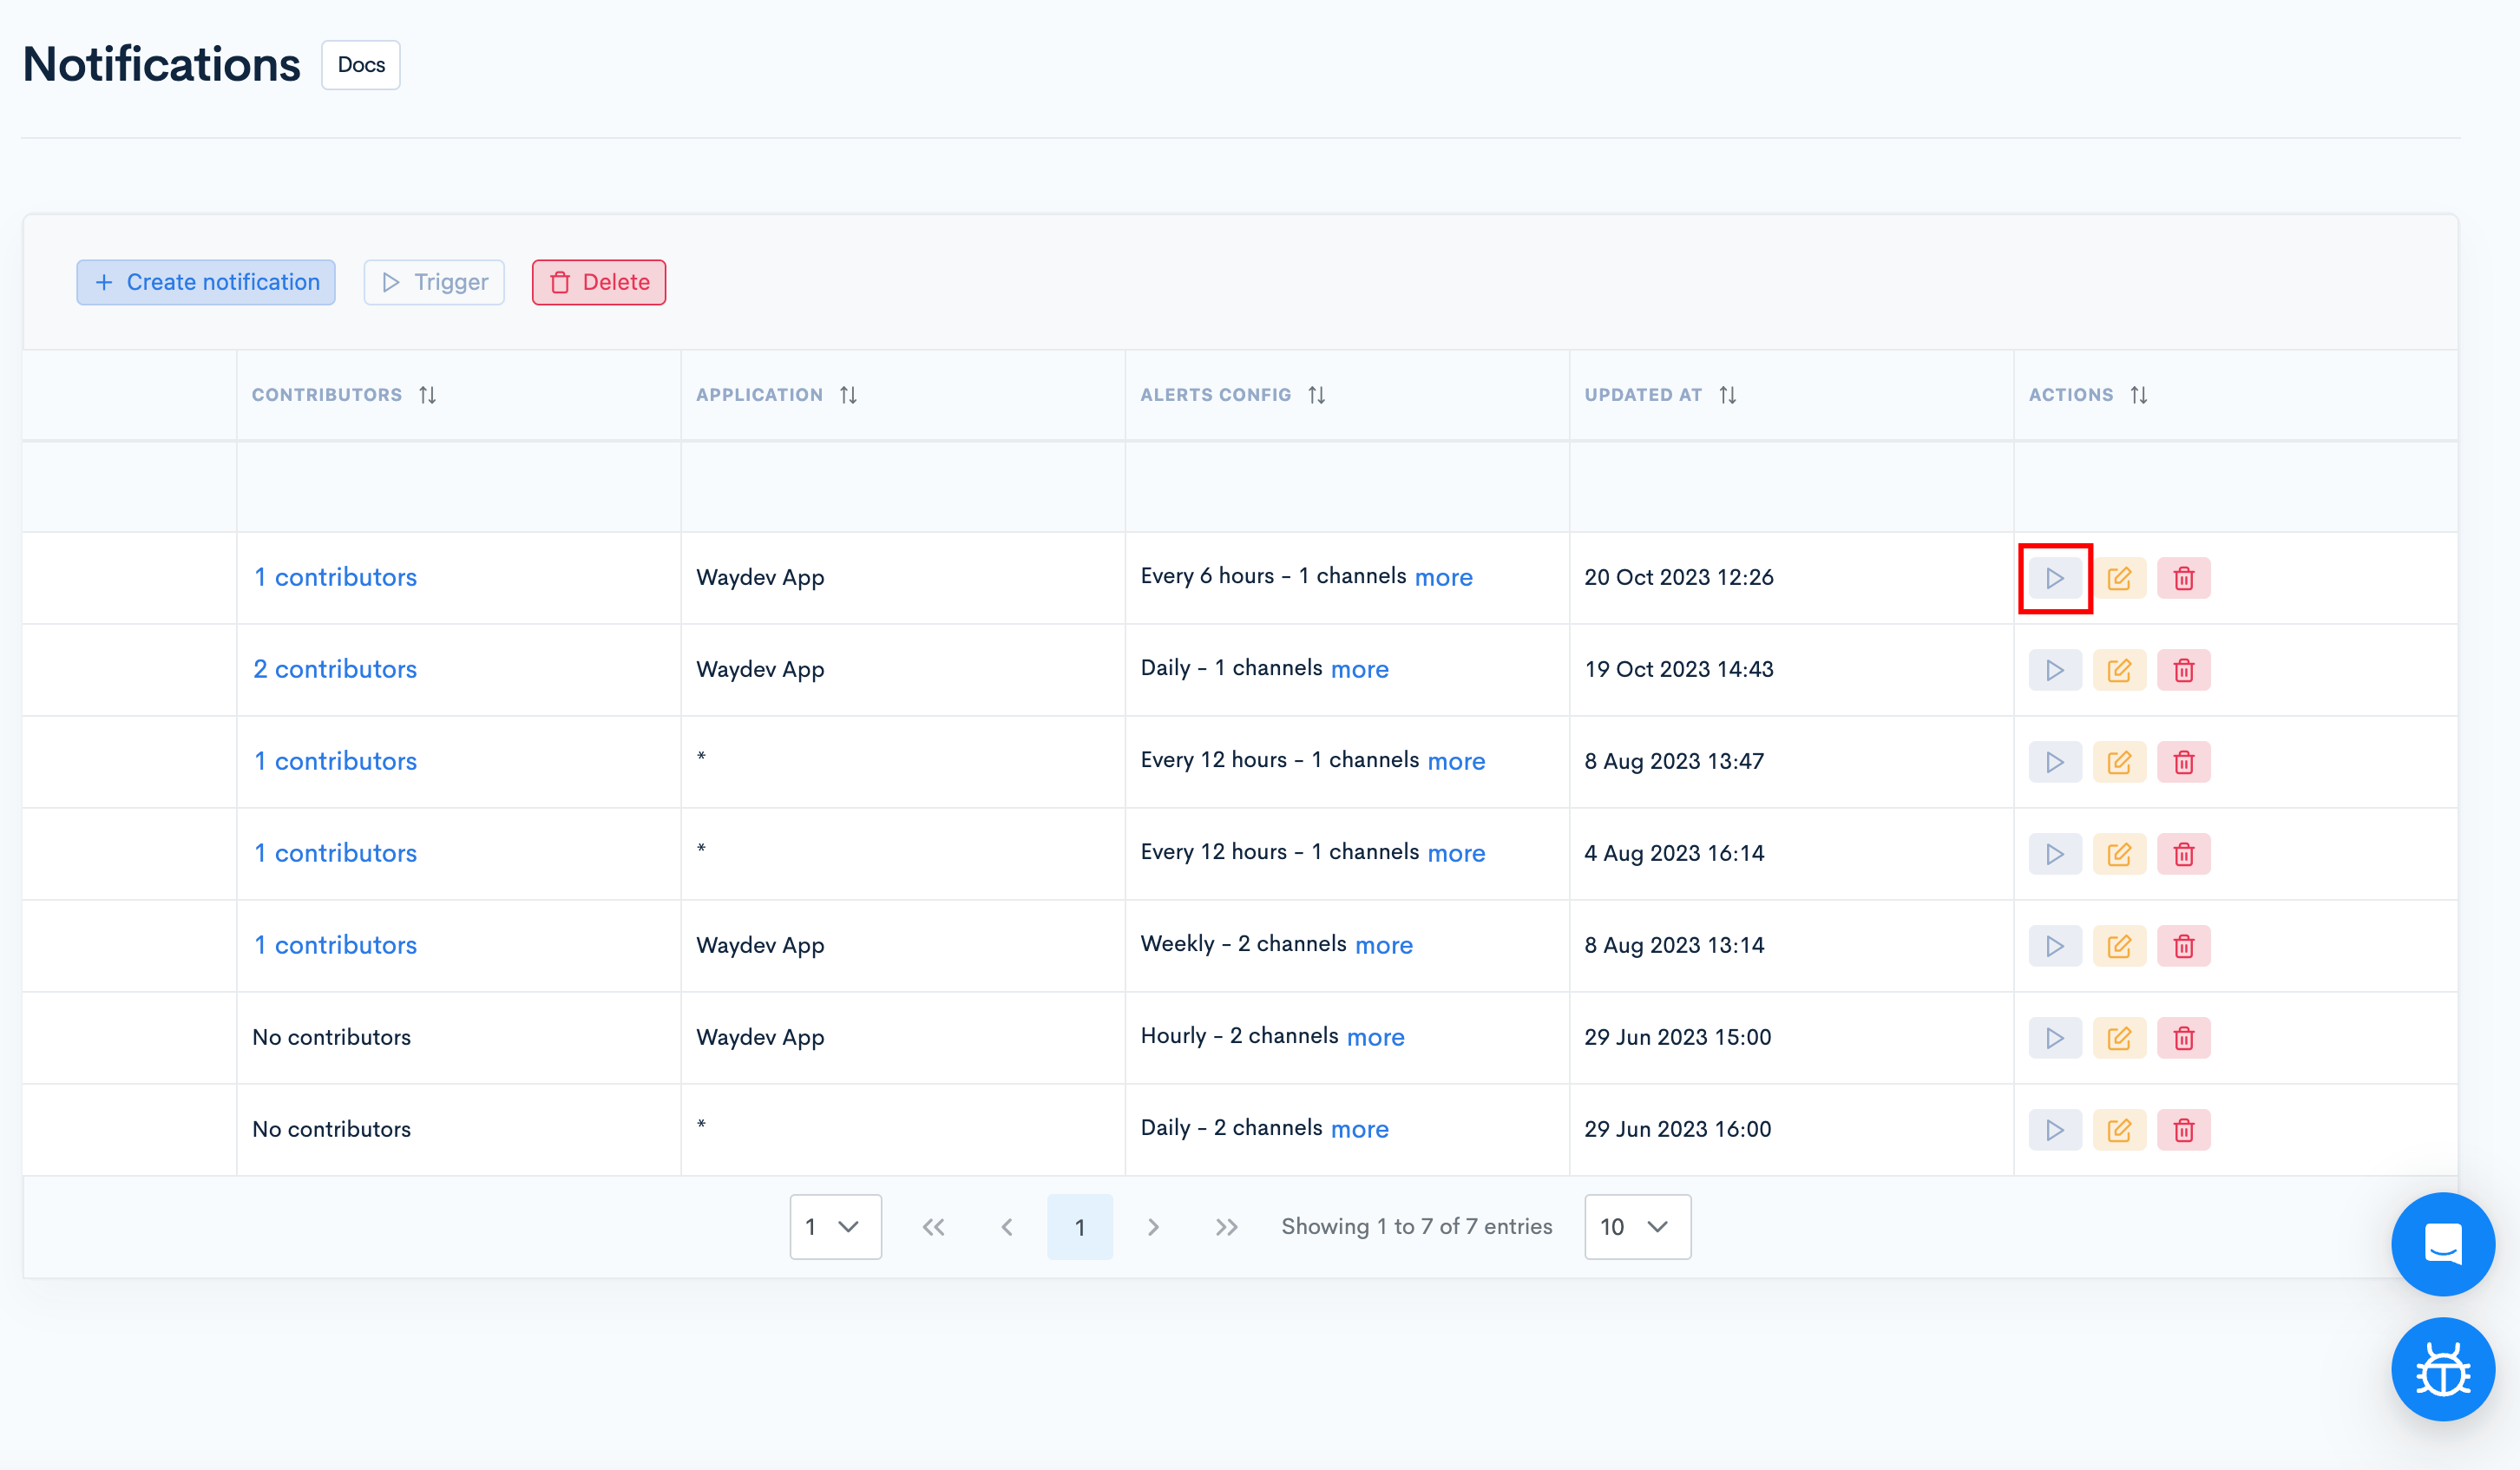
To trigger your notifications, navigate to Notifications in the side-bar menu in the Benchmarking section.
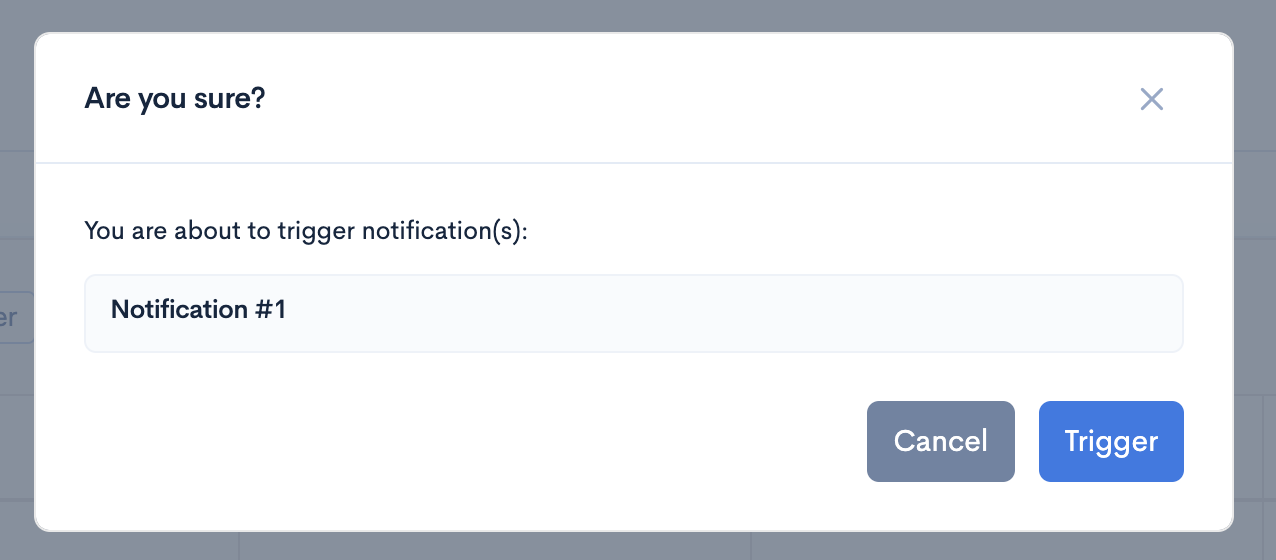
Scroll right on the notifications list and click the trigger button.
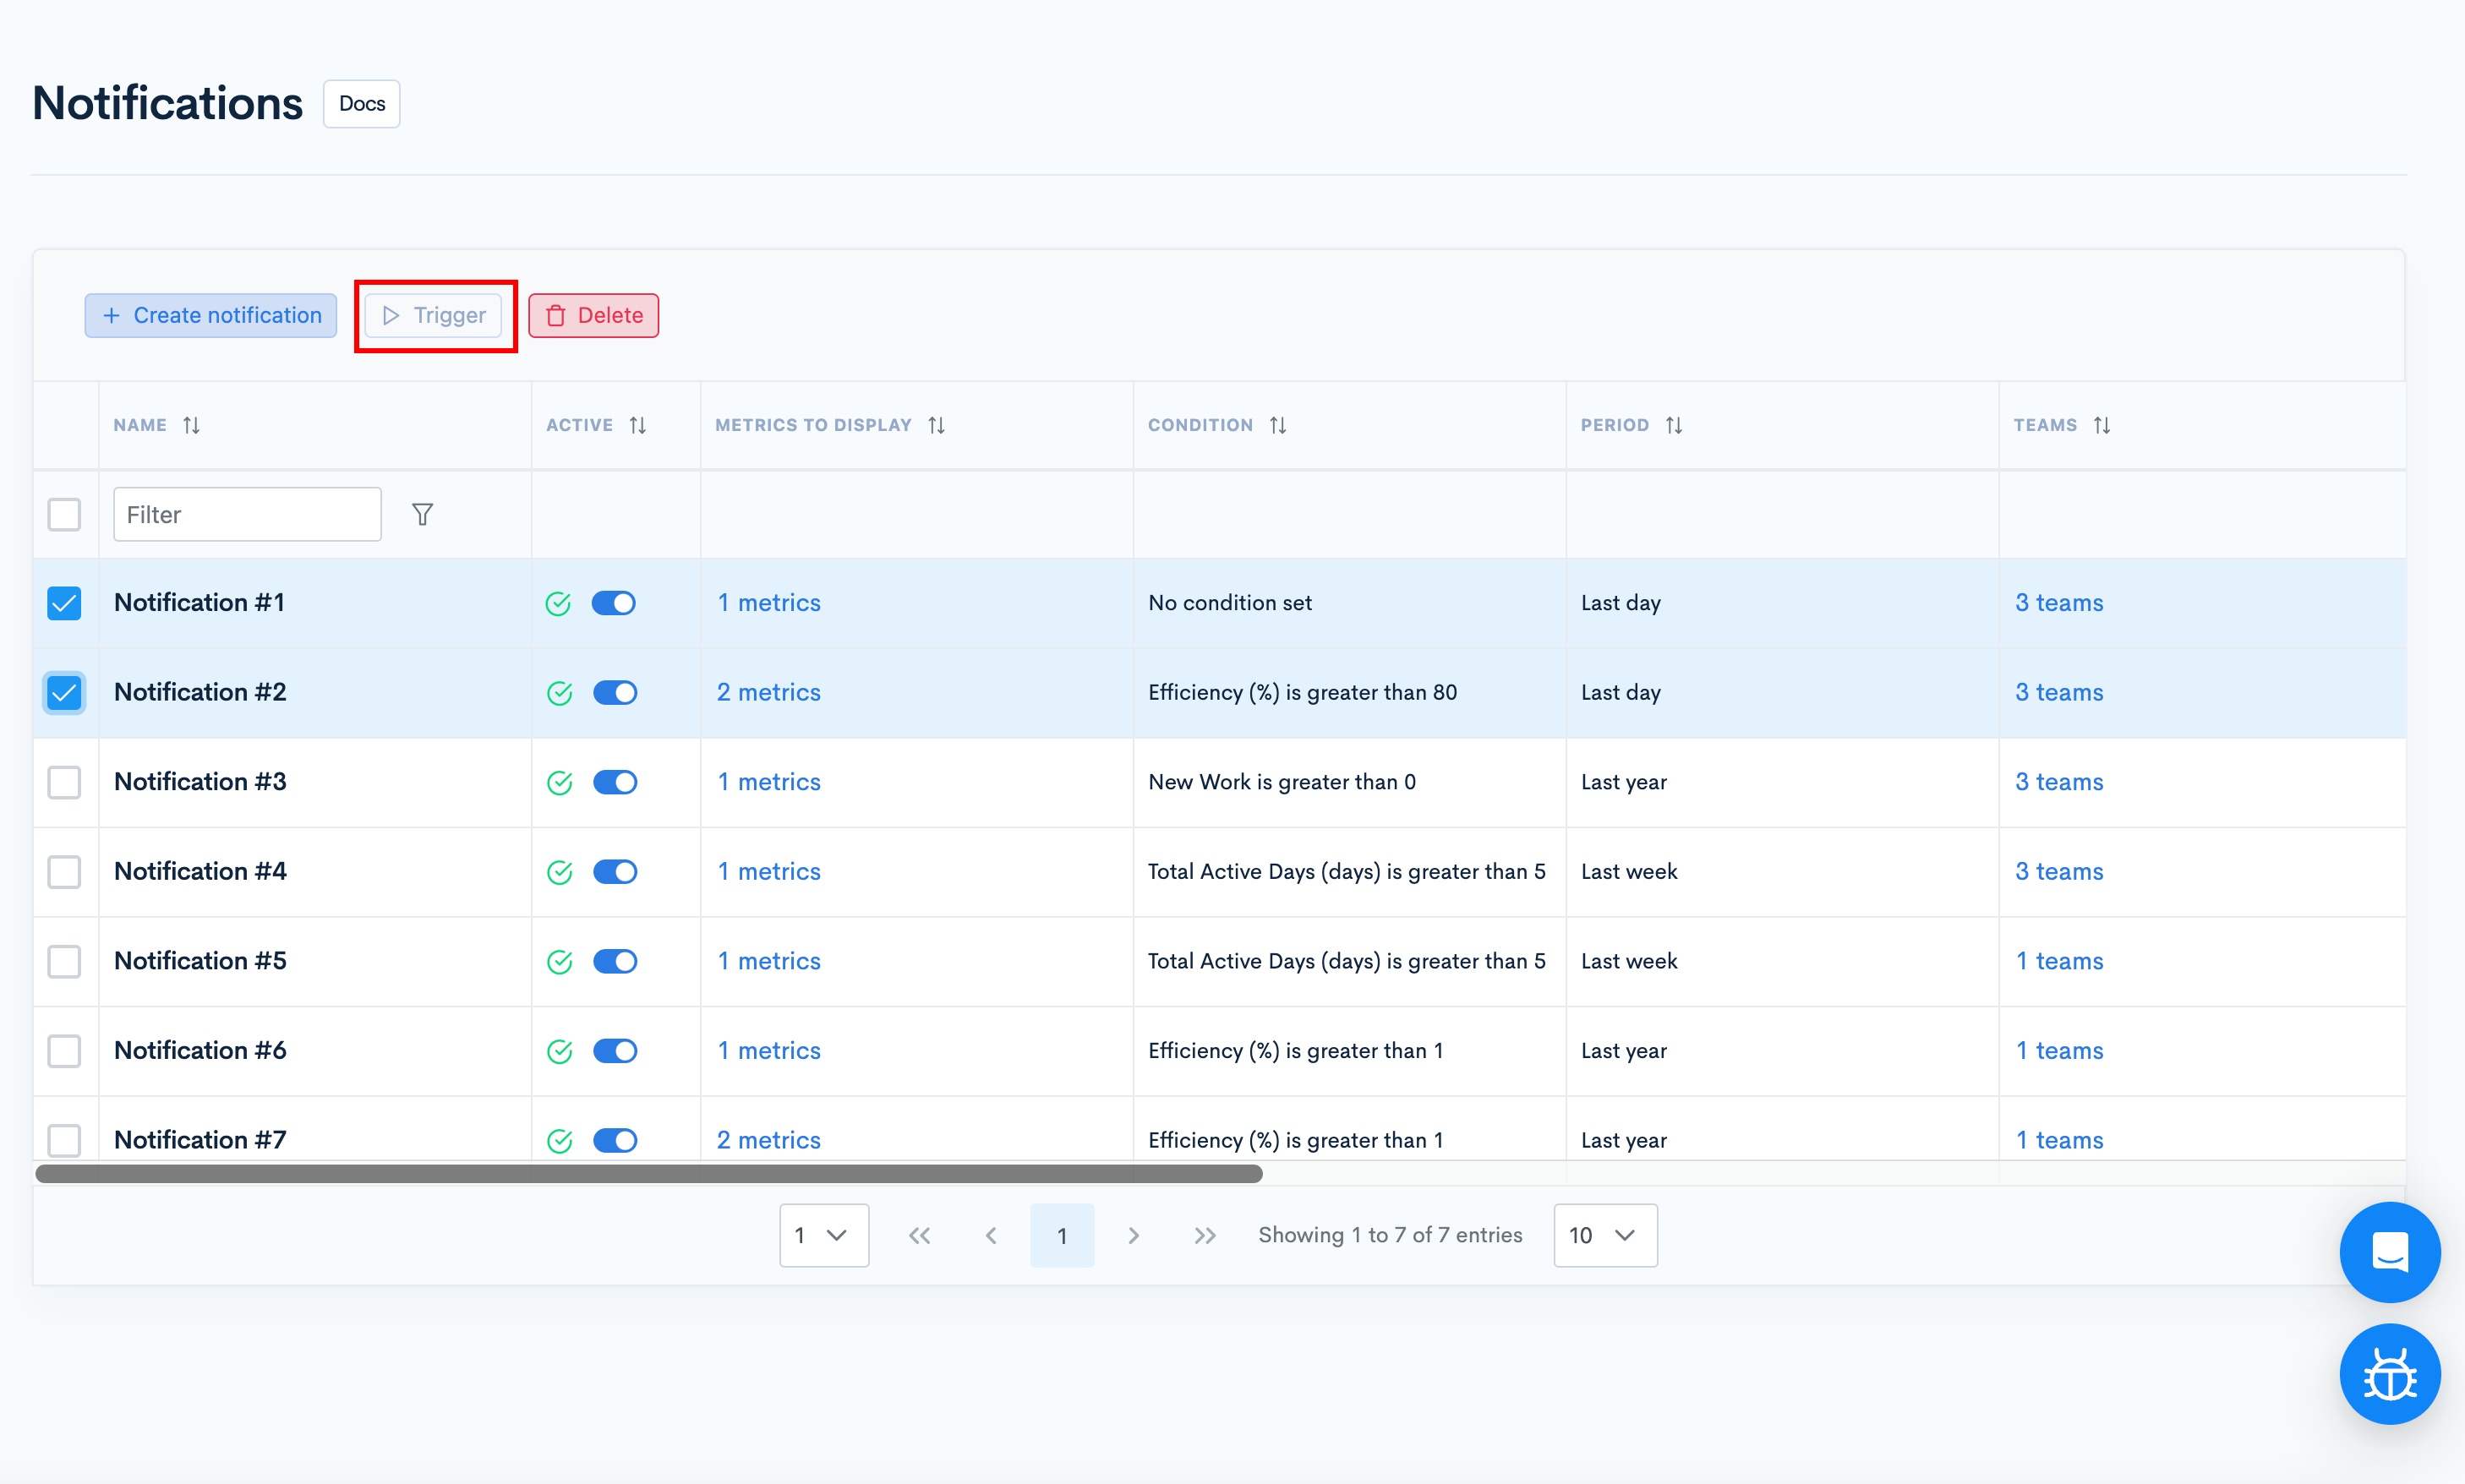
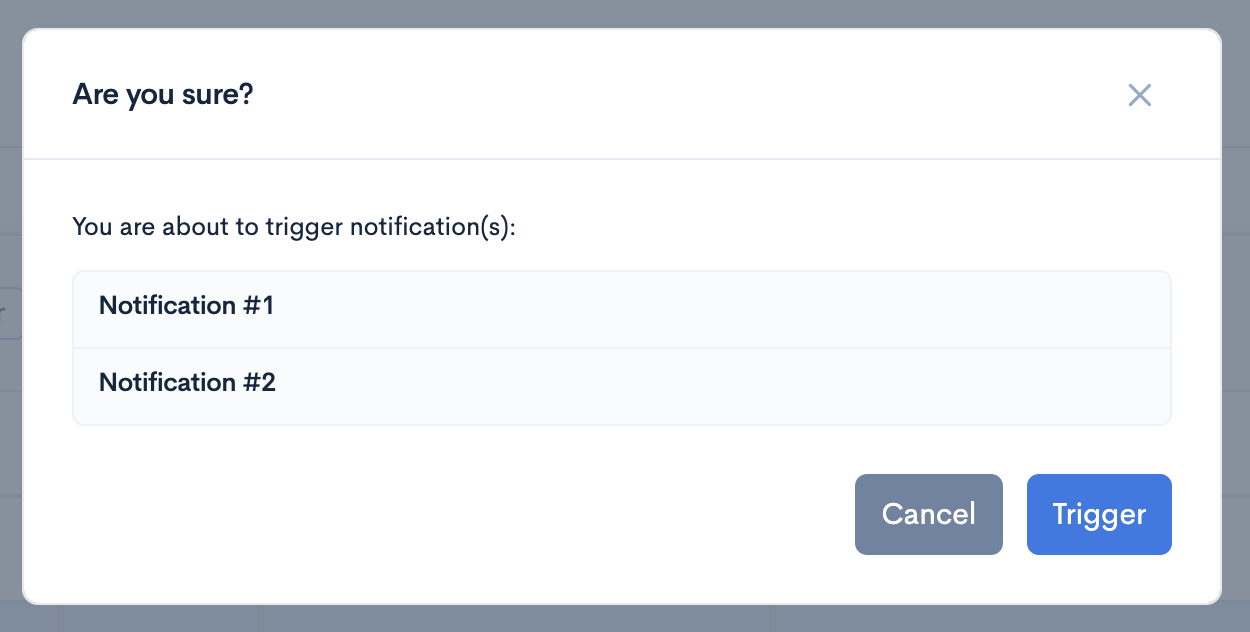
Another way would be to select the notification/s you want to trigger and click the "Trigger" button.
Updated over 1 year ago