Azure Pipelines
Unavailable
Azure Pipelines
Personal Access Token connection
- Step 1: In order to connect Azure Pipelines, navigate to Integrations, in the Setup section.

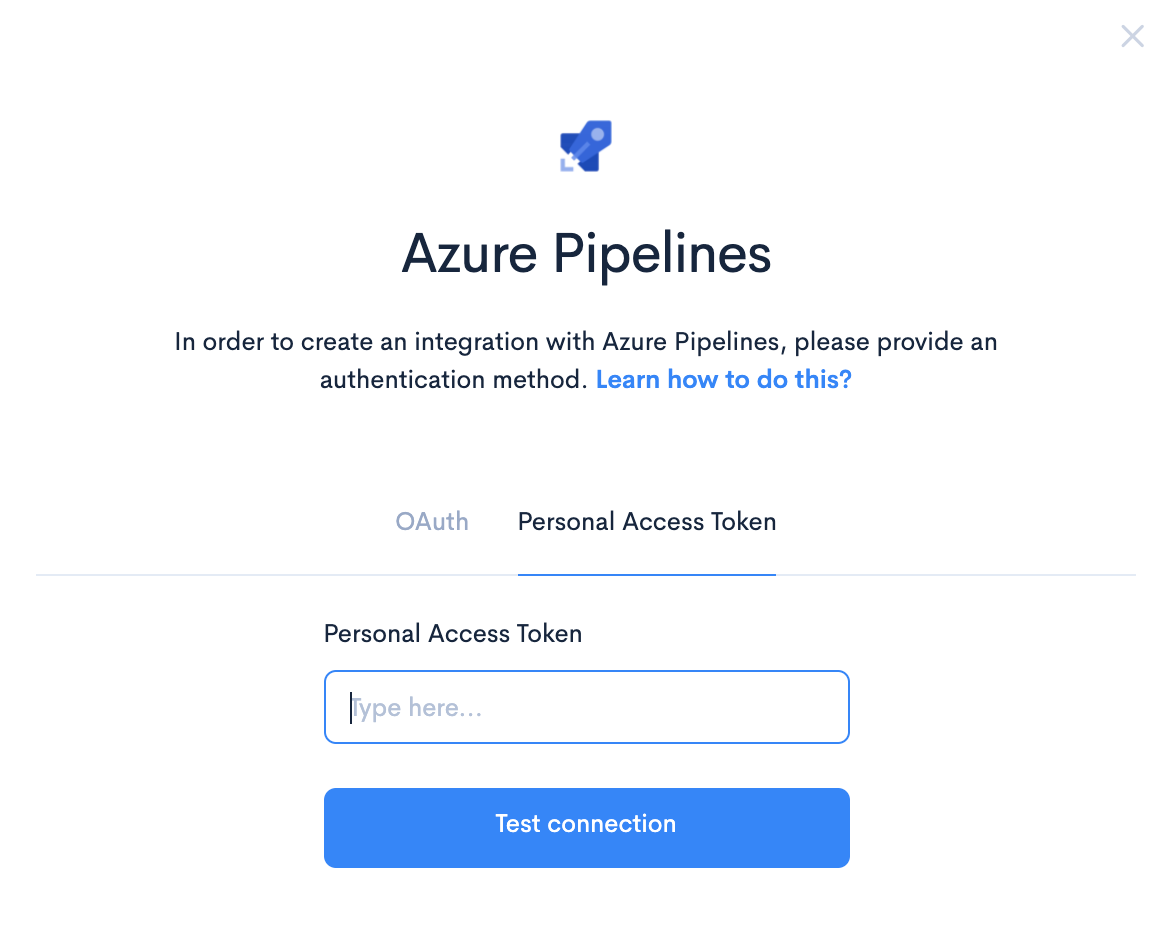
- Step 2: Select Azure Pipelines, and then select Personal Access Token.
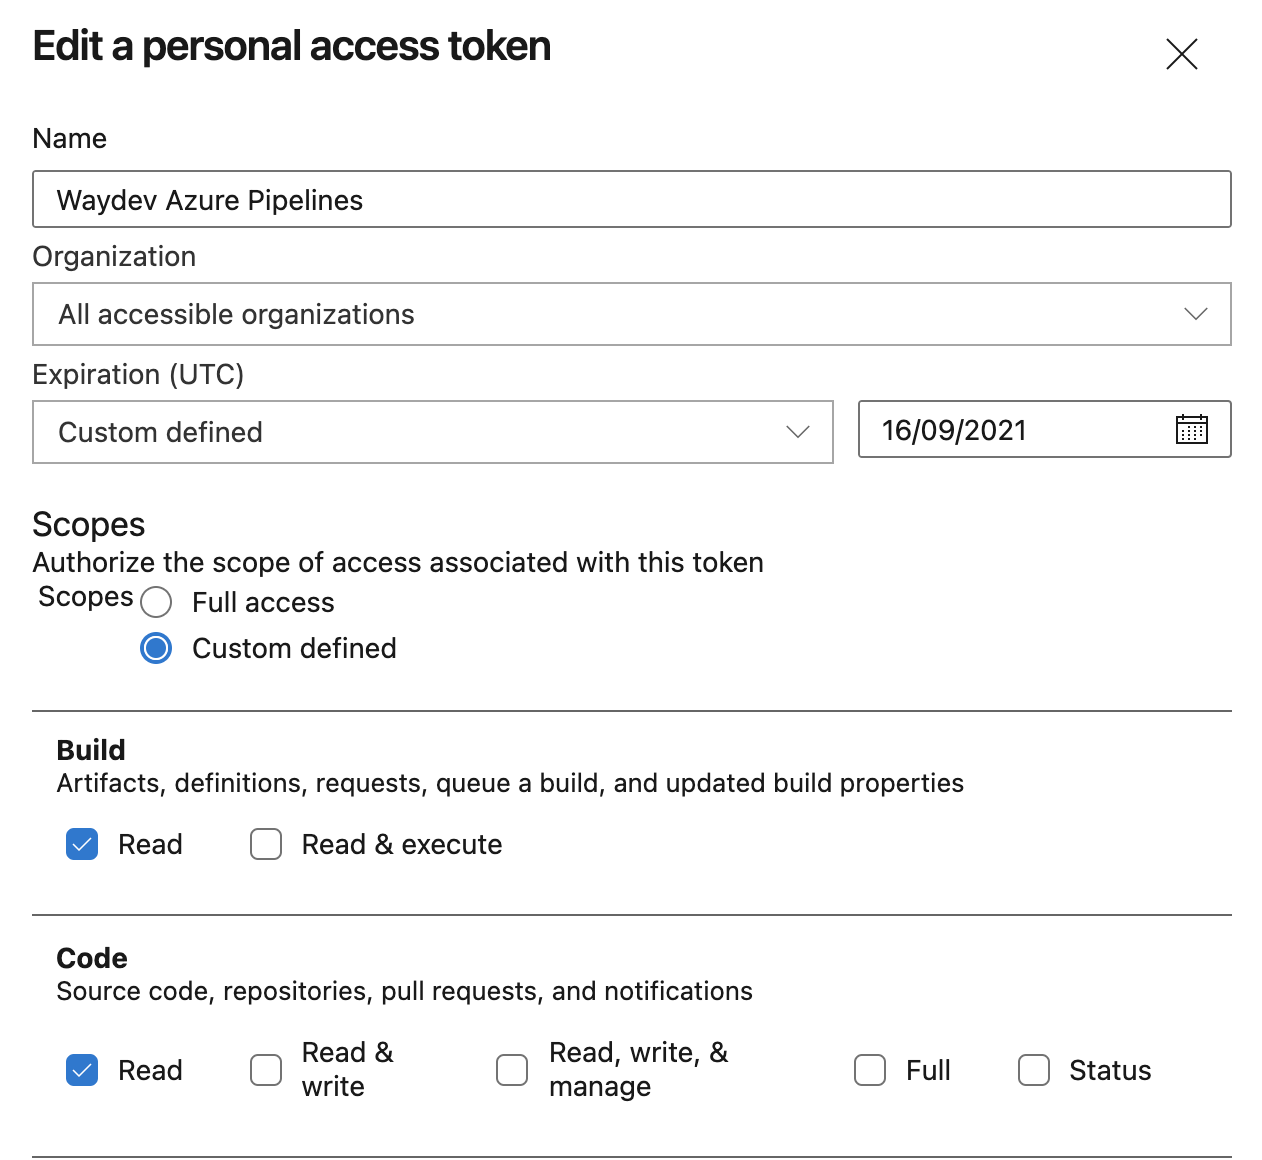
- Step 3: Create a Personal Access Token by following this configuration. Provide the scopes listed below. Note: You can set any expiration date and you can also scope the token to a single organization. Click Create, and copy the personal access token generated.
- Step 4: Paste the Personal Access Token in the field, and click Test Connection. Then, click Connect. Note: If you scoped your token to a single organization, navigate to the PAT - Single organization window and enter your organization as well.
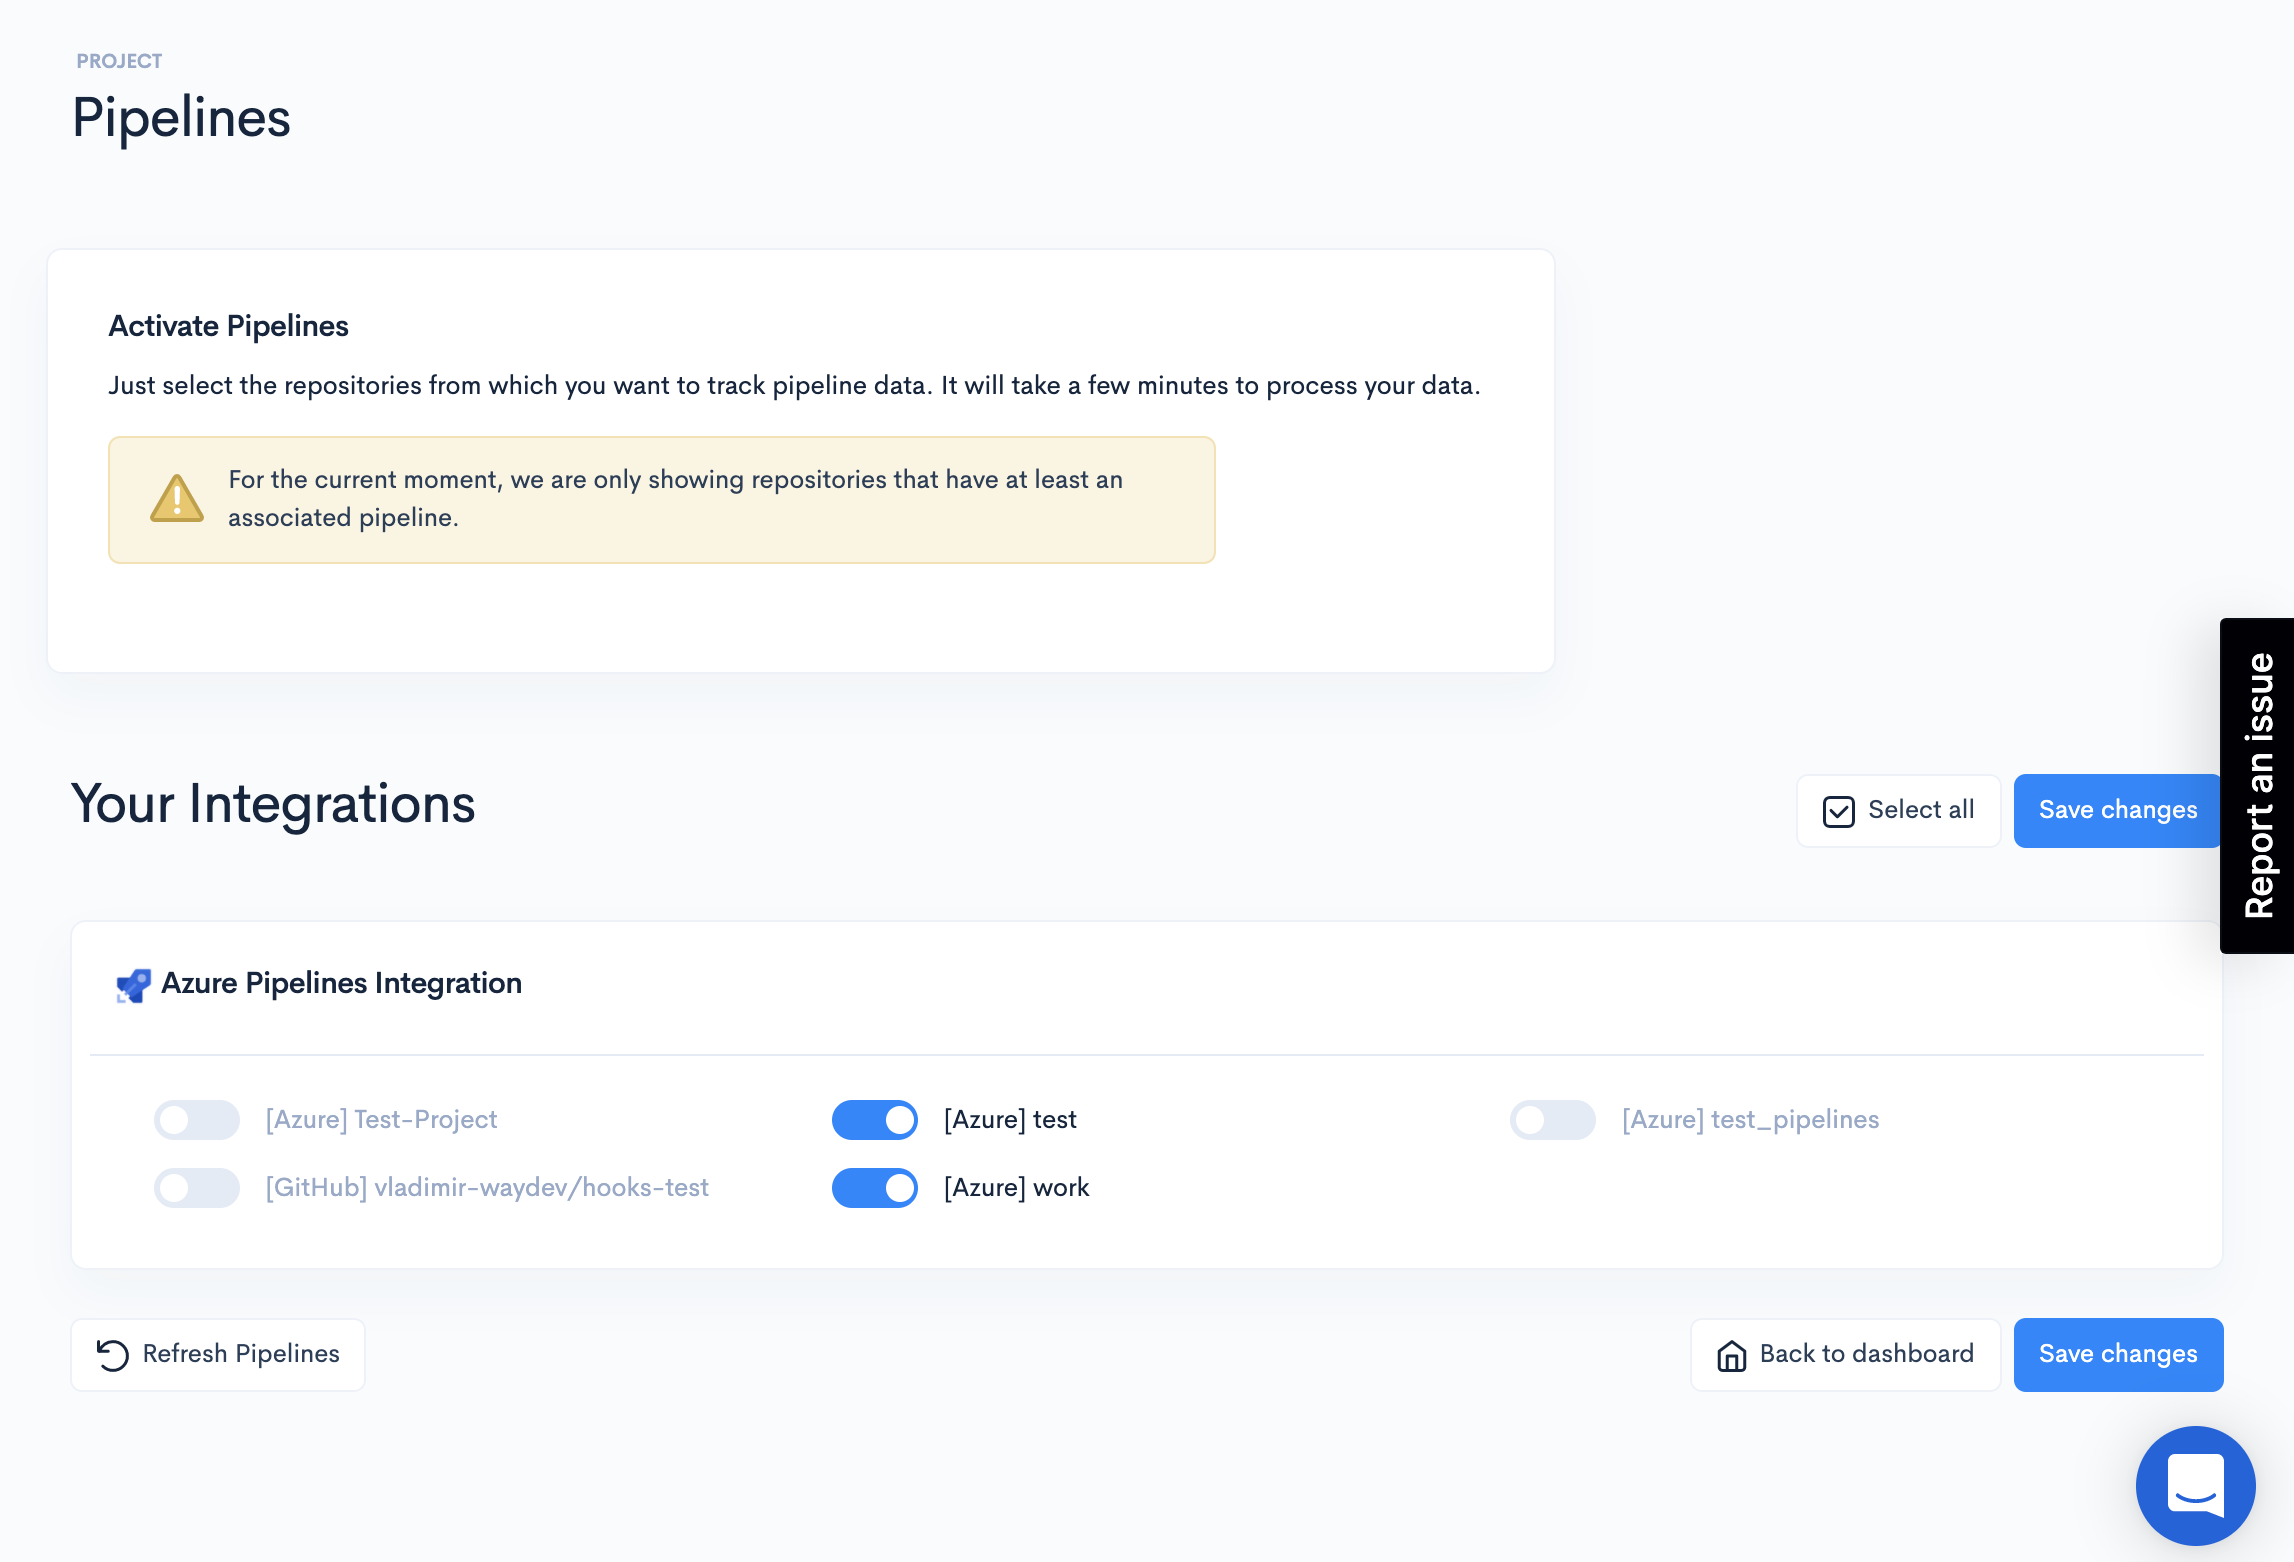
- Step 5: Navigate to CI/CD Projects, under the Setup section.
- Step 6: Select the repositories you want to connect, then click Sync selected. If you create new repositories or pipelines in Azure Pipelines, you need to click the Refresh Repositories button to add them to the CI/CD Projects page.
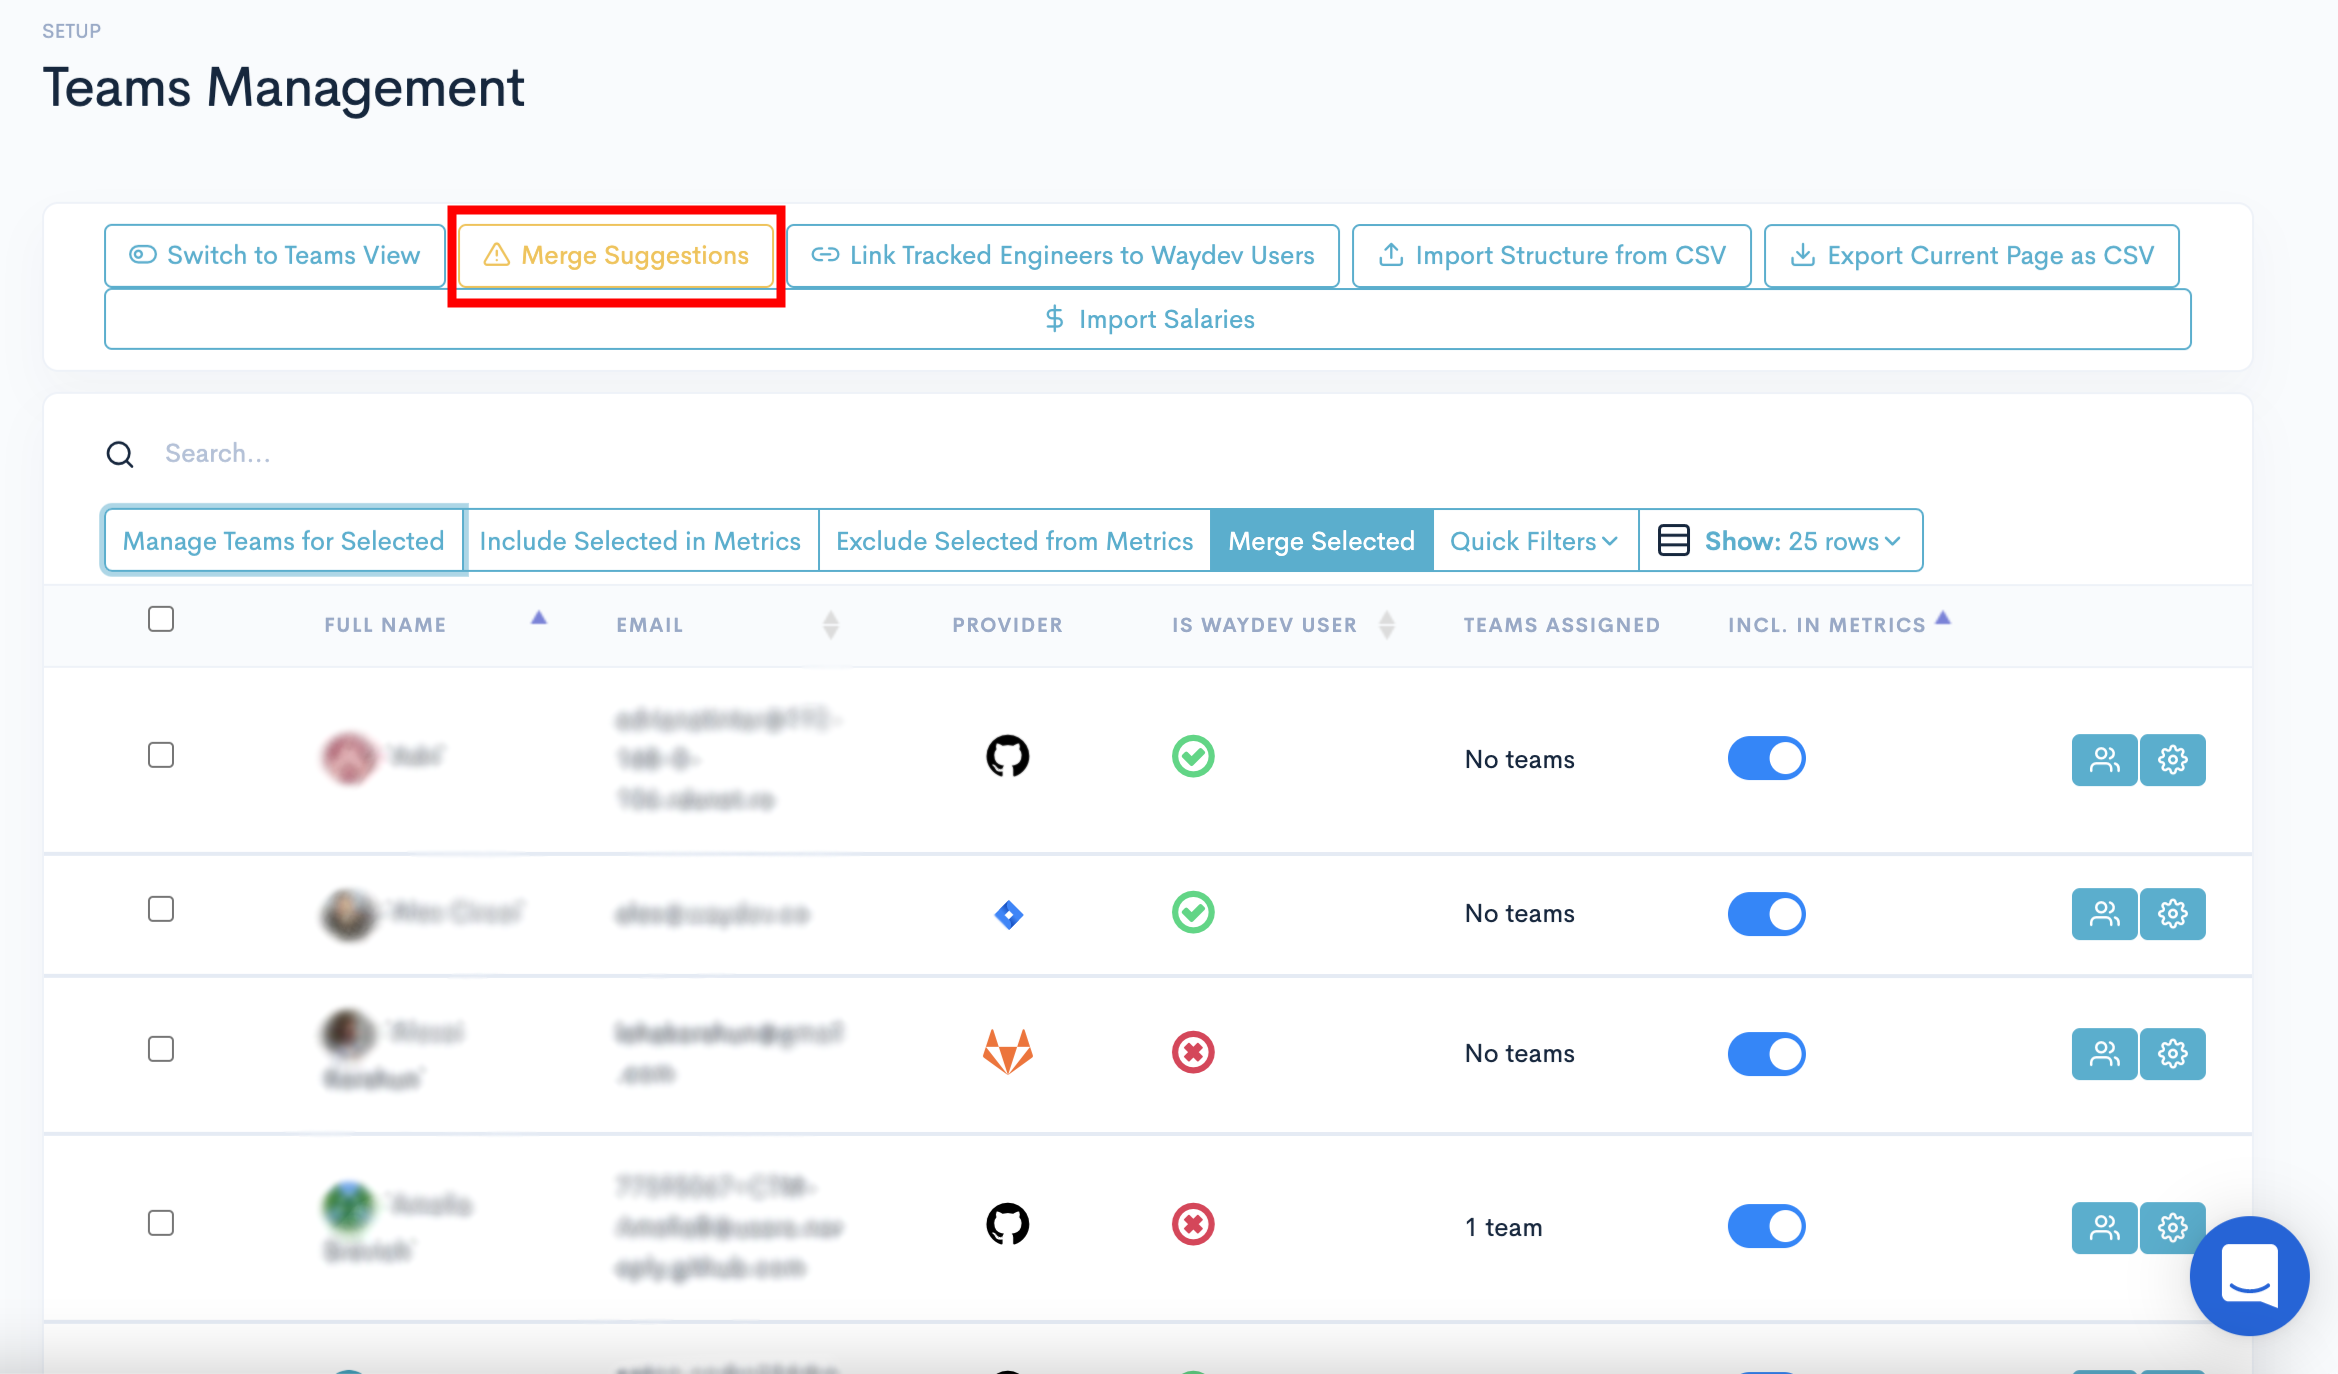
- Step 7: Follow this configuration to merge Azure Pipelines data with code, PR, and tickets data.
OAuth connection
- Step 1: In order to connect Azure Pipelines, navigate to Integrations, in the Setup section.
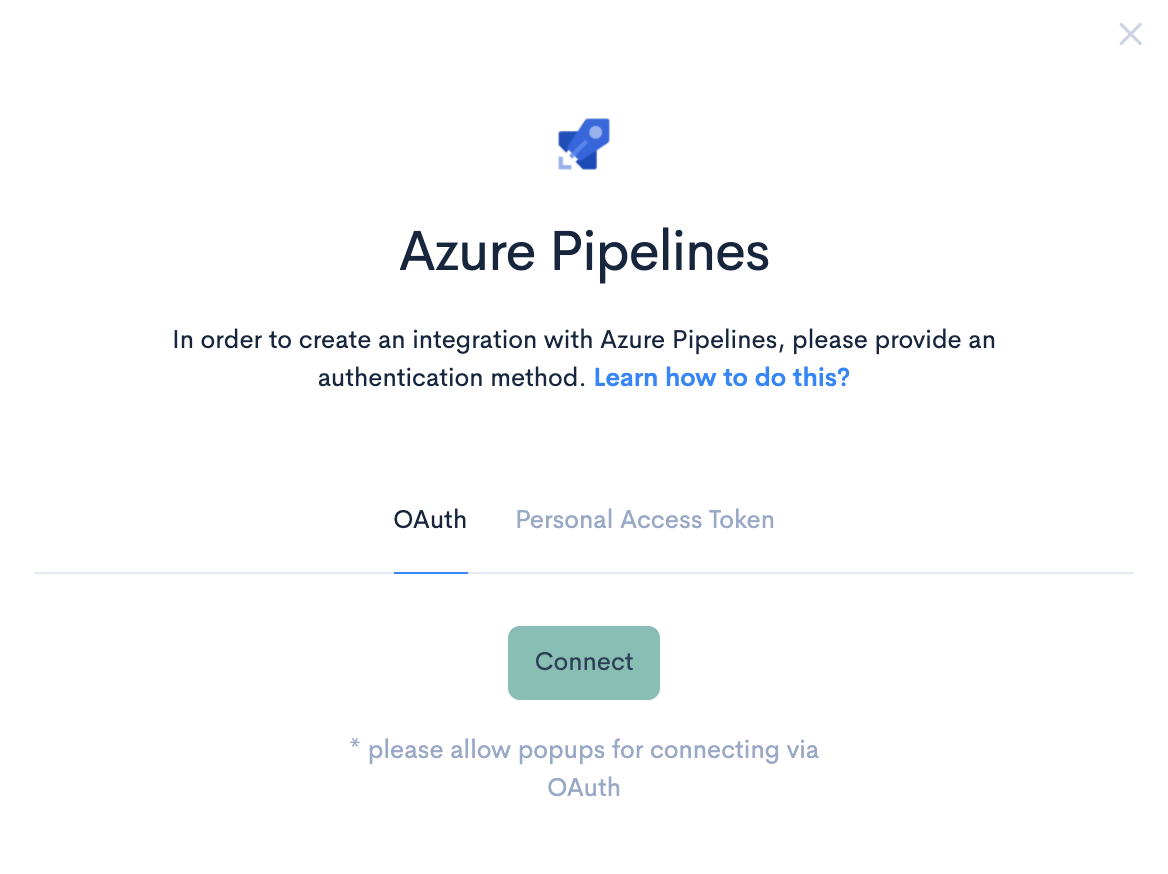
- Step 2: Select Azure Pipelines, and then select OAuth.

- Step 3: Click Connect. You will be redirected to your Microsoft account to authorize the connection.
- Step 4: Navigate to CI/CD Projects, under the Project section.
- Step 5: Select the repositories you want to connect, then click Save Project. If you create new pipelines or repositories in Azure Pipelines, you need to click the Refresh Repositories button to add them to the CI/CD Projects page.
- Step 6: Follow this configuration to merge Azure Pipelines data with code, PR, and tickets data.
Updated 5 months ago